170
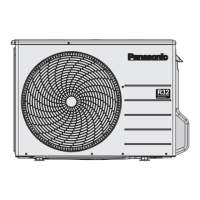
19.4.3 CU-TZ71WKE
Caution! When handling electronic controller, be careful of electrostatic discharge.
1 Remove the 5 screws of the Top Panel.
Fig. 1
2 Remove the 8 screws of the Front Panel.
Fig. 2
3 Remove the screw of the Terminal Board
Cover.
4 Remove the Top Cover of the Electronic
Controller by 4 hooks.
Fig. 3
5 Remove 2 screws for the plate of Terminal
Board Cover.
Fig. 4
6 Remove the Control Board.
Fig. 5
7 Remove the 4 screws of the Electronic
Controller.
Fig. 6
Screw
Top Panel
Screws
Screws
Screws
Screw
Screws
Front Panel
Hooks
Screw
Terminal
Board
Cover
Hooks
Top Cover
Screws
Plate of
Terminal
Board
Cover
Control Board
Release
screw of
Control Board
Release
3 terminal
connectors
Release
screw of
Control Board
Release of 6
connectors
Electronic Controller
Screws
 Loading...
