33
10.1.3.3.3 Changing upward air flow limit dipswitch
Change the upward air flow limit dipswitch (SW2-4) to ON to limit the upward air flow.
1 Remove the front grille.
2 Switch the dipswitch (SW2-4) on the PCB in the electrical equipment box to ON.
How to set and use the switch
Switch number SW2-4
Set function Upward air flow limit
ON
↕
OFF
ON
↕
OFF
Use
Switch to ON for
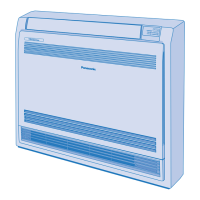
embedded units
Factory setting OFF
Be sure to turn on the upward air flow limit dipswitch. Failure to do so may cause incomplete cooling/heating and
formation of condensation inside the house.
10.1.4 Connecting the Drain Hose
Insert the supplied drain hose into the socket of the drain pan.
Fully insert the drain hose until it adheres to a seal of the socket.
10.1.4.1 Check the drainage
Pour a glass of water into the drain pan.
Ensure that water flows out from drain pipe.
10.1.5 Connecting the Refrigerant Piping
1 Please make flare after inserting flare nut
(locate at joint point of tube assembly) onto
the copper pipe.
2 Align the center of pipe and sufficiently tighten
the flare nut with fingers.
3 Further tighten the flare nut with torque
wrench in specified torque as stated in the
table. (Please refer table at “Connecting the
Refrigerant Piping” in OUTDOOR UNIT).