43
VQT2J39
Editing
[HDD]
1 While stopped
Press [FUNCTION MENU].
2 Press [3, 4] to select “Others” and
press [OK].
3 Press [3, 4] to select “Playlists” and
press [OK].
≥When “PICTURE” is not selected, press the “Green” button
to select “PICTURE”.
4 Editing a Playlist (Picture):
Select the Playlist (Picture) to be
edited and press [OPTION].
Editing a still picture:
5 Press [3, 4] to select the operation
and press [OK].
∫ To edit the Playlist (Picture)
∫ To edit still picture
To return to the previous screen
Press [RETURN ].
To exit the screen
Press [EXIT].
[HDD]
≥After performing steps 1–5 (@ left)
§
Multiple editing is possible.
[HDD]
≥After performing steps 1–5 (@ left)
§
Multiple editing is possible.
Editing Playlists (Picture)/still pictures
1 Select the Playlist (Picture) which contains
still pictures to edit and press [OK].
2 Select the still pictures to edit and press
[OPTION].
To show other pages
Press [3, 4, 2, 1] to select “Previous” or “Next” and
press [OK].
≥You can also press [:, 9] to show other pages.
Multiple editing
Select with [3, 4, 2, 1] and press [;]. (Repeat.)
A check mark appears. Press [;] again to cancel.
Slideshow Settings
Delete
Edit
Copy to DVD
VIDEO
Album View
Start Slideshow
Copy
Enter Playlist Name
Create
Playlist (Picture)
operations (@ right)
right
Album (still picture) and picture
operation (> 40)
Creating, editing and playing Playlists (Video) (> 38)
Properties
Add Pictures
Move Pictures
Delete Pictures
Playlist View
Still picture operations (@ right)
You can go back to
Playlist View ( Picture ).
Playlist (Picture) operations
Start
Slideshow
(> 30, Start Slideshow, Steps 1-2)
≥You cannot select multiple Playlists
(Picture) or all Playlists (Picture).
Slideshow
Settings
(> 31, Slideshow Settings)
≥Slideshow Settings are retained only for
the specified Playlist (Picture).
≥Music CD (CD-DA) is used for Background
Music when inserting Music CD.
Delete
§
Press [2, 1] to select “Delete” and press
[OK].
Once deleted, the Playlists (Picture) are
lost and cannot be restored.
Make certain before proceeding.
Copy to
DVD
§
For copy to DVD-RAM
Press [2, 1] to select “Start”
and press [OK].
For copy to DVD-R
Press [2, 1] to select “Copy &
Finalise” or “Copy Only” and
press [OK].
≥[-R]
Use blank discs or unfinalized discs on
which JPEG images are recorded with this unit.
Create
(> 42, Creating Playlists (Picture), Step 5–
11)
Copy
§
Press [2, 1] to select “Copy” and press
[OK].
≥The copied Playlist (Picture) becomes the
newest one in “Playlist View ( Picture )”
screen.
Enter
Playlist
Name
You can give names to Playlists (Picture).
(> 44, Entering text)
Still picture operations
Properties
(> 40, Album (still picture) and picture
operation)
Add
Pictures
(> 42, Creating Playlists (Picture), Step 5–9)
Move
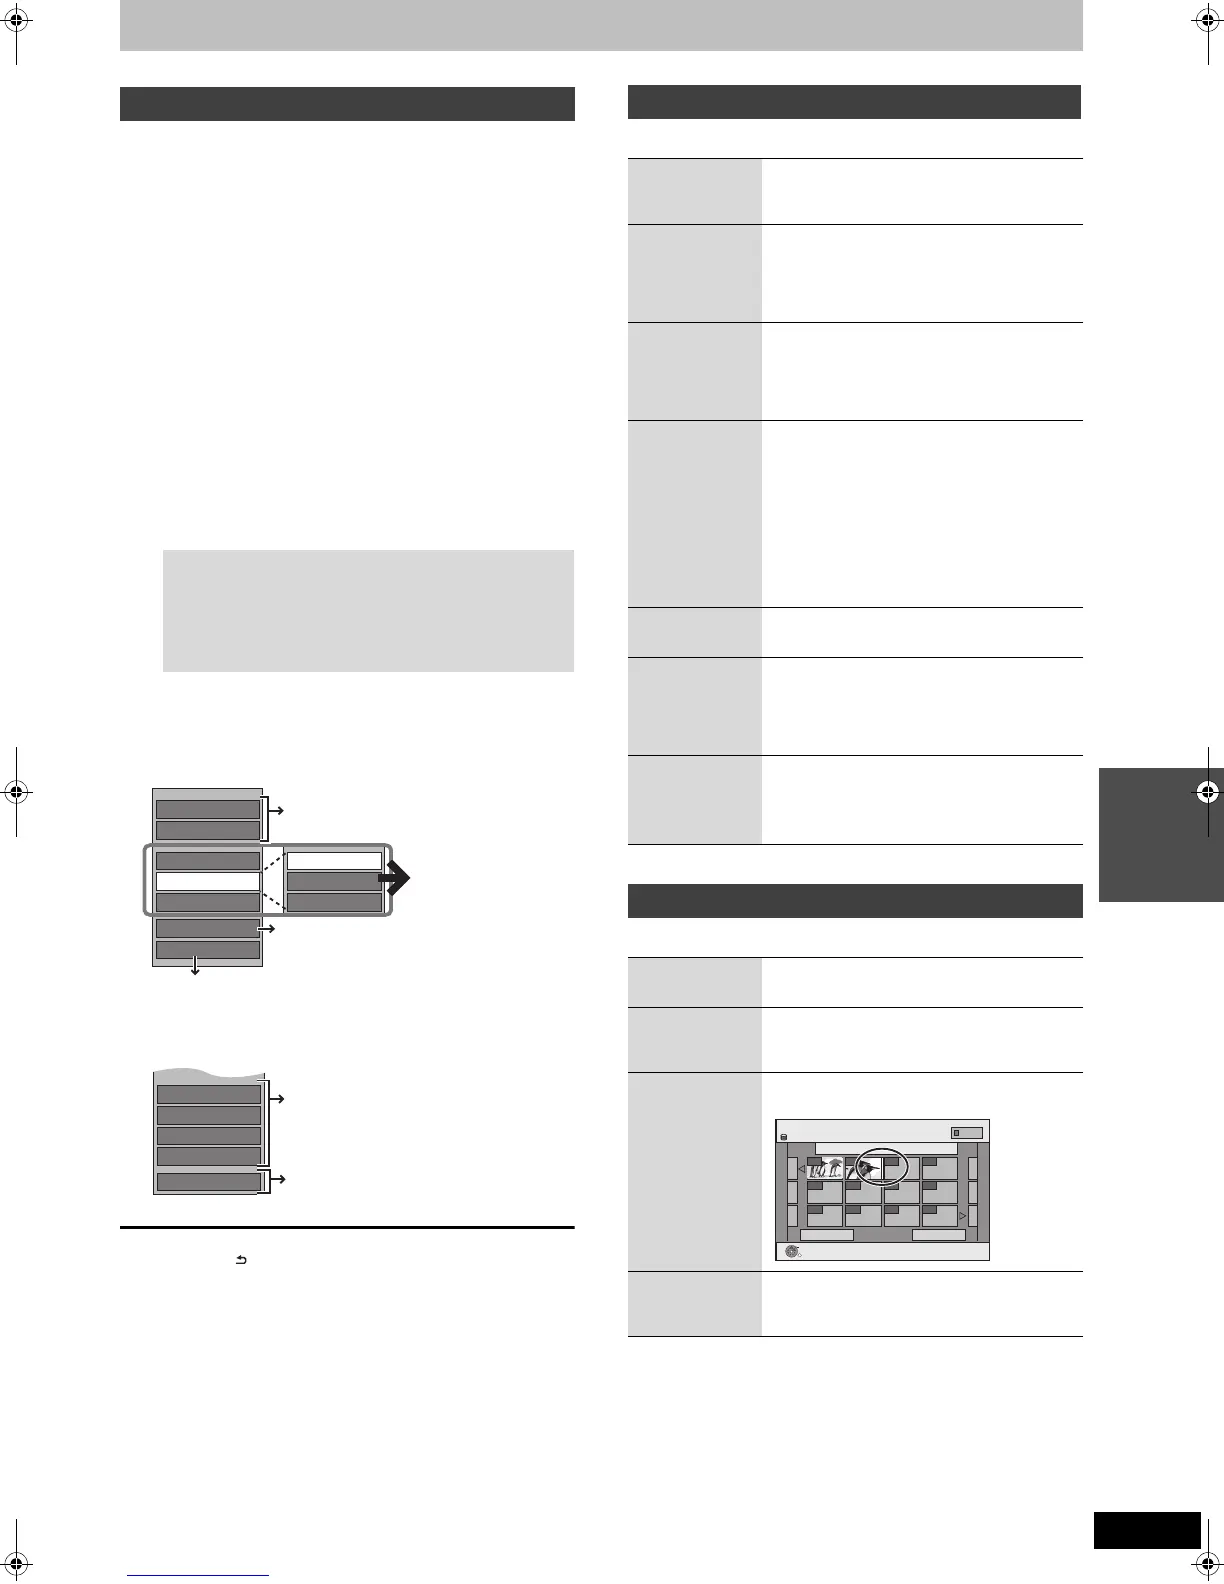
Pictures
Press [3, 4, 2, 1] to select the position
to insert the picture and press [OK].
Delete
Pictures
§
Press [2, 1] to select “Delete”
and press [OK].
Playlists Move Pictures
Previous Page 001/001 Next
Playlist Name
Playlist 01
---- ----
---- -------- ---
---- -------- ---
HDD
OK
RETURN
PICTURE
0:10.24
0001
0002
DMREX773EC-VQT2J39_eng.book 43 ページ 2010年1月14日 木曜日 午後1時31分

 Loading...