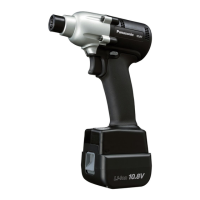
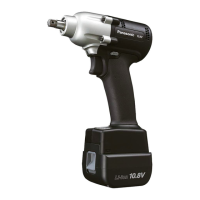
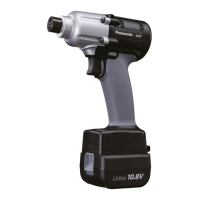
EYFG1N | EYFG2N | EYFG3N
Quick Programming guide
Clutch Tools
80 = Full speed Select stage with +/-button. Initial setting is 「80」
15~80: 10 rpm each Adjustable speed in 10 rpm increments
0~30 = Off Select stage with +/-button. Initial setting is 「0」
P0: Variable speed (ON) Select stage with +/-button. Initial setting is 「P0」
P1: Single speed (OFF) Speed can be controlled by use of the trigger.
1 time Restore Factory Defaults F All settings return to initial setting. On "F" press "Save" (Blue Button)
0~99 = Off Select stage with +/-button. Initial setting is 「0」
When total fastening times are within 1 hour of preset maintenance interval, tool’s display blinks
notifying the operator.
Run Downs Once tool reaches the preset interval, the tool is locked out from further use.
C0: OFF Select stage with +/-button. Initial setting is 「C0」
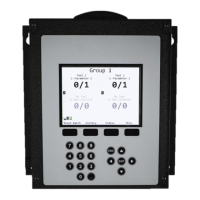
In the event that wireless communication cannot be completed between the tool and the
qualifier, the tool will be disabled and cannot be operated.
R0: OFF Select stage with +/-button. Initial setting is「R0」
Tool first reverses 360 degree, aligning the threads, greatly reducing the possibility of cross
threads.
0~30 = Off Select stage with +/-button. Initial setting is 「U」
1~30 = .1 to 3.0sec High speed run down time starts on trigger pull then automatically downshifts to 300 rpm
Select stage with +/- button. Initial setting is 「L1」
Maintenance interval alarm
Out of range disable
function
Select stage with +/-button. Initial setting is 「b0」
* A clutch adjustment tool is required for torque settings.
1. Rotate the clutch adjustment tool CW to open the tamper resistant door.
2. Flip the clutch adjustment tool over to adjust the clutch to the desired torque.
3. Rotating the clutch adjustment tool clockwise will increase torque and counter clockwise to
decrease torque.
4. Once the desired torque is set, remember to close the tamper resistant door rotating the
clutch adjustment tool CCW.
Panasonic Life Solutions Company of America Assembly Tools Division
2 Riverfront Plaza 5
th
Floor Newark, NJ 07102
www.panasonic.com/assemblytools