Rundown error detecting function
(EYFLA7, EYFLA8, EYFLA9,
EYFMA2)
The rundown error detecting function
causes a red indicator to flash if work
ends more quickly than a set time, for
example due to retightening of a previ-
ously tightened fastener or binding of the
screw’s thread.
1. Set the tool to setting configuration
mode. (See page 18.)
2. Press the B button twice.
The rundown error detecting function set-
ting value will be displayed.
[Fig.28]
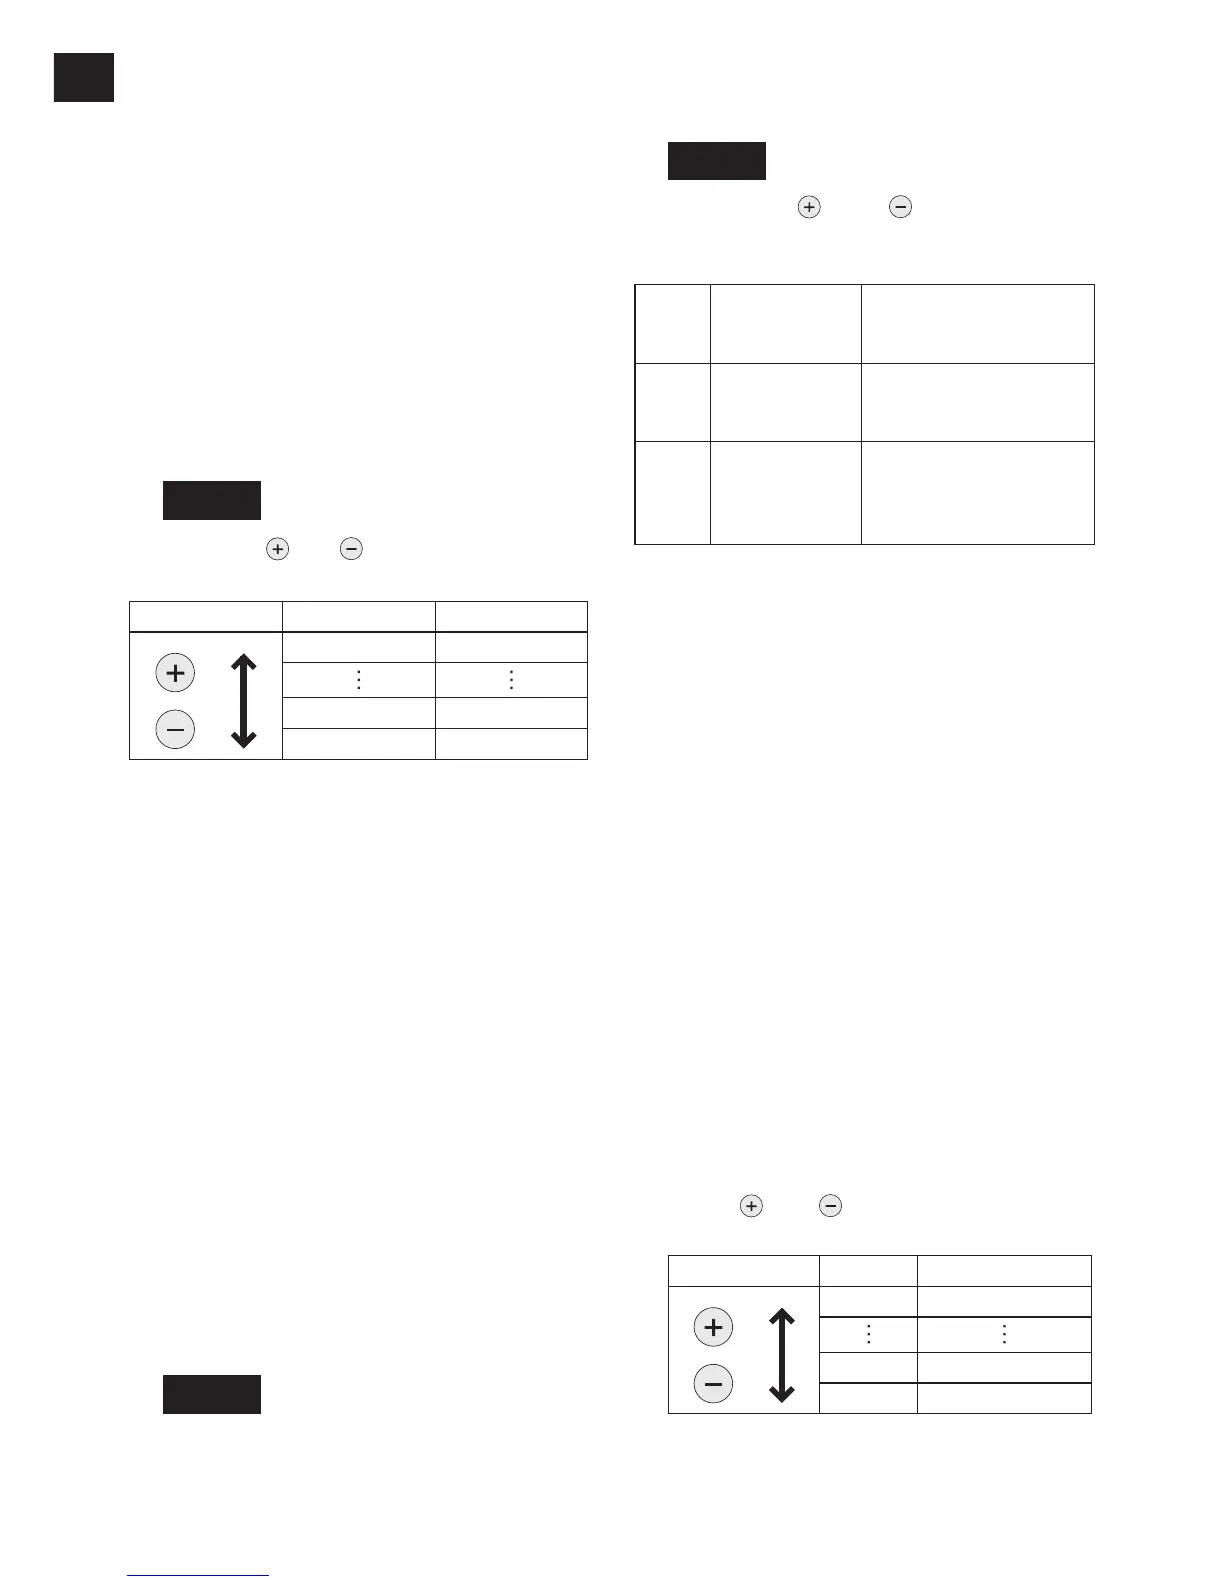
3.
Press the and buttons to change the
time as desired.
Buttons Display Seconds
30 3
1 0.1
0 OFF
4. Press the OK button to accept the
selected setting.
When the cross thread reduction function
is ON, the set time will be counted after
the tool operates in reverse for approxi-
mately 360°.
Radio signal range limitation
function on/off setting (EYFLA4AR,
EYFLA5AR, EYFLA5PR, EYFLA5QR,
EYFLA6JR, EYFLA6PR, EYFLA7AR,
EYFLA8AR, EYFLA8CR, EYFLA8PR,
EYFLA9CR, EYFLA9PR, EYFMA1JR,
EYFMA1PR, EYFMA2CR, EYFMA2PR
)
1. Set the tool to configuration mode.
(See page 18.)
2. Press the C button.
•
The control panel will begin flashing.
Display: The letter “F” ashes on and off.
Battery indication lamp: The upper and lower
bars of the battery ash on and off.
[Fig.29]
3. Press the C button again.
• Radio signal range limitation function
ON/OFF setting value will be displayed.
[Fig.30]
4. Press the and buttons to set
radio signal range limitation function
ON/OFF.
Display
Radio signal
range limitation
function mode
Status
C0 OFF
Tool is operational in the ab-
sence of communications with
the Assembly Qualier.
C1 ON
Tool is not operational
in the absence of com
-
munications with the As-
sembly Qualier.
5. Press the OK button to accept the
new setting.
Factory settings
• Radio signal range limitation function
setting: C0 (OFF)
NOTE:
• For more information about how to register
the tool and Assembly Qualifier, see the
Assembly Qualifier instruction manual.
Tightening time reminder
(EYFLA7, EYFLA8, EYFLA9,
EYFMA2)
The tool is locked when it reaches the set
tightening time, and the main unit stops
operation. This feature is convenient for
regular inspection of the tool performance.
1. Set the tool to setting configuration
mode. (See page 18.)
2. Press the C button twice.
The setting value will be displayed.
3. Press and buttons as required to
change the time.
Operation Display Tightening time
99 99 hours
1 1 hour
0 OFF
4. Press the OK button to accept the new
setting.