1 From the [HomeHawk] app home screen, tap ® [Settings].
2 Tap [Camera Settings] and select the desired camera.
3 Tap [Name].
4 Enter the desired name.
5 When finished, tap [OK].
Note:
R You can also change these settings by tapping
displayed next to camera images in the live
camera image screen ( “Viewing the live camera image screen”, Page 44).
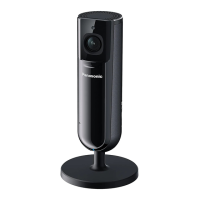
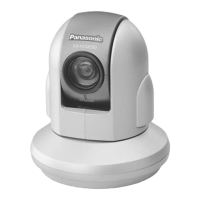
Status LED
You can determine whether the camera’s LED indicator lights or is disabled.
1 From the [HomeHawk] app home screen, tap ® [Settings].
2 Tap [Camera Settings] and select the desired camera.
3 Tap [System].
4 Slide the [Status LED] switch to the desired position.
Note:
R You can also change these settings by tapping
displayed next to camera images in the live
camera image screen ( “Viewing the live camera image screen”, Page 44).
Updating firmware
You can use this feature to check for a newer version of the camera firmware (i.e., system software). If a
newer version is found, you can update the firmware.
Important:
R Make sure to fully charge the camera before updating its firmware. The firmware may not be able to be
updated if the battery level is low.
1 From the [HomeHawk] app home screen, tap ® [Settings].
2 Tap [Camera Settings] and select the desired camera.
3 Tap [System] ® [Firmware Update].
R The camera will connect to the Internet and check for a newer version of its firmware.
4 Follow the on-screen instructions.
Note:
R You can also change these settings by tapping
displayed next to camera images in the live
camera image screen ( “Viewing the live camera image screen”, Page 44).
Resetting camera settings
1 From the [HomeHawk] app home screen, tap
® [Settings].
2 Tap [Camera Settings] and select the desired camera.
55
Using a front door camera and outdoor camera
 Loading...