2. Preparation
20
2.4 Date and time
You must set the date and time.
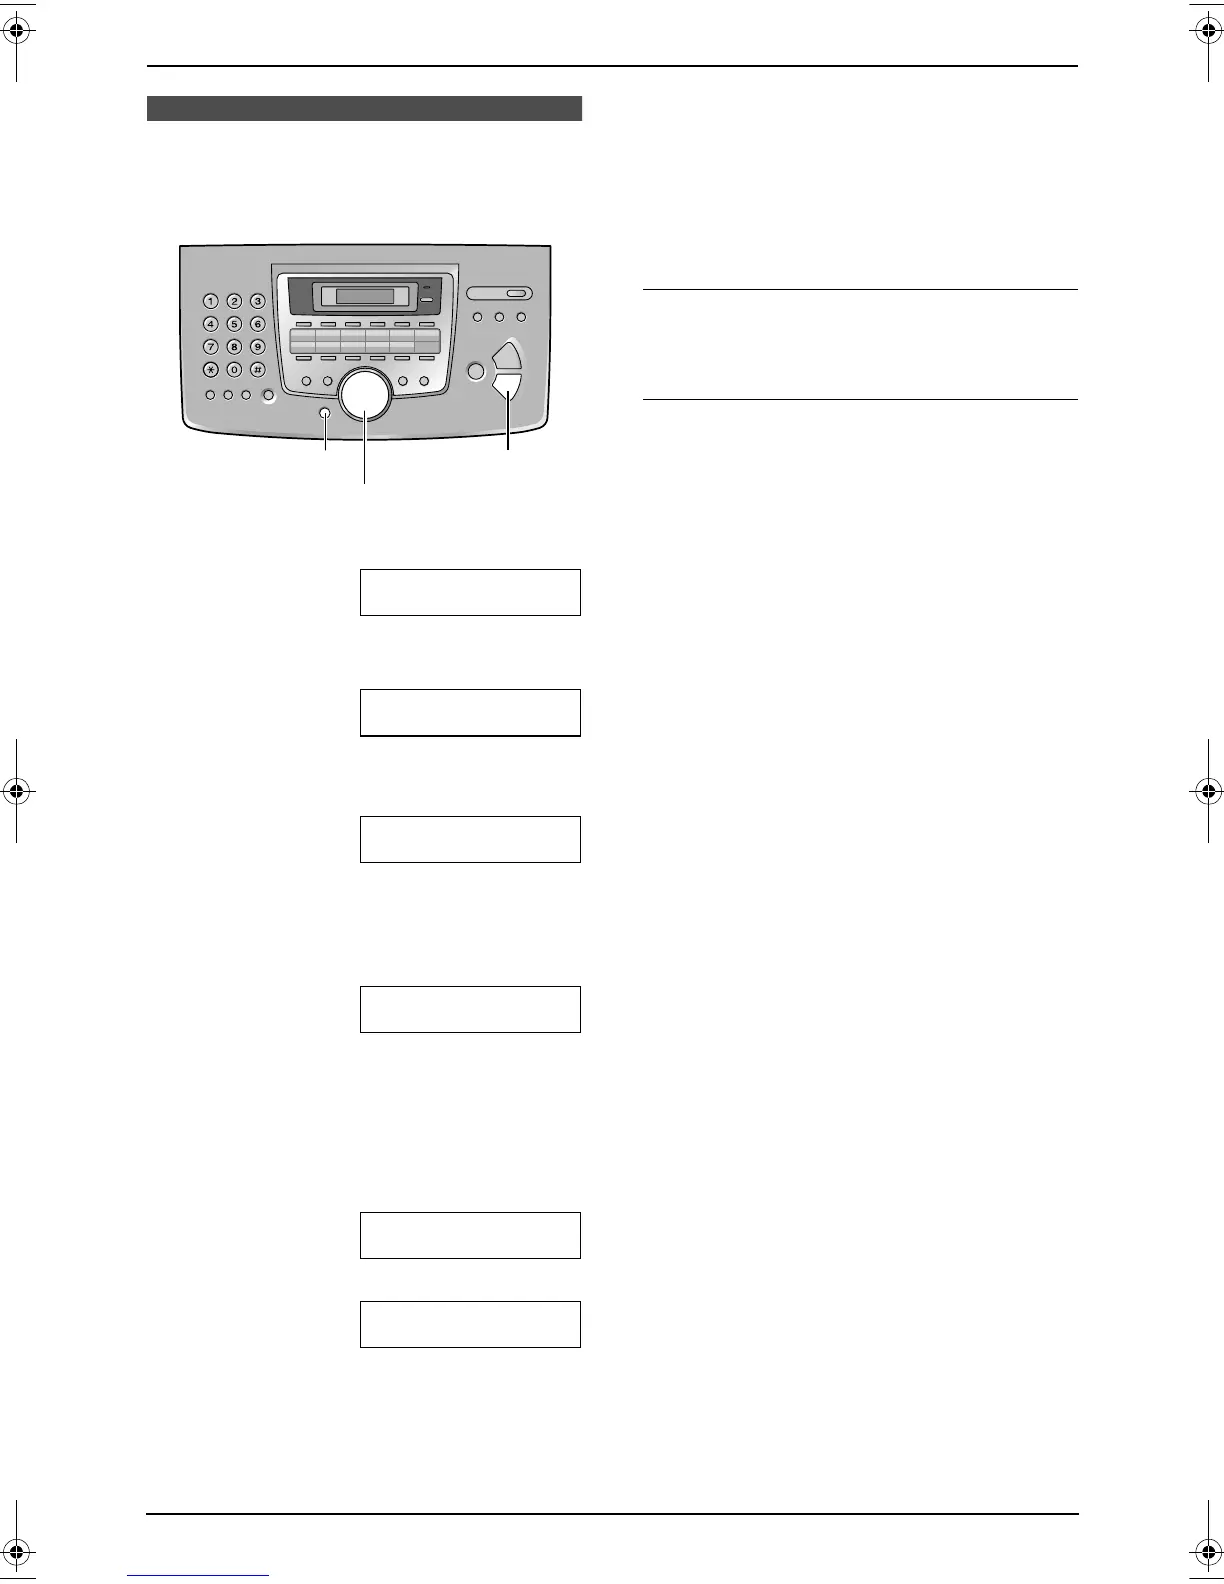
1 Press {MENU}.
SYSTEM SETUP
PRESS NAVI.[()]
2 Press {<} or {>} repeatedly to display the
following.
SET DATE & TIME
PRESS SET
3 Press {SET}.
L The cursor (|) will appear on the display.
D:|01/M:01/Y:05
TIME: 12:00AM
4 Enter the current date/month/year by
selecting 2 digits for each.
Example: 10 August, 2005
Press {1}{0} {0}{8} {0}{5}.
D:10/M:08/Y:05
TIME: |12:00AM
5 Enter the current hour/minute by selecting 2
digits for each. Press {*} to select “AM” or
“PM”.
Example: 3:15PM (12 hour clock entry
only)
1. Press {0}{3} {1}{5}.
D:|10/M:08/Y:05
TIME: 03:15AM
2. Press {*} repeatedly to display “PM”.
D:|10/M:08/Y:05
TIME: 03:15PM
6 Press {SET}.
L The next feature will be displayed.
7 Press {MENU} to exit.
Note:
L The other party’s fax machine will print the
date and time on the top of each page you
send according to your unit’s date and time
setting.
L The accuracy of the clock is approximately
±60 seconds a month.
To correct a mistake
Press {<} or {>} to move the cursor to the
incorrect number, and make the correction.
If you have subscribed to a Caller ID
service
The date and time will be automatically set
according to the received caller information.
L If the time has not previously been set, Caller
ID will not adjust the clock.
{SET}{MENU}
{<}{>}
FL611E-PFQX2133ZA-en.book Page 20 Friday, January 28, 2005 11:12 AM
 Loading...