118
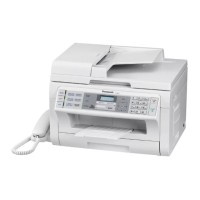
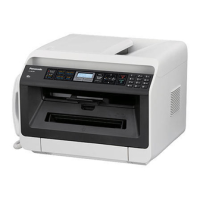
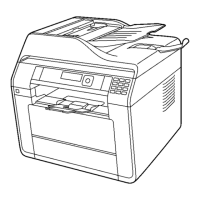
KX-MB2230JT/ KX-MB2270JT/ KX-MB2515JT/ KX-MB2545JT/ KX-MB2575JT/ DP-MB310JT
8.1.7. Installing software (including printer, scanner and other drivers)
Panasonic Multi-Function Station software enables the unit to carry out the following functions:
- Printing on plain paper, thin and thick paper, labels, envelope and Japanese postcard
- Displaying the preview of the print image, changing the page order, deleting pages, and changing the print layout etc. before
printing (Easy Print Utility)
- Scanning documents and converting an image into text with OCR software (not supplied)
- Scanning from other applications for Microsoft®
Windows® that support TWAIN scanning and WIA scanning (USB connection
only)
- Storing, editing or erasing items in the address book using your computer
- Programming the features using your computer
- Sending, receiving fax documents using your computer (Fax supported models only)
• Install Multi-Function Station (CD-ROM) before connecting the unit to a computer with the USB cable. If the unit is con-
nected to a computer with the USB cable before installing Multi-Function Station, the [Found New Hardware Wizard]
dialogue box will appear. Click [Cancel] to close it.
• Software features and appearance are subject to change without notice.
1 Start Windows and exit all other applications.
• You must be logged in as an administrator in order to install Multi-Function Station.
2 Insert the supplied CD-ROM into your CD-ROM drive.
• If the [Select Language] dialogue box appears, select the language that you want to use with this software. Click [OK].
• If the installation does not start automatically:
Click [Start]. Choose [Run... ]. Type “D:\Install” (where “D” is the drive letter of your CD-ROM drive). Click [OK ].
(If you are not sure what the drive letter is for your CD-ROM drive, use Windows Explorer and look for the CD-ROM drive.)
3 [Easy Installation]
• The installation will start automatically.
4 When the setup program starts, follow the on-screen instructions.
• Easy Print Utility and Device Monitor will also be installed.
5 The [Connection Type] dialogue box appears.
For USB connection:
1. [Connect directly with a USB cable.] →[Next].
•The [Connect Device] dialogue box will appear.
2. Connect the unit to a computer with the USB cable (1), then click [Next].
• If the unit is connected to your computer, the model name will be automatically detected.
• You can change the name of the unit if necessary.
3. Click [Install], then follow the on-screen instructions.
• The files will be copied to your computer.
For LAN connection :
1. [Connect via the Network.] →[Next].
•The [Select a Network Device] dialogue box will appear.
2. Check [Select from the search list] and select the unit from the list.
• If the name of the desired unit is not displayed on the list, and the IP address for the unit has been assigned, check [Direct
input] and enter the IP address.
3. [Next].
• You can change the name of the unit if necessary.
4. Click [Install], then follow the on-screen instructions.
• The files will be copied to your computer.
 Loading...