47
Recording
(ENG) DVQX1333
Taking Pictures using Burst Mode
Applicable modes:
• You can apply different Burst Mode settings to [ ] (Burst Shot 1) and [ ] (Burst Shot 2) by
setting [Burst Shot 1 Setting] and [Burst Shot 2 Setting] in the [Rec] menu.
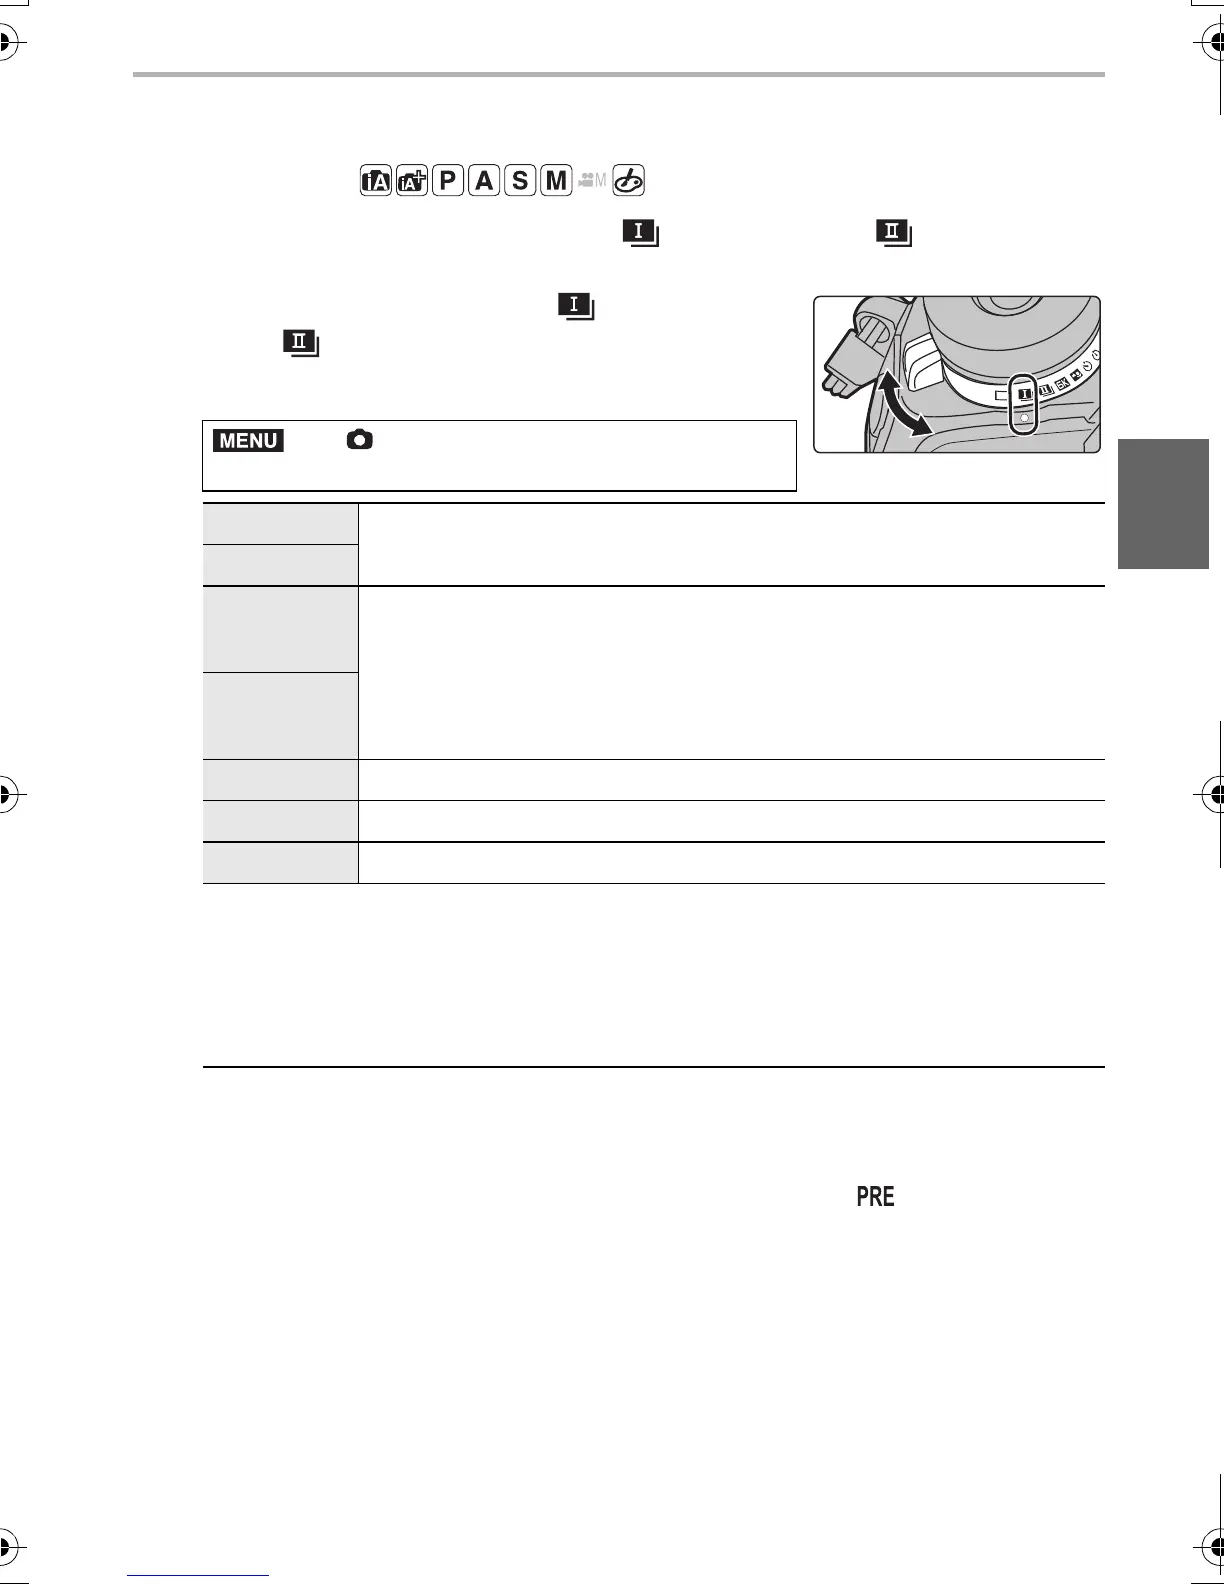
1
Set the drive mode dial to [ ] (Burst Shot
1) or [ ] (Burst Shot 2).
2
Select the Burst Mode setting.
3
Focus on the subject and take a picture.
• Hold down the shutter button fully to activate the Burst Mode.
• When [SH2] or [SH1] has been selected: If you press the shutter button halfway first
and then press it fully, you can perform recording without a delay that occurs after it is
pressed fully.
> [Rec] > [Burst Shot 1 Setting]/
[Burst Shot 2 Setting]
[SH2]
Performs super high-speed burst recording with the electronic shutter.
• The burst speed will be faster with [SH2] than with [SH1].
[SH1]
[SH2 PRE]
Performs super high-speed burst recording with the electronic shutter.
Pictures taken at the moment before the shutter button is pressed fully (a
maximum of 0.4 seconds) will be saved in addition to those taken after it
is pressed fully.
• The burst speed will be faster with [SH2 PRE] than with [SH1 PRE].
[SH1 PRE]
[H] Performs high-speed burst recording.
[M] Performs medium-speed burst recording.
[L] Performs low-speed burst recording.
• When [SH2 PRE] or [SH1 PRE] has been selected:
1 Press the shutter button halfway.
2 Press and hold the shutter button fully.
• Recording starts when the shutter button is pressed halfway. [ ] is displayed on the
recording screen.
• If approx. 1 minute elapses while the shutter button is pressed and held halfway,
press it halfway again.
When approx. 1 minute elapses while the shutter button is pressed and held halfway,
the camera will not be able to save pictures taken before the shutter button is pressed
fully.
MENU
DC-G9BodyGH-DVQX1333_eng.book 47 ページ 2017年11月17日 金曜日 午前11時44分

 Loading...