5. 4K Photo and Drive Settings
138
Taking Pictures with Time Lapse Shot/
Stop Motion Animation
Applicable modes:
You can take pictures with Time Lapse Shot or Stop Motion Animation. In addition, the
pictures taken can be combined into a motion picture.
• Set the date and time settings in advance. (P39)
The camera can automatically take pictures of subjects such as animals or plants as time
elapses and create a motion picture.
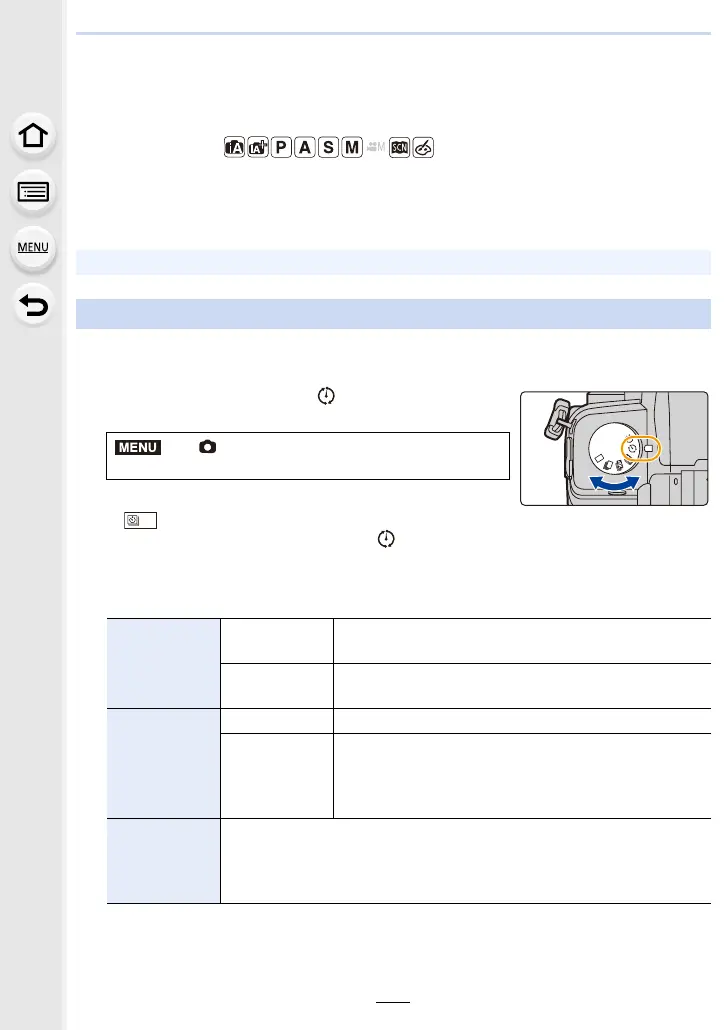
1 Set the drive mode dial to [ ].
2 Select the menu.
• You can also perform the same operation by touching
[].
• After switching the drive mode dial to [ ], pressing [MENU/SET] will display the menu
with [Time Lapse/Animation] selected. (It displays in this state only once after switching
the drive mode dial.)
3 Press 3/4 to select an item and set.
¢1 Can be set only when [Shooting Interval Setting] is set to [ON].
• Recorded pictures are displayed as group pictures.
[Time Lapse Shot]
> [Rec] > [Time Lapse/Animation] >
[Mode] > [Time Lapse Shot]
[Shooting
Interval
Setting]
[ON]
Sets the time from recording start time to the next
recording start time.
[OFF]
After recording is finished, the next recording is started
without any interval.
[Start Time]
[Now] Starts the recording by fully-pressing the shutter button.
[Start Time
Set]
Any time up to 23 hours 59 minutes ahead can be set.
2/1: Select the item (hour/minute)
3/4: Setting
[MENU/SET]: Set
[Image Count]/
[Shooting
Interval]
¢1
The number of pictures and the recording interval can be set.
2/1: Select the item (minute/second/number of pictures)
3/4: Setting
[MENU/SET]: Set
 Loading...