40
9.4. Lens Disassembly Procedure
Precaution:
1. Do not remove the MOS Unit when disassembling or
reassembling the lens in order to maintain it clean.
When remove it, refer to item “9.7.”.
2. Keep dust or dirt away from the lens.
To remove dirt or dust from the lens, blow with dry air.
3. Do not touch the lens surface.
4. Use Lens Cleaning Kit (VFK1900BK).
5. Apply grease to surely the specified position as shown in
the figure on item “9.6.”.
6. The Shutter Unit is composed the 3rd Lens Frame Unit,
4th Lens Frame Unit and Both Side Cam Frame Unit.
When replacing, exchange the Shutter Unit always.
9.4.1. Removal of the Decoration Ring
and Filter Frame
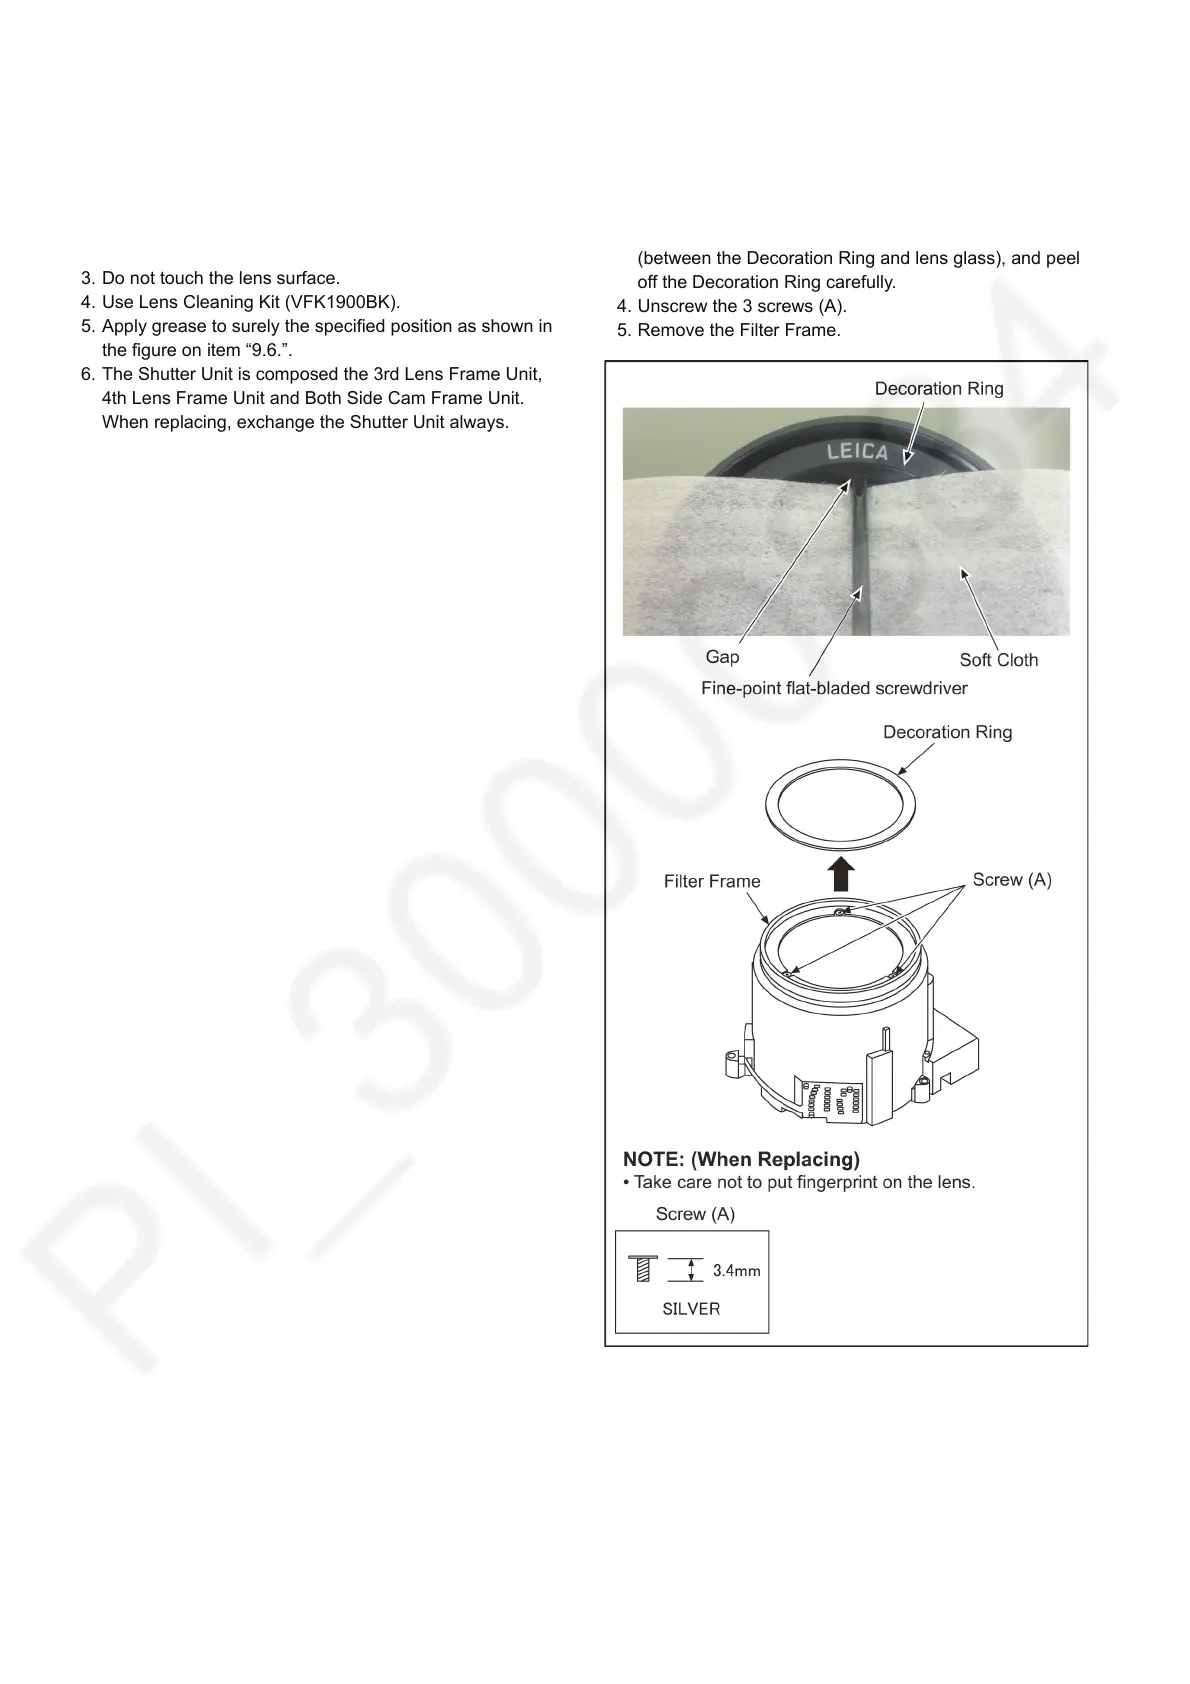
1. The Decoration ring is stuck with double-sided tape to the
Filter Frame.
2. Put the soft cloth so that the lens glass is fully covered.
3. Insert the fine-point flat-bladed screwdriver to Gap
(between the Decoration Ring and lens glass), and peel
off the Decoration Ring carefully.
4. Unscrew the 3 screws (A).
5. Remove the Filter Frame.

 Loading...