DISASSEMBLY-5
DISASSEMBLY-6
- 14 -
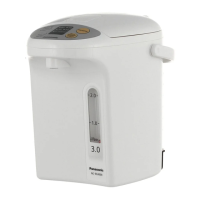
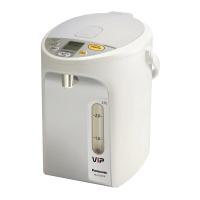
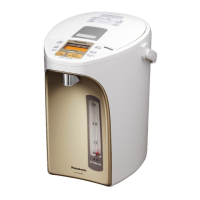
NC-BH30P, BH40P
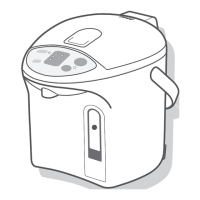
Pouring spout
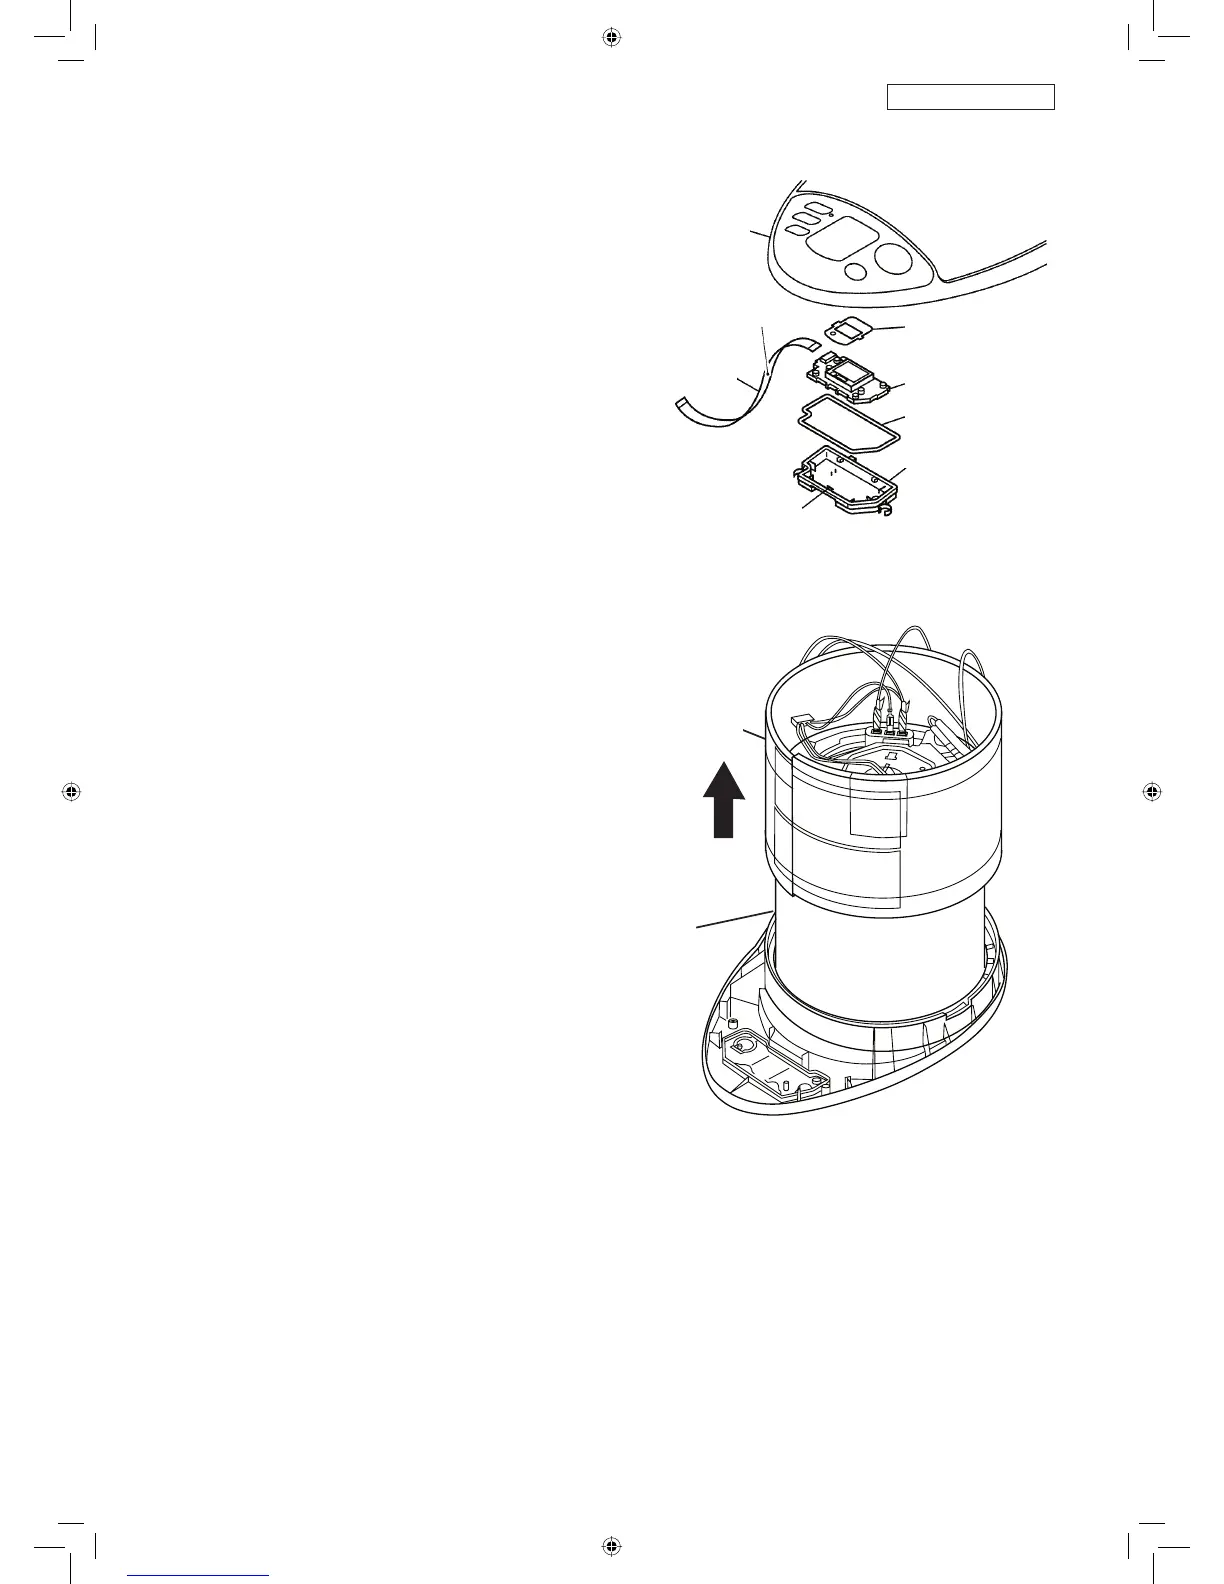
3.5. Control Unit B (for display panel)
1. Remove the board holder B and control unit B (for
display panel) from upper frame.
2. Remove control unit B (for display panel) removing
claws) of holder B.
3. Pull out the lead wire from E comp.
4. Remove the name plate C.
5. Remove the seal packing F.
Point in reassembly
• When inserting the lead wire E comp. into the control
unit B (for display panel), insert it toward the direction
shown in diagram of DISASSEMBLY-5.
3.6. Thermal Insulator A comp.
1. Remove the thermal insulator A comp. from the body.
(Remove it toward upper side)
Service point
• Do not scratch the thermal insulator A comp.
(Vacuum state cannot be maintained.)
Non- printed side
Lead wire
E comp.
Name plate C
Control unit B
(for display panel)
Seal packing F
Holder B
Claws
Thermal insulator
A comp.
Body
NC-BH40-30-22.indd 14NC-BH40-30-22.indd 14 14-08-07 16:48:0214-08-07 16:48:02
 Loading...