31
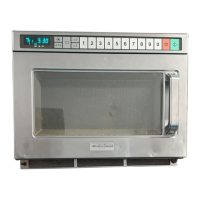
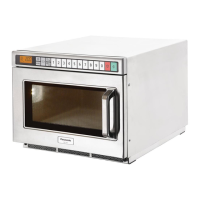
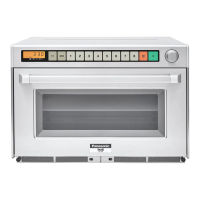
7 Disassembly and Assembly Instructions
To prevent accidents during repair and ensure your safety after the repair, be sure to read or refer to “Safety Precautions” describing
precautions that you must observe when repairing.
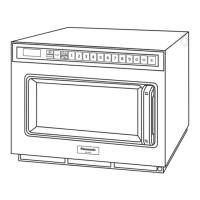
7.1. Cabinet, back panel
1. Remove the cabinet. (Black arrow: 2 screws each at the
left and right, and 9 screws on the back)
2. Remove the back panel. (White arrow: 11 screws)
7.2. Magnetron
1. Remove the cabinet and back panel.
(Refer to "7.1.Cabinet, back panel")
7.2.1. Exhaust guide
1. Remove the connector (CN16) of thermistor BU.
2. Unhook the lead wire from the hook and holder.
3. Remove the exhaust guide C. (Black arrow: 4 screws)
7.2.2. Magnetron (upper)
1. Remove the high-voltage lead-wire of the magnetron
(upper).
(High-voltage lead-wire: 2 places before and behind the
white connector)
2. Remove the air guide B. (Black arrow: 2 screws)
3. Remove the thermistor BU (upper). (White arrow: 1
screw)
4. Remove the magnetron. (Tilted arrow: 3 screws)
 Loading...