No.
Parts Name
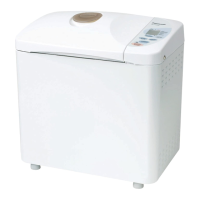
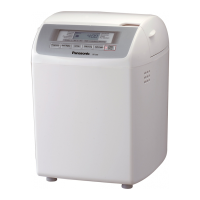
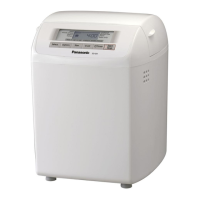
1 Control panel
2 Body
3. Carefully disconnect the PCB cover assembly. / Remove the one
screw which secures PCB cover assembly. (Fig.4)
Fig.4
No.
Parts Name
1 Flat cable
2 PCB cover
3 Screw
Removal of Positive Lock connector
The positive lock connector is a specialty designed loose free connector. / To remove this
connector, pull the plug and the socket by pressing an extruded lever in the center of plug.(Fig.5
)
Fig.5
7
 Loading...