Do you have a question about the Panasonic TH-42PW5 and is the answer not in the manual?
Details about the moulded plug, fuse replacement, and earthing requirements.
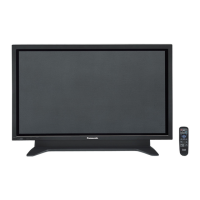
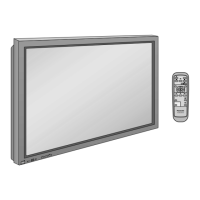
Lists optional accessories for setup and warnings about placement and ventilation.
Actions to take if issues like smoke, odour, or damage occur; contact dealer.
Explains the wiring code for earthing, neutral, and live wires.
Safety precautions for operation, including ventilation, foreign objects, and power cord handling.
Lists precautions for battery installation and handling to prevent damage.
Details connecting a computer via PC input terminals, including ferrite core installation.
Pin layout and signal names for the PC input terminal connector.
Explains connecting the display to a computer via the serial terminal for control.
Identifies the main power switch, remote standby/on buttons, and power indicator.
How to select input signals and adjust sound volume.
How to select input sources like AV, Component, RGB, and PC using the INPUT button.
How to turn the display on/off using the display's switch and remote.
Guide to selecting the desired language for the on-screen display.
How to access the timer setting menu.
Explains how the aspect button cycles through display modes.
Steps to access and adjust picture position and size using the remote.
Details for advanced settings like Black extension and White Balance.
Setting power on and off times for the display.
Addresses issues like parts of the screen not lighting up or after-images appearing.