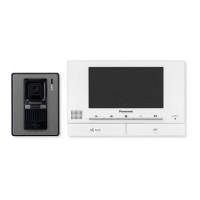
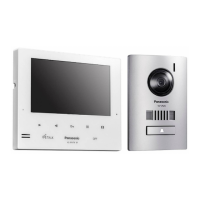
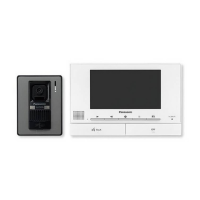
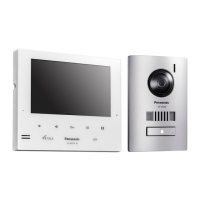
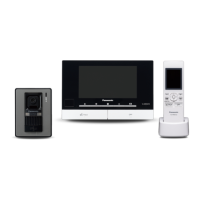
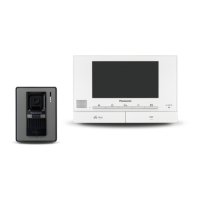
Installing the doorphone
Important:
R On the bottom surface of the doorphone and the
mounting base, there are holes to allow water to
drain. Do not cover them up when installing.
R When existing wiring (such as chime wires) is
used:
– It may contain AC voltage that may cause
electric shock and/or damage the product.
– Never use the following types of wiring.
Consult a qualified technician/dealer.
R See "Wire type and length" for information about
wiring materials.
1 Remove the mounting base.
Open the screw cover (A).
B Screwdriver
Loosen the mounting screw (C).
D Water drain holes
E Mounting base
2 Attach the mounting base (A) to the wall
securely using the wood screws (B)
(accessory).
R Install the mounting base on a vertical flat
wall.
R Before drilling, refer to “Precautions for
installation” for installation location.
C Wire (locally procured)
D 83.5 mm
*1 To prevent dew condensation, fill a hole
for wiring as much as possible.
3 Adjust the camera angle using the camera
angle control lever.
A Camera angle control lever
B Left (maximum 15°)
C Right (maximum 15°)
D Upwards (maximum 15°)
8
 Loading...