108
9.1.3.3. Scan to FTP
Be sure the user is in an Internet-connected environment in scanning files to FTP server. If you
want to scan large files, you may need to input the server address, user name and password to
log in the server, with specific operation steps as below:
1. Make sure that the printer and computer have been turned on and connected to the same
network.
2. Please see Chapter 6.2.3.3 to configure the FTP address book.
3. Put an original on the glass platen or into the ADF (please see Chapter 2.5 for how to put an
original).
4. Click “Scan-Scan to FTP” in printer control panel.
5. Select proper scan setting, click “Scan” button to make a scan.
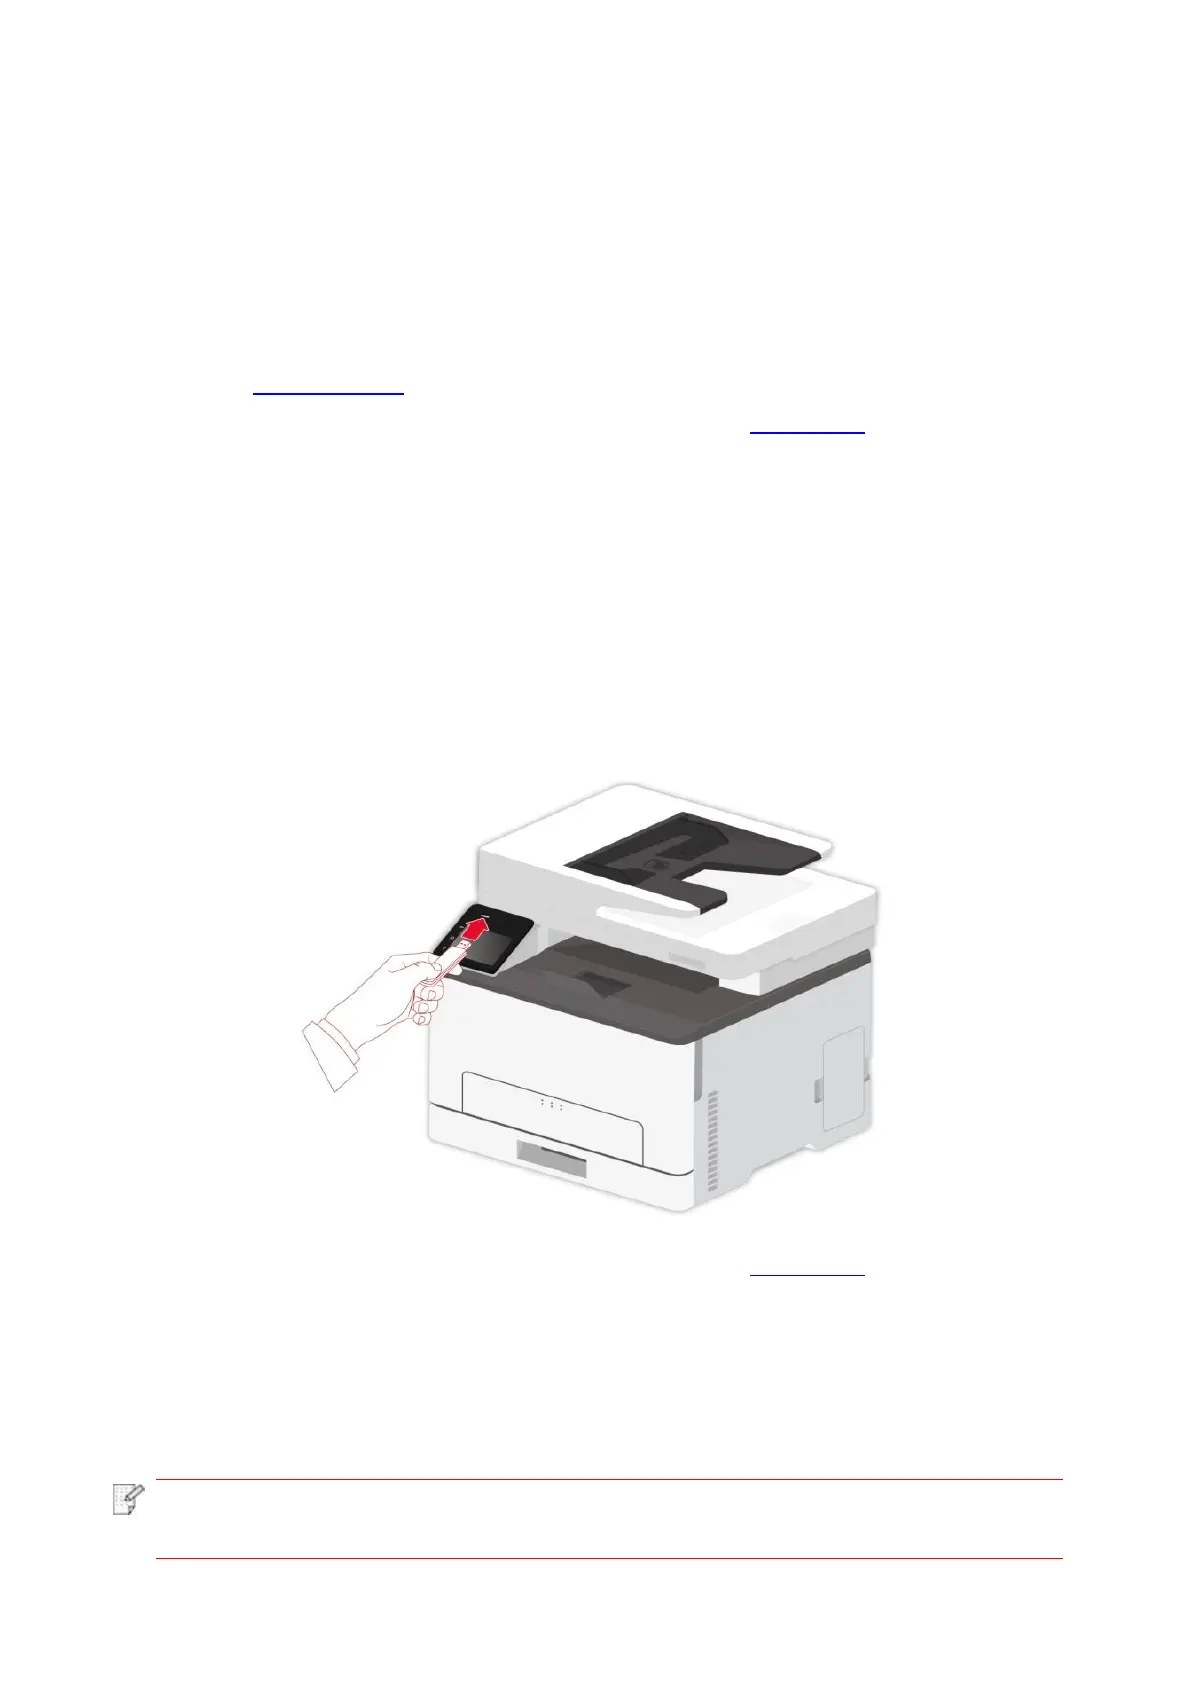
9.1.3.4. Scan USB drive
This printer supports scanning files to USB without a computer. Before operation, please make
sure the USB has enough storage space. The specific operation steps are as follow:
1. Insert the USB into the printer's front USB interface.
2. Put an original on the glass platen or into the ADF (please see Chapter 2.5 for how to put an
original).
3. Click “Scan-Scan USB” in printer control panel.
4. Select proper scan setting, click “Scan” button to make a scan.
A “PantumScan” folder will be created in the USB flash disk. The scanned file will be saved in the
PDF, TIFF or JPEG format.
 Loading...