30
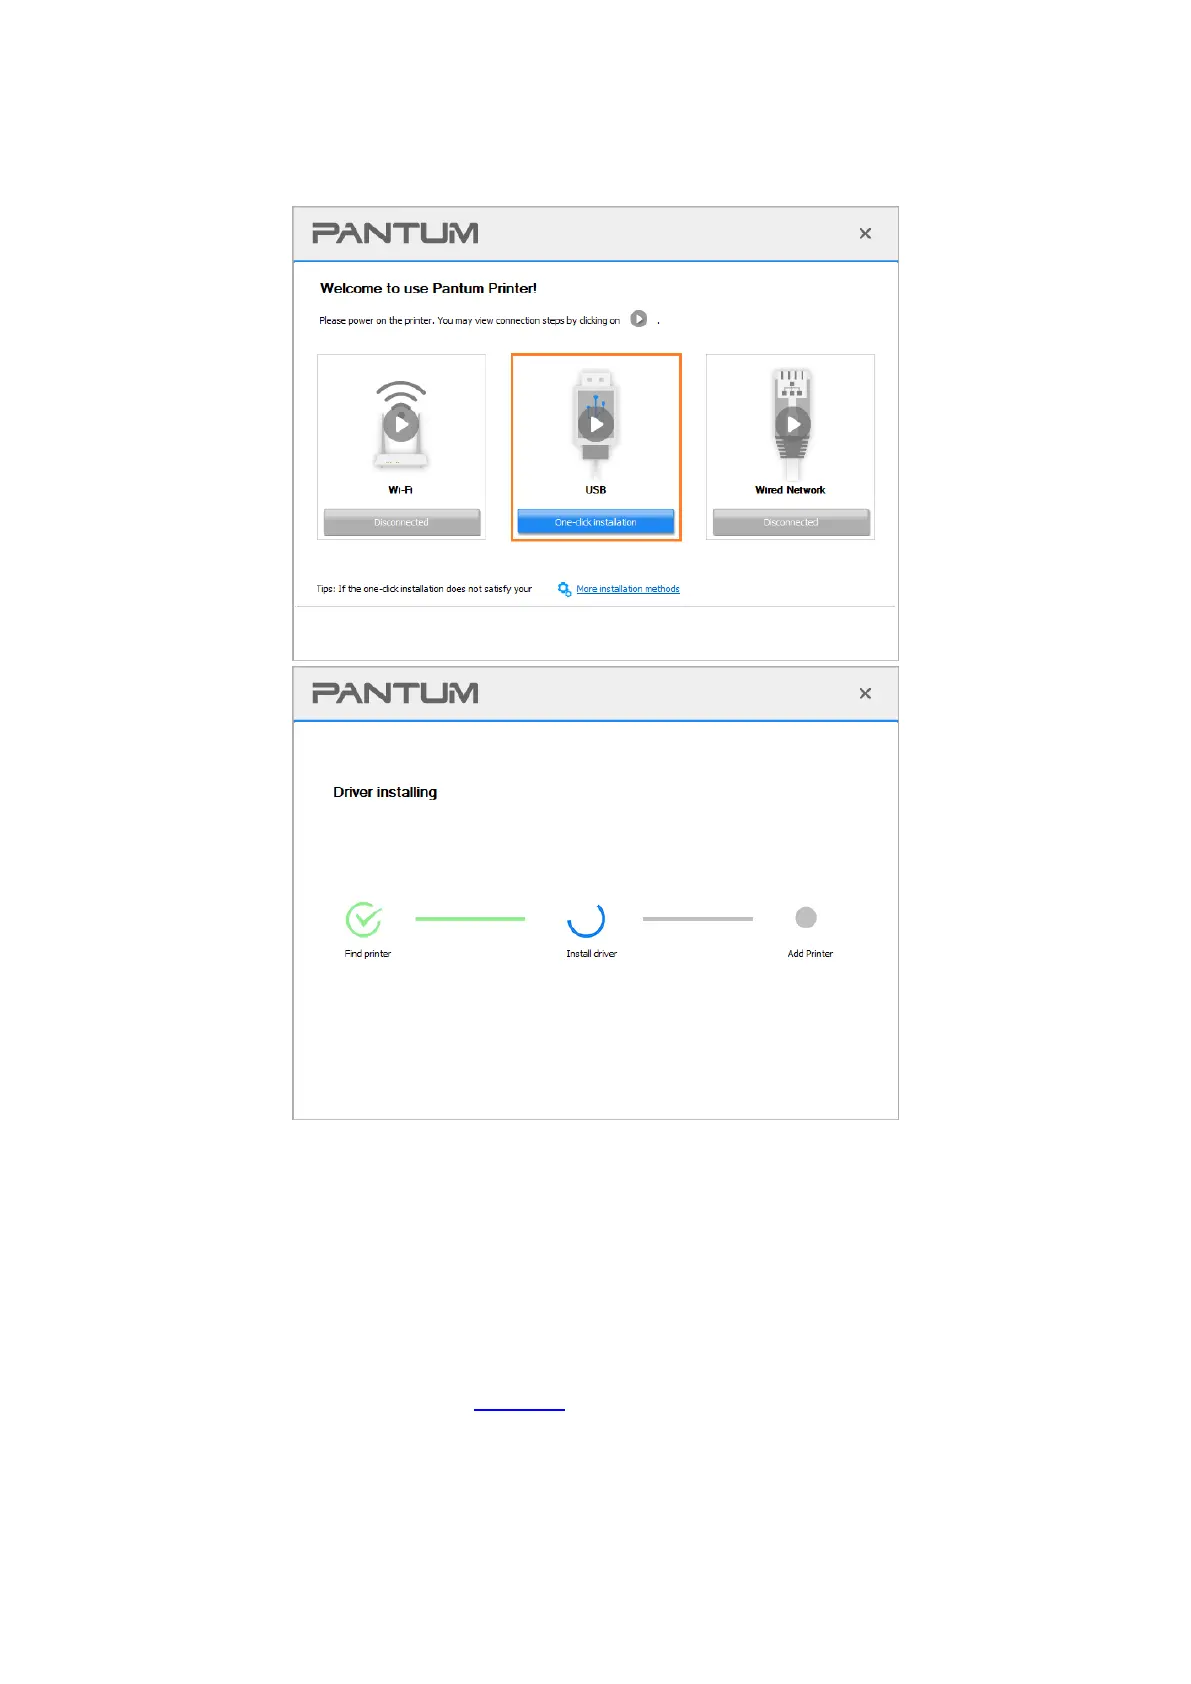
5. The setup will start when you click on "One-click installation" under USB. The setup may take a
while, depending on your PC configuration. Please wait.
6. After the installation, click "Print &Test Page" button. If your printer prints the test page
successfully, it means that you have installed the driver correctly.
3.1.1.3. Connect printer via wired network
1. Turn the power of printer and computer on.
2. Connect the computer to wired network.
3. Connect network cable to the network interface of printer, to make sure the printer is connected
to computer network (please refer to Section 4 for network setup).
4. Place the attached installation CD in the computer CD-ROM:
For Windows:
• Windows XP system: automatically run the installation procedure.
• Windows 7/Vista/Server 2008 system: Pop up "Autoplay" interface, click “Setup.exe” to run the
installation procedure.
 Loading...