1-5
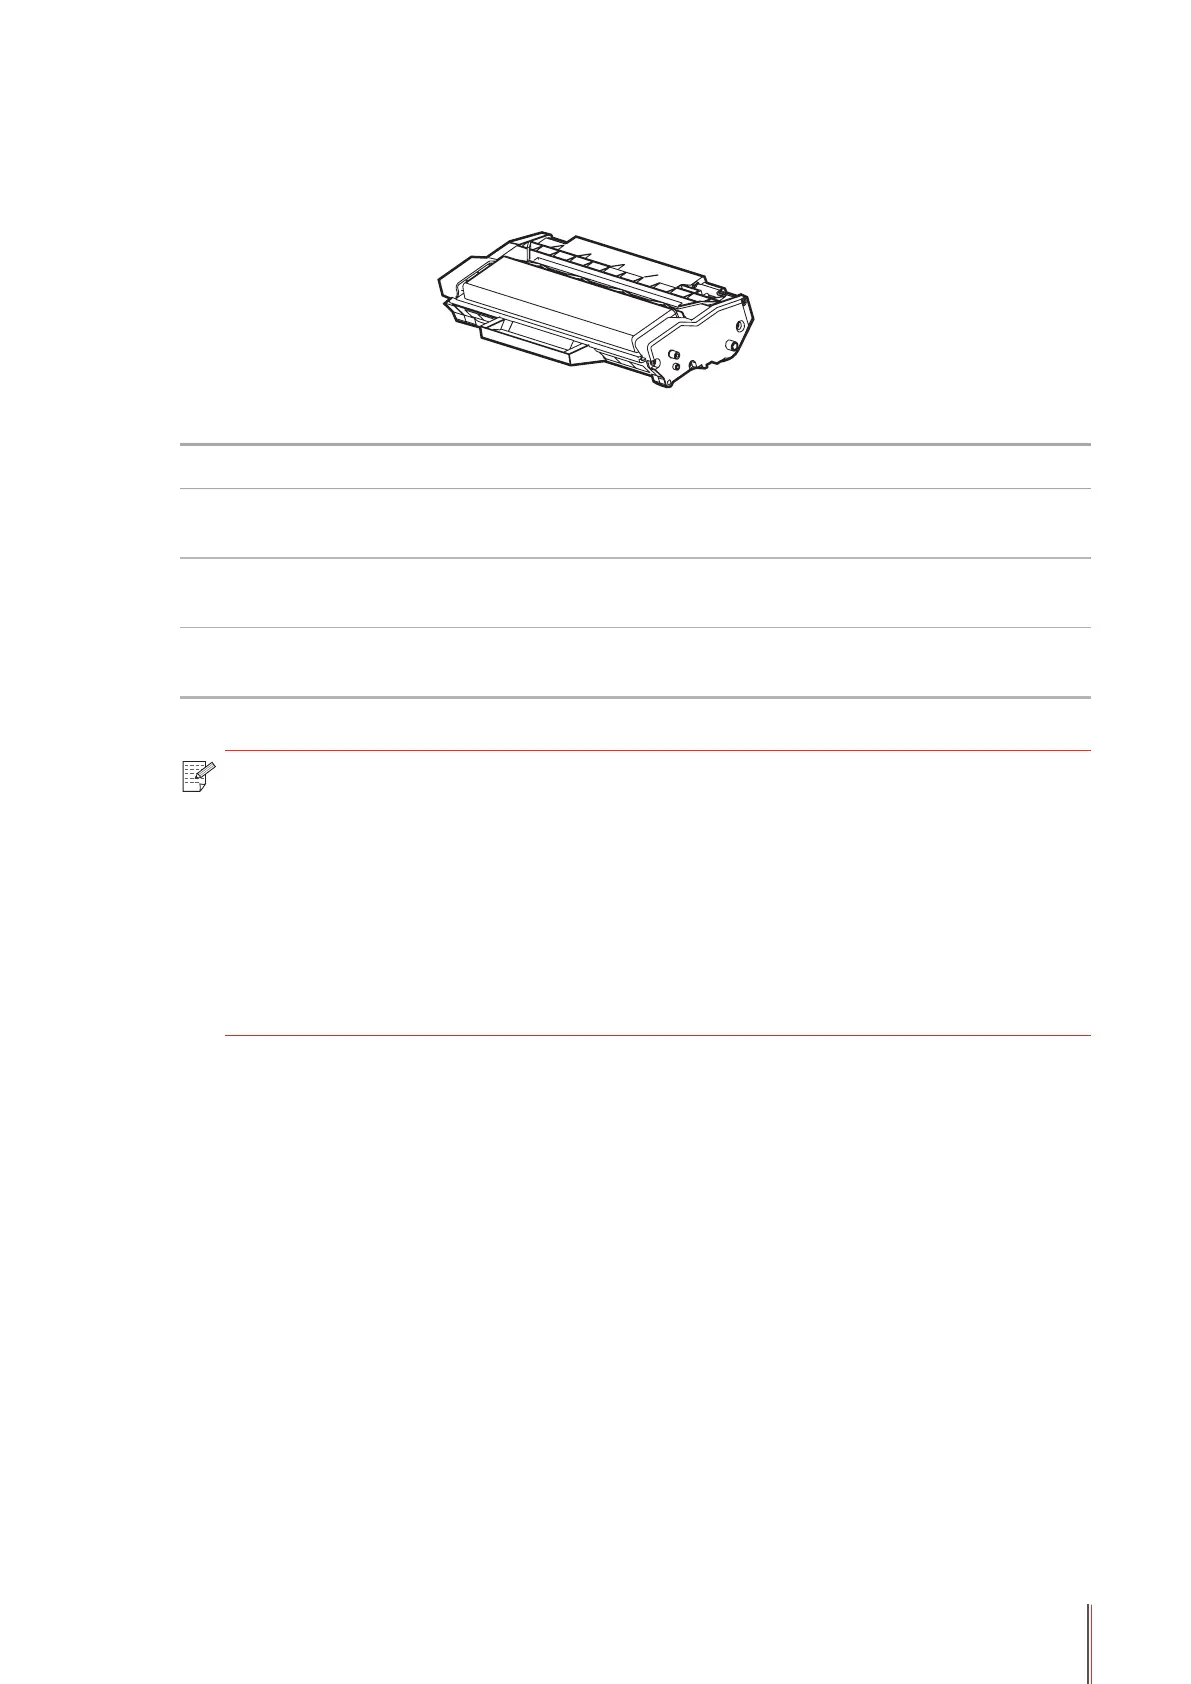
1.3. Laser Toner Cartridge
Service Life of the Laser Toner Cartridge
Type Average Print Volume
Laser Toner Cartridge with
Standard Capacity
About 3,000 pages (The volume is based on ISO/IEC 19752
standard)
Laser Toner Cartridge with
High Capacity
About 6,000 pages (The volume is based on ISO/IEC 19752
standard)
Laser Toner Cartridge with
Ultra-high Capacity
About 10,000 pages (The volume is based on ISO/IEC 19752
standard)
Note: • The model is subject to volume increase without prior notice.
• Consumables capacity may vary depending on the different types used.
• We do not recommend using consumables other than that of the original
Pantum consumables.
• Any damages caused by using non-Pantum original consumables are not
covered by the Warranty.
• The appearances of laser toner cartridges will vary with different types,
illustrations are for reference only.