Bulletin 4480-T7-U
arr
krimp
arker Hanni
n
orporation
Pr
t
Divi
i
n
ickli
e,
ose
nsert
on
e
t
Dash Size 26 43 70 71 73/78 81
-6 13/16” 1-1/8” 1-1/16” 1-1/16”
-8 13/16” 1-5/16” 1-5/16” 1-1/4”
-10 7/8” 1-9/16” 1-3/8” 1-5/16”
-12 7/8” 1-1/2” 1-1/2” 1-7/16” 1-7/8” 1-1/8”
-16 1” 1-3/4” 1-13/16” 1-3/4” 2” 1-1/4”
-20 1-7/8” 1-13/16” 1-5/16
Note:
ee Hose Insertion Depth table at the
ri
ht.
Important: Hose assemblies must be inspected
or cleanliness and
ree o
all
orei
n particles.
Note: Parker Hanni
n will not accept
responsibilit
or the operations o
, or provide
warrant
covera
e for, a crimper that is
perated b
a power unit other than equipment
supplied b
Parker Hanni
n
or the expressed
purpose of operatin
the desi
nated crimper.
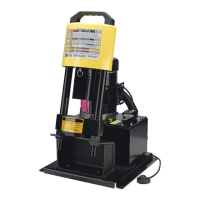
rimpin
Instructions
or 26, 43, 70, 71, 73, 78 and 81
eries Fittin
s
1. The Hose Insertion Depth
xture can
e use
to mar
t
e
nsert
on
ept
n t
.
. Push the hose all the wa
into the
oup
n
to t
e
nsert
on
ept
mar
.
n
t
r
nt t
m
piral hose and
ttin
s
. Remove pin
rom inside pusher unit
o pus
er w
sw
n
ac
.
u
r
cate
t
e
e
ow
cav
t
to prevent wear
4. Place unitized die-train in bowl.
ee
decal on crimper
or proper die set.
ote:
e sets are co
or co
e
s
ze.
. Position the hose and
ttin
in dies
r
m
l
w.
. Rest bottom o
couplin
on die step
usin
PARKALI
t
r
.
7. Place the die rin
on top of the dies.
ee decal on crimper for proper die
rin
; Silver and Black.
. Reposition pusher, replace pin,
operate pump until rin
bottoms out
on base plate.
. Release pump pressure and remove
fi nished assembl
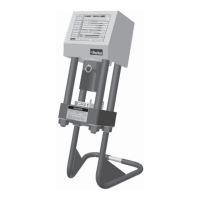
rimpin
Instructions
PARKALI
 Loading...