Bulletin 4480-T7-U
arr
krimp
arker Hanni
n
orporation
Pr
t
Divi
i
n
ickli
e,
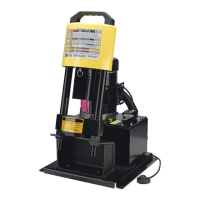
1. Remove crimper and all accessories
rom shippin
crate.
Verif
that
ou have received the followin
items:
• Base Machine 85
-080
•
ilver Die Rin
85
-R0
• Black Die Rin
85
-R02
• Hose Assembl
85
-00L
•
tand Assembl
85
-
TD
• Technical Manual 4480-T7-U
•
reas
• Trainin
Video
D
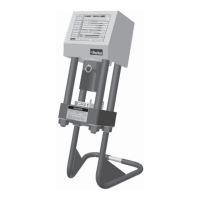
2. Assemble crimper base unit to stand as shown in Fi
ure 2.
Place machine on sturd
bench. It is recommended that the
machine be bolted to the bench. Two 1/2” holes are provided
in the stand
or this purpose. Make sure crimper base over-
han
s bench to allow access
rom below base plate.
.
onnect hose assembl
to power unit and to crimper
c
linder. Follow instructions supplied with power unit
or
ventin
, checkin
oil level, or
eneral usa
e.
4. Place die rin
in position on crimper base.
cle c
linder up
and down a
ew times to pur
e air
rom s
stem. Recheck
oil level in power units. Make sure c
linder is full
retracted
before addin
an
h
draulic oil.
. Your machine is now read
for use. Please read the
remainder o
this manual be
ore proceedin
to crimp an
hose assembl
In
t
ll
ti
n
 Loading...