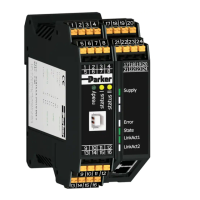
11
Installation:
Overview:
The DINCon, DINPres, and DINTemp Modules are designed to be installed as part of a
control system inside a control cabinet that has a 24 VDC source available and has
Modbus communication protocol capability.
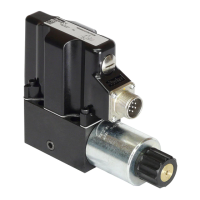
The DIN Modules are installed on standard DIN rail. They are usually mounted with the
red locking tab located at the bottom of the unit. This places the Power and
Communication connections at the top of the Module and the Sensor connections at the
bottom.
Wiring Power and Communication:
Connect 24 Volts DC, 250 mA power to Pins 1 (+) and 2 (-) of the 8 pin terminal block.
(Note - pin 1 is at the rear.)
All data acquisition is via Modbus registers in either RTU or ASCII. The available
physical layers are RS-232, RS-485, Ethernet and USB. The recommended physical
layer for installation of multiple units is Modbus/RTU over RS-485 with Modbus/TCP via
Ethernet a close second.
For RS-232, connect to the following: Pin 4 = Signal Ground, Pin 5 = RX, Pin 6 = TX.
For RS-485, connect to the following: Pin 4 = Signal Ground, Pin 7 = B, Pin 8 = A.
For Ethernet connect an Ethernet cable to the provided RJ45 jack.
For USB connect to the provided USB Type A jack.
 Loading...