18 GB/IE/NI
Eccentric attachment []
Fig. H
Use Tighten and loosen screws
that are close to the ceiling or
an adjacent wall
Angle attachment []
Fig. I
Use Tighten and loosen screws at
an angle of 90°
Cutting attachment []
Fig. J
Use Cutting soft materials
Examples:
o Corrugated paper
(max. thickness: 5 mm)
o Drapery
o Leather (max. thickness:
3 mm)
Installing attachments
Align the attachment (e.g. torque
attachment
[]) with the bit holder[1].
Push the attachment in direction c till
completely engaged to the product.
When you hear a click sound, the
attachment is properly installed (Fig.F).
Dismantling attachments
Press down the lock buttons[], then
pull the attachment out of the product in
directiond (Fig.F).
NOTES:
o The following attachments can be
installed and dismantled in the same
way as mentioned above:
– Eccentric attachment
[]
– Angle attachment[]
– Cutting attachment[]
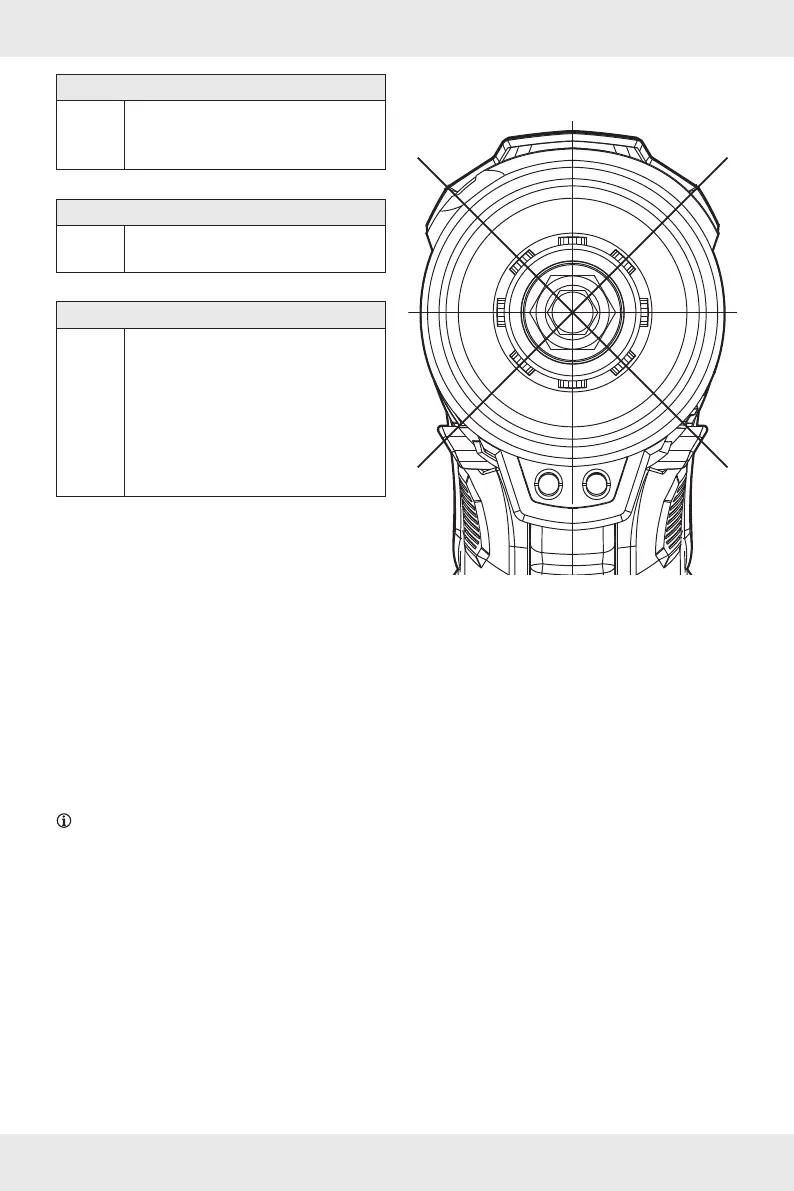
o Attachments can be installed to the
product in steps of 45°.
45°
45°
45°
45°
45°
45°
45° 45°
T
o You can set the torque level when
using the torque attachment
[].
o Set the torque level with the torque
adjustment collet
[].
The torque level setting is indicated
by the triangular mark on the torque
attachment
[].
o The screwing operation will stop
automatically when the screw is
tightened according to the set torque
level (Fig.G).