27
GB IE
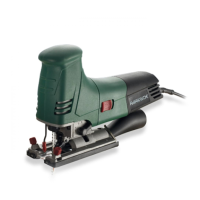
Installing/changing the
saw blade
Wear protective gloves when
attaching the saw blade.
Risk of injury when touching the
saw blade.
Only saw blades with a
T-shank mount (single lug
shank) such as the supplied
saw blades (20/21) can be
used.
Installing the saw blade
Make sure that the saw blade holder is
free of splinters or other material residue.
1. Turn the chuck (13) as far forward as
2. Insert the saw blade (20/21) into the
chuck (13). When inserting the saw
blade (20/21), make sure that the
back of the saw blade is in the notch
of the guide roller (13). Make sure that
the saw blade (20/21) is attached cor-
rectly and the teeth are pointing in the
cutting direction.
3. Release the chuck (13).
Be sure to always use the correct
saw blade for the material.
Removing the saw blade
2. Turn the chuck (13) as far forward as
-
tion.
3. Remove the saw blade (20/21) from
the chuck (13).
4. Release the chuck (13).
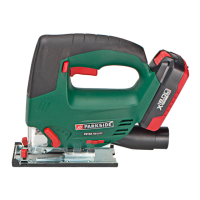
Removing/attaching the
parallel guide
both sides of the device.
Attaching the parallel guide
1. Loosen the retaining screws (15) if
necessary.
2. Slide the parallel guide (23) through
the slide-in openings (14).
3. Retighten the retaining screws (15).
Removing the parallel guide
1. Loosen the retaining screws (15).
2. Pull the parallel guide (23) out of the
slide-in openings (14).
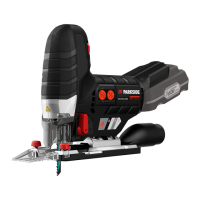
Removing/attaching the
tension tear protection
Removing the tension tear protection
1. Press the tension tear protection (25)
away from the recess in the slide shoe
(26).
Attaching the tension tear protection
2. Press the tension tear protection (25)
into the recess in the slide shoe (26).
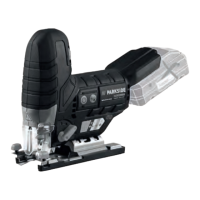
Operation
Before making adjustments
to the device, switch off the
device and unplug the mains
plug.
Adjusting the laser
1.
Remove the saw blade to avoid
injuries when carrying out ad-
justments!
2. Connect the device to the power supply.
3. Press the on/off switch of the laser +
LED work light (19).

 Loading...