www.parweld.co.uk
11
3) Press the toggle button (D) to move the LED to the
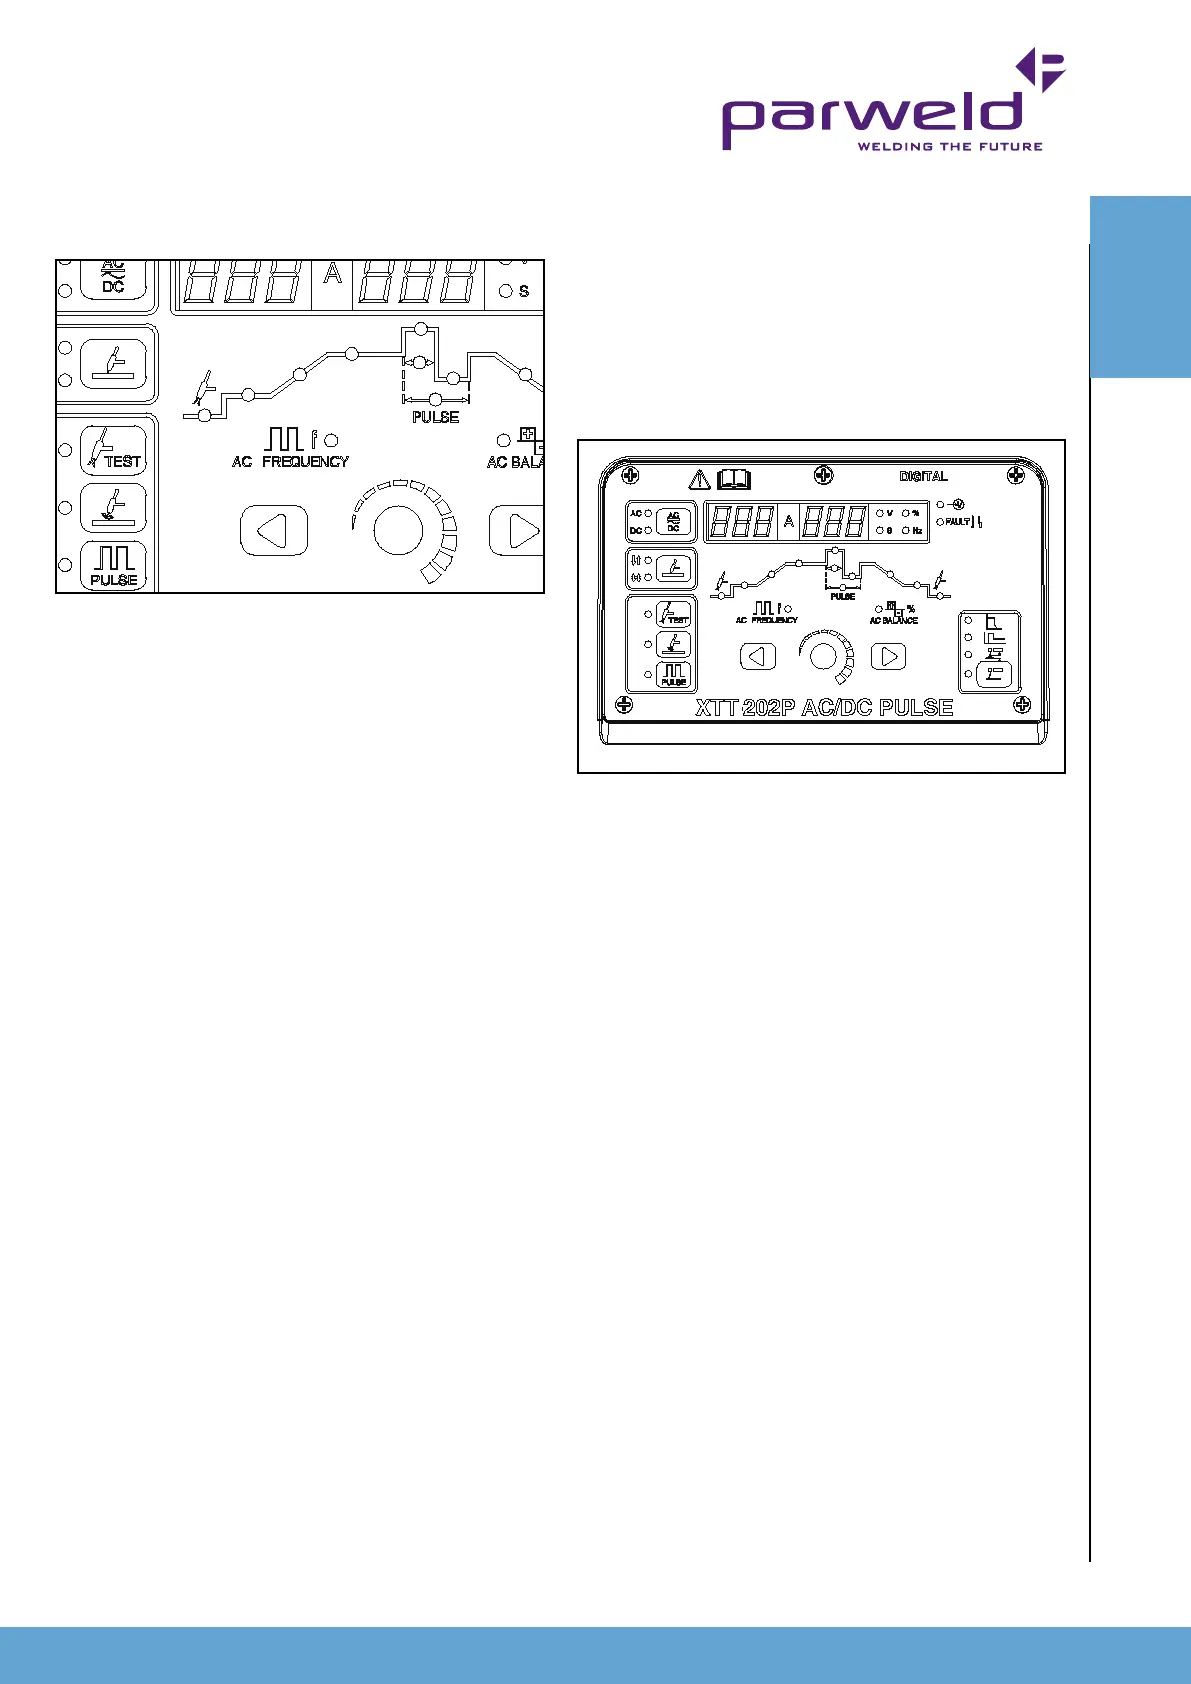
Peak current (B) This can be adjusted from 5 to 200A
6.4 MMA Welding Setup
Note:- shorting or dipping the electrode into the weld pool for
more than 2 seconds will cause the machine to reduce the
welding power to zero in order to protect the electrode.
1) Press button A to select MMA welding
2) Press button B to select AC or DC output as
required.
A
B
F
D
G
D
O
C
H
E
H
A
B
C
F
D
E
G
D
J
O
OPERATION
(10-200A for AC welding)dependant on the welding
amperage. The value is displayed on the amperage
display (O). Peak current is the maximum amperage
that will be output.
4) Press the toggle button (D) to move the LED to
the Peak duration(C) This can be adjusted from 5 to
100% Peak duration is the percentage of time the peak
current is on relative to the background current. 30% is
a good starting point.
5) Press the toggle button (D) to move the LED to the
Background current (H) This can be adjusted from 5 to
200A (10-200A for AC welding). The value is displayed
on the amperage display (O). Background current is
the minimum amperage that will be output. It cannot be
higher than the peak current and generally will be set
withing 50 to 70% Amps of the peak current.
6) Press the toggle button (D) to move the LED to the
Pulse Frequency (E) This can be adjusted from 0.5
to 200Hz. The value is displayed on the multifunction
display (G). Pulse Frequency is the number of pulses
per second generally a range of 50 to 150Hz will be
used with 100Hz being a good base setting.
30-40Hz will help agitate the weld puddle and allow
you to weld at a lower amperage than without pulse.
50-150Hz really stiffen the arc and let you pinpoint the
arc more than without pulse.
0.5-10Hz reduce heat input the most.
The selected amperage and the consistency of travel
speed can negate some of the effects of Power pulsing
3) Press the toggle button (D) to move the LED to the
Output current (J) This can be adjusted from 5 to 170A
DC (10-170A AC welding) . The value is displayed on
the amperage display (O).
4) Press the toggle button (D) to move the LED to
the Arc force (C) This can be adjusted from 0 to 10
Arc force prevents the electrode from sticking during
welding. The value is displayed on the multifunction
display (G). Arc force is a temporary increase of the
output current during welding when the arc is too short.
To have a smooth arc with less spatter, set the knob
to minimum (Rutile,Basic). For a more crisp arc, with
more penetration,set it to maximum.
5) Press the toggle button (D) to move the LED
to the Hot start (E) The value is displayed on the
multifunction display (G) and can be adjusted from 0 to
10. This is the temporary increase of the output current
during the start of a weld, this helps ignite the arc
quickly and reliably. Hot Start provides excellent arc
ignition without the electrode sticking and avoiding any
metallurgical default in the weld.
6) Press the toggle button (D) to move the LED to
the Arc Length (H) The value is displayed on the
multifunction display (G) and can be adjusted from 0
to 10. This control works to maintain a constant arc
length by increasing or decreasing the current as the
electrode is moved in and out helping prevent a short
circuit during welding.



 To Next Page