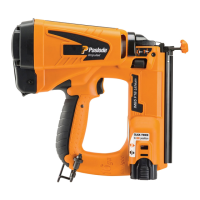
Battery and Charging System
9
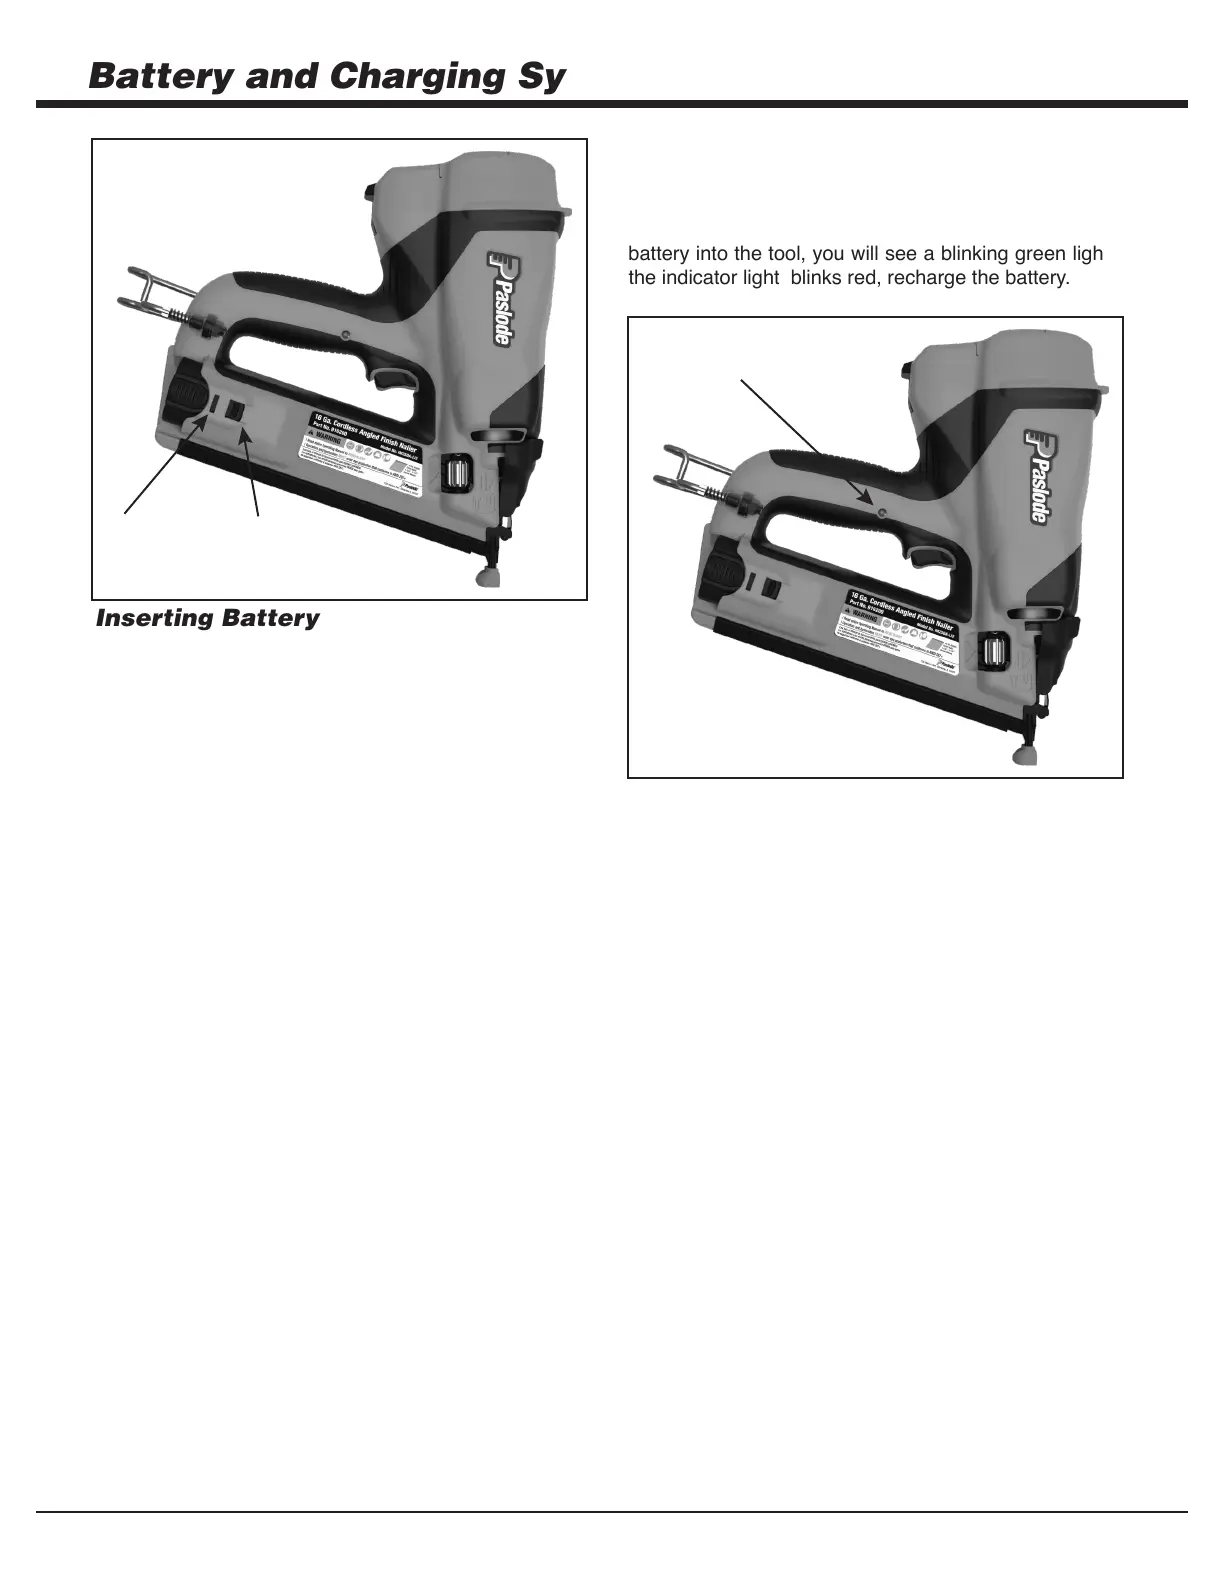
Inserting Battery
1. hsiniF sseldroC eht otni ,tsrfi stcatnoc ,yrettab eht daoL
Nailer.
2. Push battery fully forward into its locked Ready
position. The battery indicator light will light.
3.
NOTE: If battery is left in tool for an extended period,
the battery will discharge completely and will require
recharging.
Battery Indicator Light
On the right side of the handle is a small plastic lens. This is
the battery indicator light. When you insert a fully-charged
battery into the tool, you will see a blinking green light. If
the indicator light blinks red, recharge the battery.
4.
To remove battery, push down on locking tab and slide
battery out.
To disengage the battery, push down on locking
tab and slide battery back until it locks into the
Standby position.
Standby
Position
Ready
Position
Battery Indicator
Light