9 of 27
ISSUED: 11-7-07 SHEET #: 202-9244-1
© 2007, Peerless Industries, Inc. All rights reserved.
All other brand and product names are trademarks or registered trademarks of their respective owners.
• Always use an assistant or mechanical lifting equipment
to safely lift and position the flat panel screen.
• Do not tighten screws with excessive force. Overtightening
can cause damage to mount. Tighten screws to 40 in. • lb
(4.5 N.M.) maximum torque.
• Be careful not to pinch fingers when pushing screen from
the bottom.
For preset tilt angles use Increlok™ and for custom tilt
angle use ratchet handle.
INCRELOK™: The screen can be locked into a
pre-set tilt position of -5°, 0°, 5°, 10° or 15°. Use
locator hole to find tilt position hole and tilt screen to
align holes. Tighten IncreLok™ tilt locking screws on
both tilt brackets to lock tilt as shown in detail 2.
Ratchet Handle: Loosen ratchet handle (refer to step
3 for tension adjustment of handle). Push or pull from
top or bottom of screen to adjust tilt as shown in figure
4.1. The tilt can be adjusted to a maximum of 15°
forward or 5° backward.
Tension Adjustment of Ratchet Handle: Adjust
tension in tilt brackets (BB & CC) by rotating ratchet
handle. NOTE: If obstruction prevents ratchet handle
from rotating, pull handle out while turning will allow
handle to reposition without tightening. Release and
turn handle to tighten or loosen.
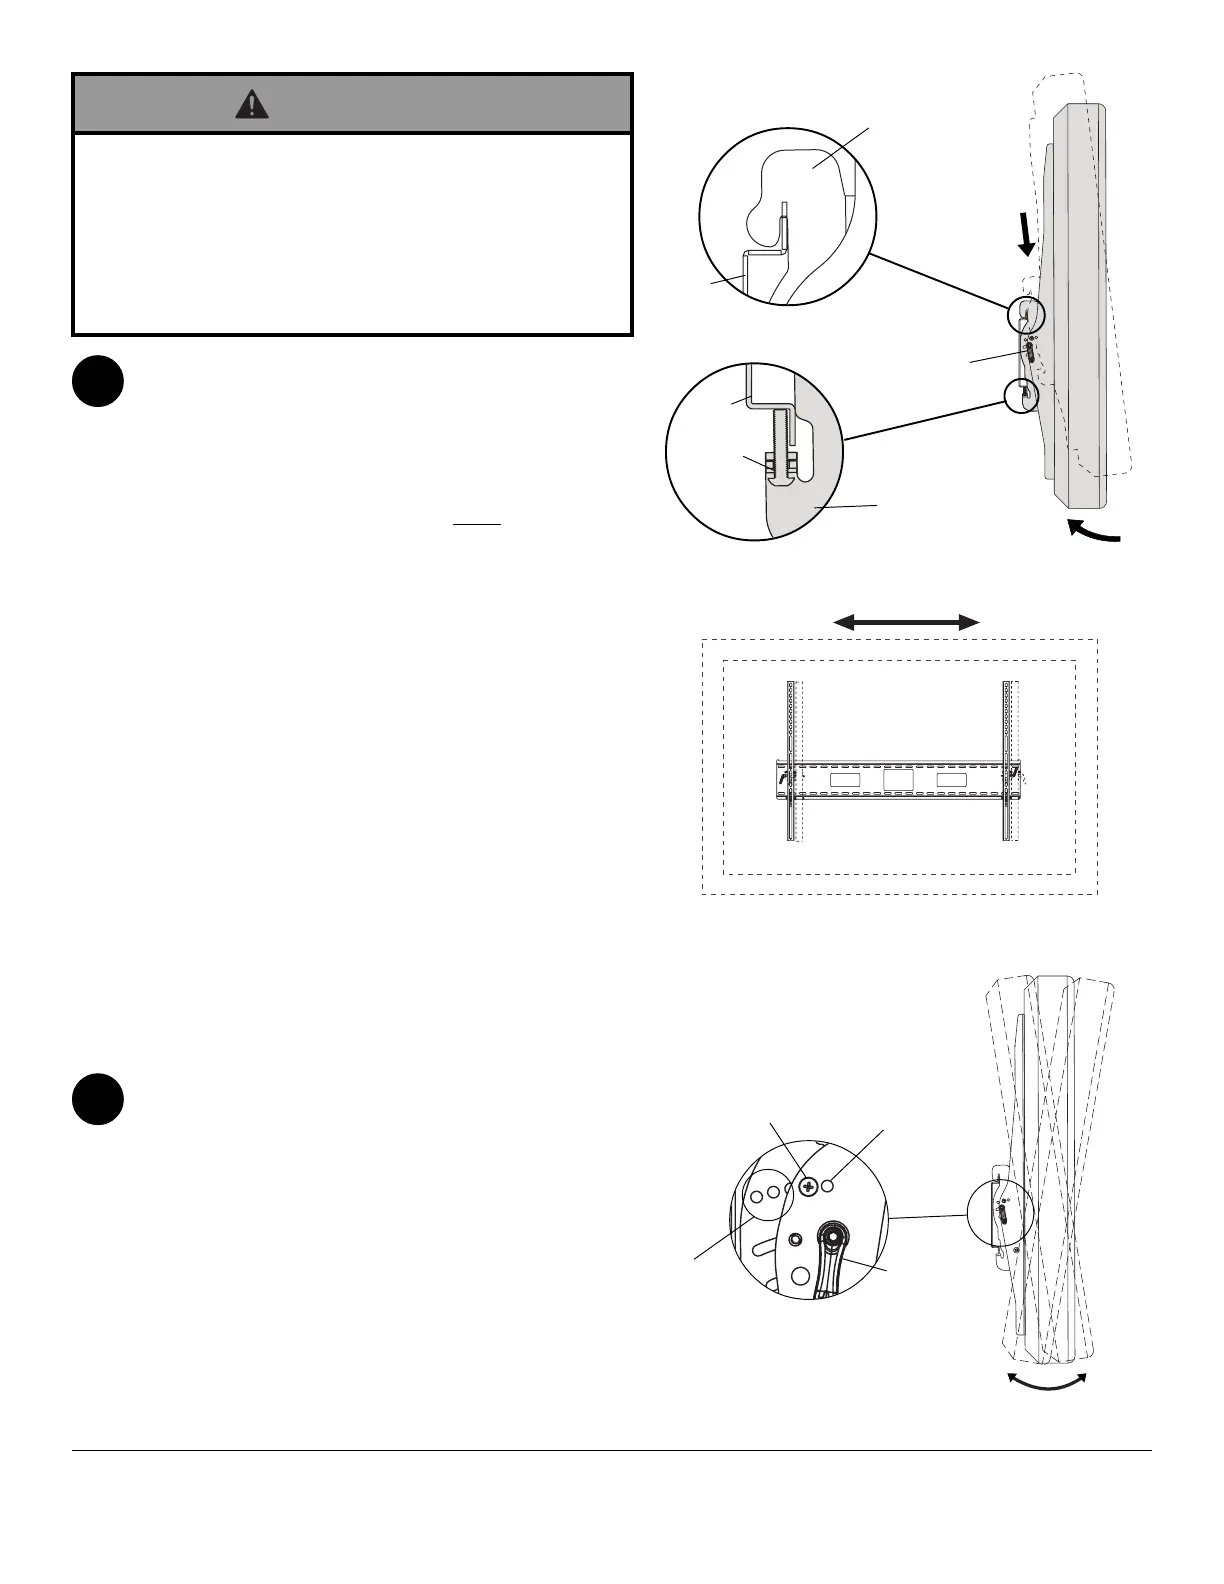
Mounting Screen: Ratchet handle
must be in the up or
down position or interference will occur while hooking tilt
brackets to wall plate (AA). Slowly hook tilt brackets
(BB & CC) onto wall plate (AA) and swing screen down
as shown in fig. 3.1. Tilt bracket hooks must fully
engage wall plate as shown in detail 1. Using phillips
screw driver/allen wrench (FF), turn safety screws on tilt
brackets (BB & CC) clockwise till screw tip securely
contacts wall plate as shown in cross section.
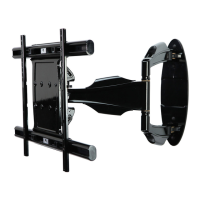
Screen Adjustment: Screen can be adjusted
horizontally by loosening safety/security screws on tilt
brackets (BB & CC) three full turns. Adjust screen as
shown in figure 3.2. Tighten safety screws on tilt
brackets till screw tip securely contacts wall plate as
shown in cross section.
Removing Screen: To remove screen from mount,
loosen safety screws, swing screen away from mount,
and lift screen off of mount.
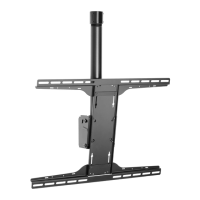
Mounting and Removing Flat Panel Screen
DETAIL 2
fig. 4.1
IncreLok™
TILT LOCKING
SCREW
LOCATOR
HOLE
RATCHET
HANDLE
TILT
POSITION
HOLES
fig. 3.2
Adjusting the Tilt Angle of the Flat
Panel Screen
WARNING
fig. 3.1
RATCHET
HANDLE
AA
SAFETY/
SECURITY
SCREW
DETAIL 1
BB &
CC
AA
CROSS SECTION
BB &
CC
3
4