PelPro Pellet Stove • 8104-171B • 10/21 PelPro Pellet Stove • 8104-171B • 10/21pelprostoves.com pelprostoves.com24
25
Replacement Parts
Maintaining Your Stove
Having Trouble?
Visit the Troubleshooting section of
this manual.
Maintaining Your Stove
Electrical Components
• Identify and remove any debris
• Verify all connections are secure
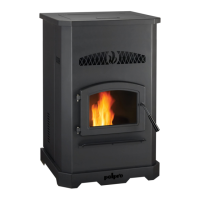
Exhaust Blower
• Remove left side panel to access and remove exhaust
blower
• Vacuum any debris from the fan blades and blower housing
Zone 3 - Venting
Termination Cap
• Remove termination cap
• Brush out to remove dust and hard buildup
Vent Components
• Soot, creosote, and y ash will collect in the exhaust
venting system and restrict the ow of the ue gases.
This build up will occur more quickly in horizontal
sections and elbows.
• Use the appropriate sized chimney brush to remove ash
and buildup from the venting
Outside Air Kit
• Ensure there are no obstructions in the outside air kit
cap
ANNUALLY
AS NEEDEDOR
ANNUALLY AS NEEDEDOR
Caution!
When wood pellets are burned at a low temperature, they produces organic vapors which combine with moisture
to form creosote vapors.
Creosote vapors condense in the relatively cool chimney ue of a newly-started or a low-temperature re. As a
result, creosote residue accumulates on the ue lining. When more heat is called for, this residue can be ignited,
which creates an extremely hot re in the chimney ue; this may damage the chimney or even destroy your home.
Your chimney should be inspected once every few months during the heating season to determine if a creosote
or soot buildup has occurred. If creosote or soot has accumulated, it should be removed to reduce the risk of
a chimney re.
1
Zone
1
Zone
3
Zone
3
Zone
2
Zone
2
Zone
Replacement Parts
Replacement part for your Stove
Visit pelprostoves.com
1
Zone
1
Zone
2
Zone
2
Zone
3
Zone
3
Zone
1
Zone
1
Zone
2
Zone
2
Zone
3
Zone
3
Zone
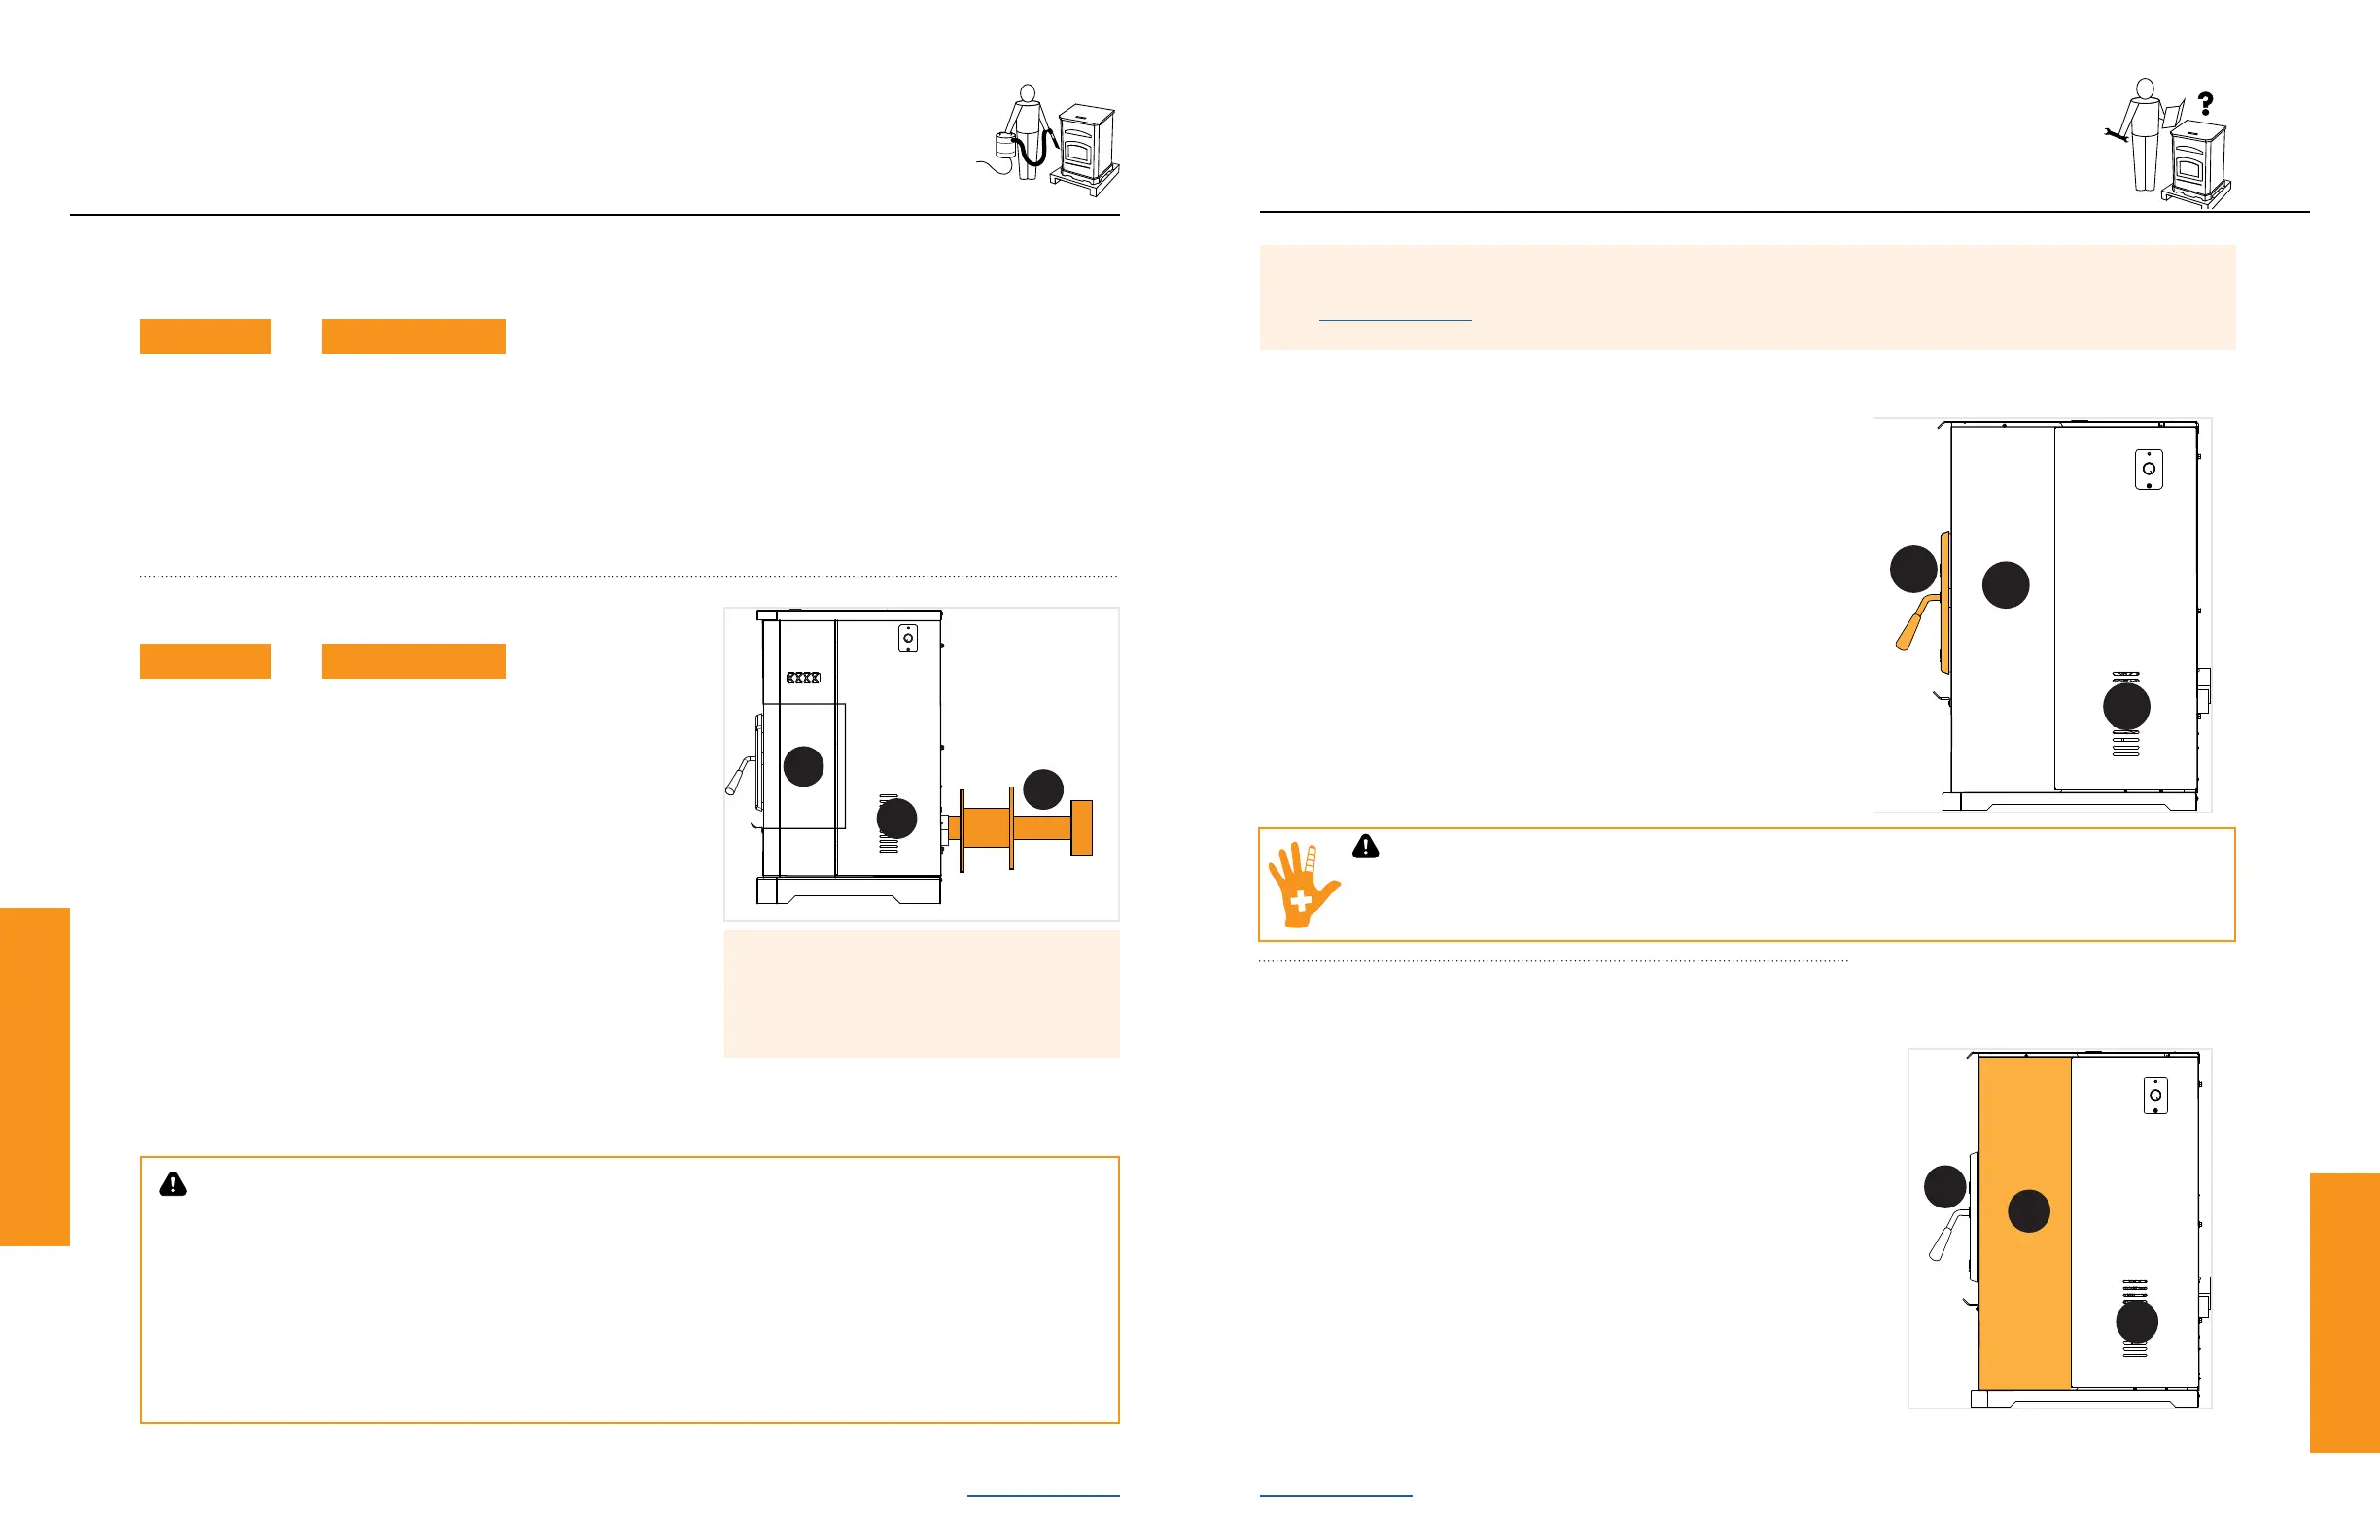
Glass
1. Open the door from the appliance by lifting door o of
hinge pins and lay on a at surface face down.
2. Using a Phillips head screwdriver, remove the 3
brackets and set aside.
3. Remove old glass and gasket from door.
4. Replace gasket to door and add glass.
5. Re-install the brackets using the same screws.
Glass replacement kit: SRV7081-173
Door assembly replacement kit: SRV7086-021
Baes
1. Turn the dial control to the o position. Make sure
the unit is cool.
2. Remove the center bae rst by using the handle
at the top of the bae and pull up and then towards
you. The hooks on the bae will slide out of the slots
in the bracket.
3. Remove the left bae and then the right bae by
pulling up and then towards you. The left and right
baes have similar hooks and slots.
Replacement kit: SRV7077-006
Zone 1 - Front of Stove
Zone 2 - Firebox
WARNING!
Glass is 5mm thick high temperature heat resistant ceramic glass.
• DO NOT REPLACE with any other material
• Alternate material may shatter and cause injury