5
PoolShark
®
Installation and User’s Guide
Section 2
Installation
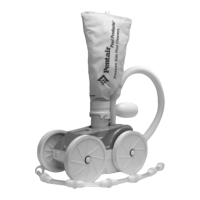
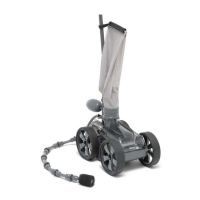
This section describes how to install the PoolShark
®
pool cleaner. The PoolShark
®
is designed to work in a
wide variety of swimming pools. Both the standard in-skimmer installation and optional vac port installation
are covered in these Instructions. If your pool configuration is unlike any of the examples, contact your Pentair
Water Pool and Spa dealer for assistance, or call our toll-free Customer Helpline at 1-800-831-7133.
Standard Installation
WARNING —
Hazardous suction.
Suction through the PoolShark
®
can entrap bathers,
causing severe injuries or drowning. Do not operate the PoolShark
®
cleaner while people are using the swimming pool. Do not allow anyone
to play with the PoolShark
®
or its hoses.
For Pools with one Skimmer, using the Vacuum Regulator
The manufacturer recommends the Standard Installation through the pool’s
skimmer, (see Figure 7). The advantage of this installation is its use of the vacuum regulator,
(see Figure 8), to balance the water flow between the skimmer and the PoolShark
®
pool
cleaner. The vacuum regulator can be adjusted to changes in the amount of water flow to
provide PoolShark
®
with the power necessary to ensure proper cleaning performance,
and the manufacturer strongly recommends its use for maximum safety and performance.
1. Turn the pool pump off.
2. Adjust valves for vacuuming. Adjust the pump valves (if your system has valves) to
direct all suction to the skimmer. Close the main drain and all suction lines, except the
line from the skimmer to which the PoolShark
®
will be connected.
3. Remove the skimmer basket from the skimmer.
4. Install vacuum regulator. Use the vacuum regulator in conjunction with your pool
cleaner system at all times. The vacuum regulator has an adjustment knob, (see
Figure 8). If suction is too high, the knob is turned counterclockwise to decrease the
suction. If the suction is too low, the knob is turned clockwise to increase
the suction.
5. The vacuum regulator must be installed in conjunction with the reducer
cone, (see Figure 9). The reducer cone is required to make most skimmer
connections. It will keep the hose and vacuum regulator in place once the
filter system is stopped.
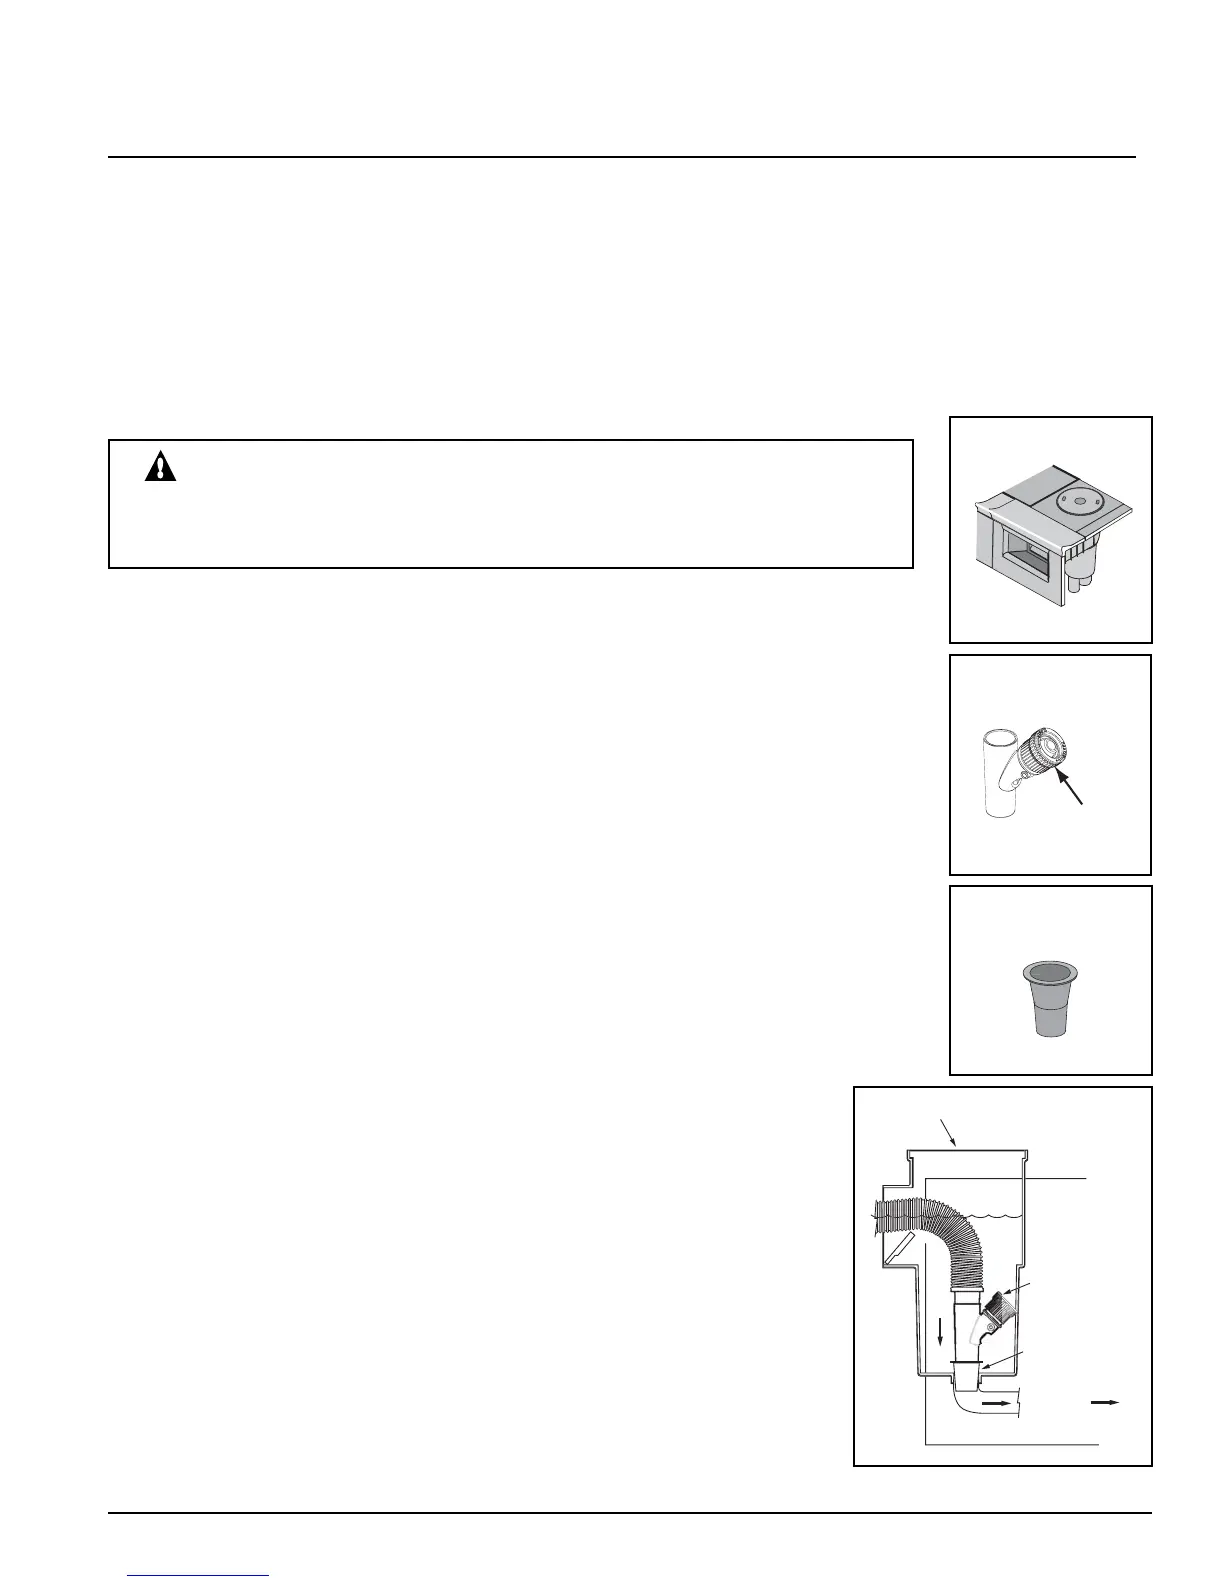
6. To install the vacuum regulator, insert the vacuum regulator and reducer
cone in the skimmer. Attach the end of the hose to the regulator, (see
Figure 10). Make sure the vacuum regulator is submerged at all times. If
not, the pump will suck air through the vacuum regulator and lose prime.
This could damage the pump.
Skimmer
Figure 7.
Vacuum
Regulator
Adjustment
Knob
Figure 8.
Reducer
Cone
Figure 9.
Skimmer
V
Re
ulato
To Pump
Reducer
on
Vacuum regulator installed in the skimmer with the
hose attached.
Figure 10.