Maintenance 13
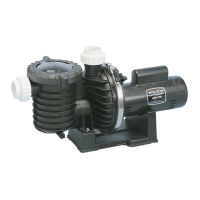
Step 3. Make sure that the shaft keys are in place on the shaft. If they are
not, squeeze them in place now with slip joint pliers. Do not tap
them or hit them with a hammer; you could bend the shaft (see
Figure 21). When the keys are correctly installed, the adapter will
pass over the keys without interference.
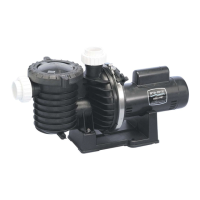
Step 4. Carefully slide the adapter over the shaft (see Figure 22). Do not
damage the shaft sealing surface; it is highly polished and any
slight scratches or nicks will ruin it.
Step 5. Using the alignment marks made before disassembly, line up the
adapter with the motor and bolt the adapter in place. Tighten the
cap screws evenly.
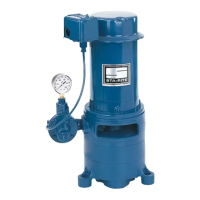
Step 6. Push the shaft seal and seal spring onto the shaft, after making
sure that the seal faces and shaft are clean. Take care that the
shaft shoulder does not damage the carbon seal face. Follow the
seal spring with the spring holder; compress the spring and give
the spring holder a quarter turn to lock it under the first shaft key
(see Figure 23).
Step 7. Slide the first impeller onto the shaft; follow it with the impeller
spacer. Twist the impeller on the shaft to make sure that the shaft
key is still in place and the impeller is locked to the shaft (the
shaft should turn with the impeller).
Step 8. Install a new volute gasket, lining up the bolt holes with the bolt
holes in the adapter. Make sure the gasket is right side up so that
the water passage holes line up with the water passages in the
volutes.
Step 9. Install the intermediate volute, aligning it with the mark made
before disassembly. Use the long cap screws to check this
alignment. It cannot be stressed too strongly that all bolt holes and
water passages of all gaskets and volutes MUST line up with each
other, or the pump will not be assembled correctly.
Step 10. Make sure the second shaft key is in place and install the second
impeller. Twist the impeller to make sure that the shaft key is
still in place. Hold the motor shaft with slip-joint pliers or vice-
grips and install and tighten the impeller locknut. Tightening
the lock nut automatically spaces the impeller correctly. Do not
overtighten.
Step 11. Install the base volute gasket. Make sure the gasket is right side up
so that the water passage holes line up with the water passages
in the volutes. Install the base volute, using the alignment marks
made before disassembly. Make sure that the pump discharge will
correctly meet the piping when the pump is reinstalled.
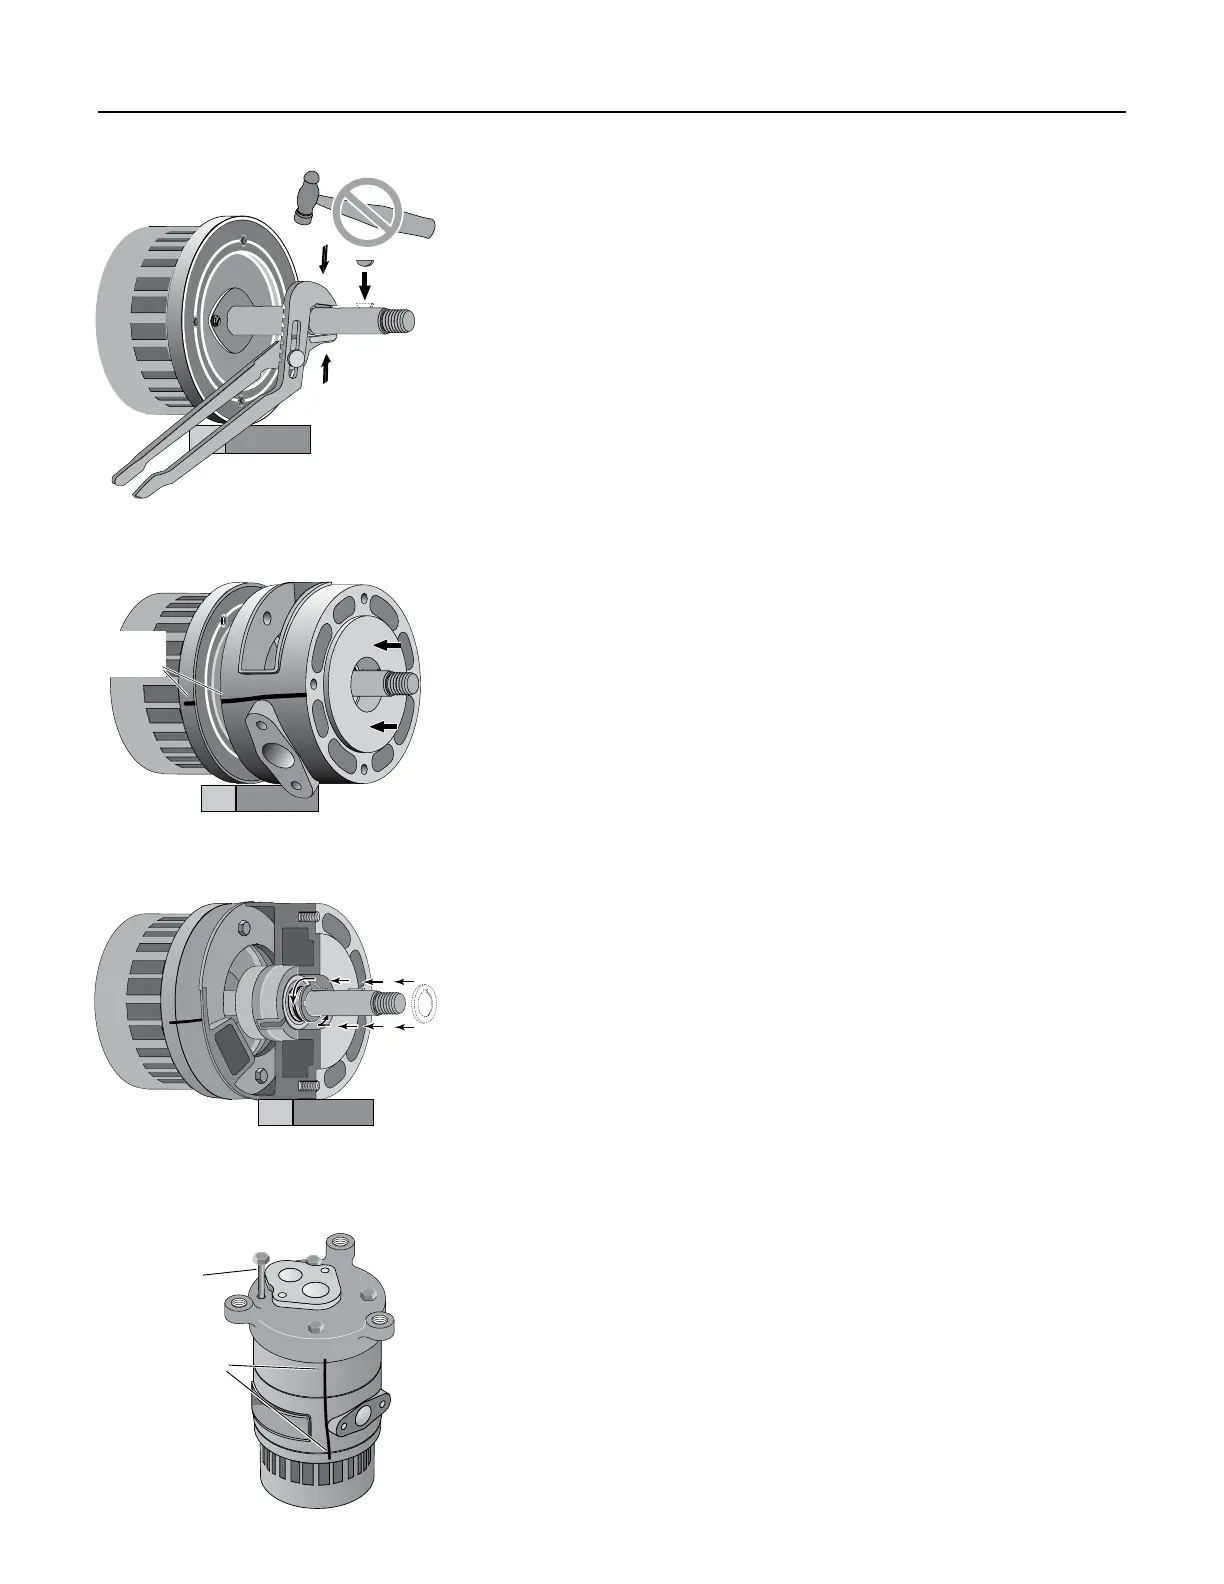
Step 12. Insert the four base capscrews and tighten evenly (see Figure 24).
These should be easy to install if every thing is correctly aligned.
If not, do not force them; go back over your work and find and
correct the misalignment.
Step 13. Reinstall the pressure switch barb fitting and pressure tube.
Step 14. Reinstall the pump on the adapter flange (use a new gasket) and
reconnect the wiring and grounding. Pump is now ready for
operation.
Use pliers –
with care –
no hammers.
Figure 21
Figure 23
Align
Marks
Figure 22
Make sure
all marks
line up.
Bolts should
be easy to
insert.
Figure 24
 Loading...