When this setting is enabled, the Pepwave router’s DHCP server automatically
assigns an IP address to each computer that is connected via LAN and configured
to obtain an IP address via DHCP. The Pepwave router’s DHCP server can
prevent IP address collisions on the LAN.
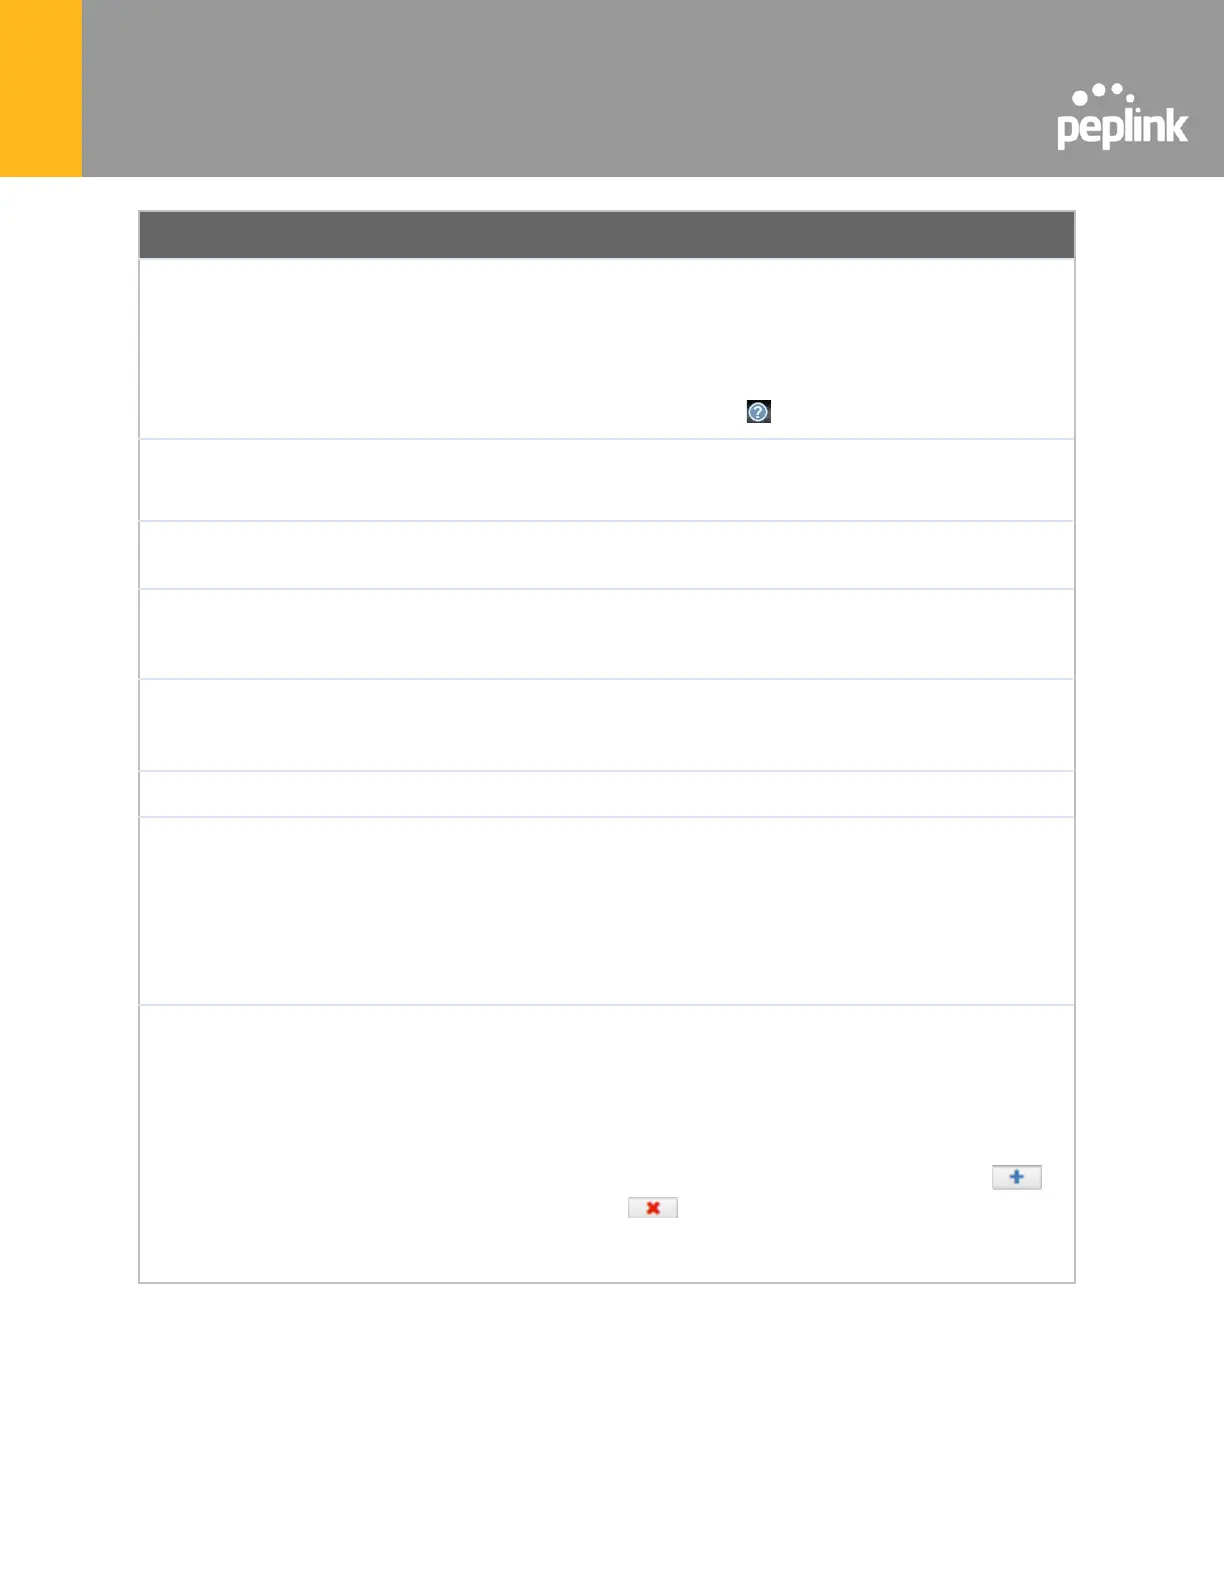
To enable DHCP bridge relay, please click the icon on this menu item.
Enable logging of DHCP events in the eventlog by selecting the checkbox.
These settings allocate a range of IP addresses that will be assigned to LAN
computers by the Pepwave router’s DHCP server.
This setting specifies the length of time throughout which an IP address of a DHCP
client remains valid. Upon expiration of Lease Time, the assigned IP address will
no longer be valid and the IP address assignment must be renewed.
This option allows you to input the DNS server addresses to be offered to DHCP
clients. If Assign DNS server automatically is selected, the Pepwave router’s
built-in DNS server address (i.e., LAN IP address) will be offered.
Check this box to enable BOOTP on older networks that still require it.
In addition to standard DHCP options (e.g. DNS server address, gateway address,
subnet mask), you can specify the value of additional extended DHCP options, as
defined in RFC 2132. With these extended options enabled, you can pass
additional configuration information to LAN hosts. To define an extended DHCP
option, click the Add button, choose the option to define, and then enter its value.
For values that are in IP address list format, you can enter one IP address per line
in the provided text area input control. Each option can be defined once only.
This setting reserves the assignment of fixed IP addresses for a list of computers
on the LAN. The computers to be assigned fixed IP addresses on the LAN are
identified by their MAC addresses. The fixed IP address assignment is displayed
as a cross-reference list between the computers’ names, MAC addresses, and
fixed IP addresses.
Name (an optional field) allows you to specify a name to represent the device.
MAC addresses should be in the format of 00:AA:BB:CC:DD:EE. Press to
create a new record. Press to remove a record. Reserved clients
information can be imported from the Client List, located at Status>Client List.
For more details, please refer to Section 22.3.
 Loading...