This document describes the 3 TON RAPID LIFT JACK, item number W1626, an owner's manual for a Performance Tool product.
Function Description
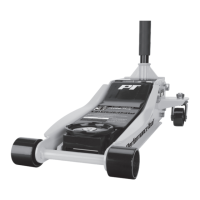
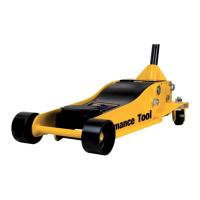
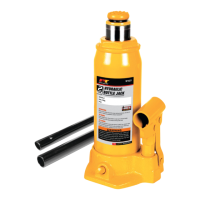
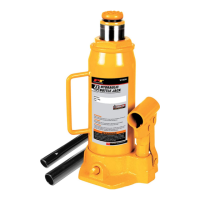
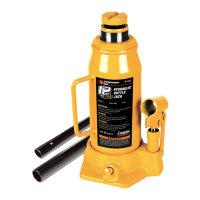
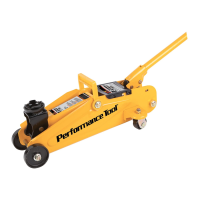
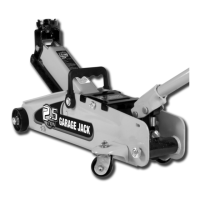
The 3 TON RAPID LIFT JACK is a lifting device designed to raise vehicles or other heavy objects. It is explicitly stated that this is a lifting device only, and the load must be immediately supported by jack stands after lifting. It is not designed to maintain heavy loads for long periods. The jack features a rapid lift mechanism, dual pistons, and a low-profile design.
Important Technical Specifications
- Capacity: 6,000 lbs. (3 tons)
- Minimum Height: 3-1/4 in.
- Maximum Height: 20 in.
- Lift Range: 16-3/4 in.
- Handle Length: 45-1/2 in.
- Weight: 77 lbs.
- Frame: Steel
- Saddle: 360° Swivel
- Wheels: Extra Wide
- Castors: Swivel
- Pistons: Dual
- Handle: Padded
Usage Features
The jack is designed for ease of use with several features:
- Attaching Handle: The handle consists of an upper and lower section that click together. The grooved end of the handle is inserted into the handle socket and secured with a handle release bolt.
- Bleeding Trapped Air: A procedure is outlined to remove trapped air from the hydraulic system, which can cause malfunction. This involves removing the cover plate and fill plug, turning the release valve counter-clockwise, and pumping the handle 10-15 times.
- Raising the Load:
- The vehicle must be parked on a hard, level surface, away from oncoming traffic, with the engine off, transmission in PARK (or lowest gear for manual), emergency brake set, and wheels blocked.
- The jack should be placed at the vehicle manufacturer's recommended lift points, ensuring the load is centered on the saddle.
- The handle is inserted into the socket and turned clockwise to close the valve.
- Pumping the handle raises the load to the desired height.
- Crucially, the load MUST be supported immediately with jack stands of appropriate capacity placed at the vehicle manufacturer's recommended locations. It is emphasized not to work under the vehicle without jack stands and not to support both ends or one side of the vehicle simultaneously with jack stands.
- Lowering the Load:
- All tools and equipment must be removed from under the vehicle.
- The saddle is positioned under the lifting point.
- The handle is turned firmly clockwise to close the valve release screw, and the handle is pumped to raise the vehicle slightly above the jack stands.
- The jack stands are then collapsed and removed.
- The release valve is slowly turned counter-clockwise (no more than two full turns) with the handle to allow a controlled descent of the vehicle onto the ground.
- The jack is then fully lowered and stored.
- Safety Guidelines: The manual stresses the importance of reading and understanding all instructions, not exceeding rated capacity, using the jack only on hard, level surfaces, wearing ANSI approved safety goggles and heavy-duty work gloves, keeping clear of the load, lowering slowly, and never using for aircraft purposes. It also warns against adjusting safety valves, altering the product, and working under a vehicle without proper jack stand support.
Maintenance Features
Regular maintenance is critical for the jack's performance and longevity.
- Pre-Use Inspection: Before each use, the jack should be inspected for broken, cracked, or bent parts, loose or missing components, or any condition affecting proper operation. Damaged equipment must be removed from service.
- Storage: When not in use, the ram and pump piston should be in a fully down position to prevent corrosion. The jack should be stored in a safe, dry location, out of reach of children and unauthorized persons.
- Lubrication: The jack should be kept clean and well lubricated at points illustrated in the manual (Figure 4).
- Hydraulic Oil Check and Refill:
- The fluid level should be checked with the jack in the fully down position, ensuring the oil covers the top of the piston.
- Only non-detergent 22 weight hydraulic jack oil should be used for refills.
- To add oil, the cover plate and fill plug are removed, and oil is added until it covers the top of the piston. Extreme care must be taken not to allow dirt or foreign matter into the system.
- Hydraulic Oil Change: The hydraulic oil should be changed at least once every three years. This involves lowering the jack, removing the cover plate and fill plug, draining the old oil (disposing of it according to local regulations), refilling with new high-quality hydraulic oil, replacing the fill plug and cover plate, and then bleeding trapped air from the system.
- Cleaning: The jack should be cleaned with a clean cloth using a detergent or mild solvent.
Troubleshooting
The manual includes a troubleshooting guide for common issues:
- Will not lift load: Possible causes include low fluid, air bound, or valve not closing completely. Solutions involve adding fluid, bleeding air, or seating the valves.
- Will not hold load: Possible causes include low fluid, air bound, or valve not closing completely. Solutions involve adding fluid, bleeding air, or seating the valves.
- Will not lift to full height: Possible causes include low fluid, air bound, or valve not closing completely. Solutions involve adding fluid, bleeding air, or seating the valves.
- Pump feels "spongy" under load: Possible cause is air bound. Solution involves bleeding air.
- Handle raises under load: Possible cause is air bound. Solution involves bleeding air.
- Fill plug leaking oil or jack will not lower without a load: Possible cause is too much hydraulic oil. Solution involves checking and adjusting the oil level.
It is noted that problems may have multiple causes, and solutions may need to be repeated for best results. The manual emphasizes that the operator must supply common sense and caution, as these factors cannot be built into the product.