12
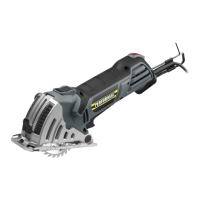
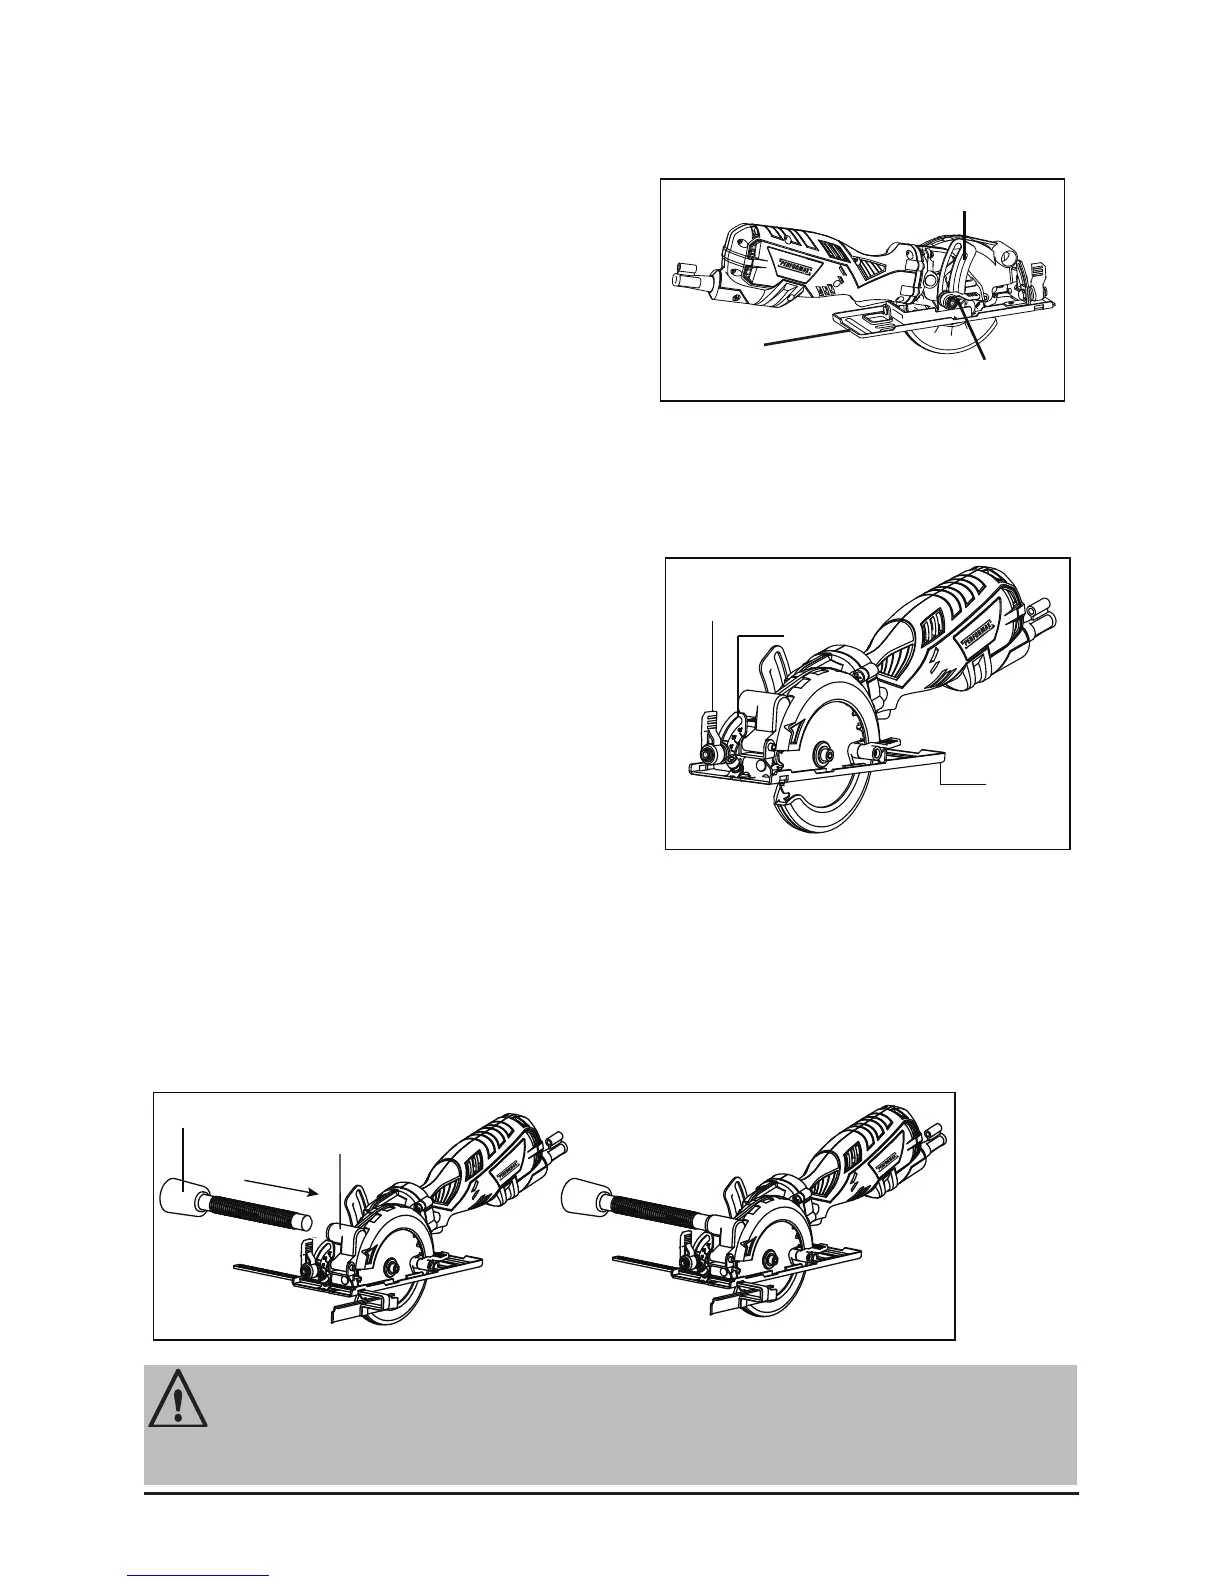
Depth Adjustment
- Before any adjustment, ensure the power plug is
removed from the socket.
- Loosen the depth adjustment screw using the depth
locking lever (O).
- Hold the base plate at against the body of the work
piece and lift the body of the saw until the blade is at
the correct depth.
- The adjusted cutting depth can be verified on the
depth scale (P).
- Tighten the depth locking lever.
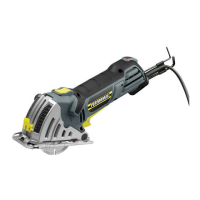
Bevel Angle Adjustment
- Before any adjustment, ensure the power plug is
removed from the socket.
- Loosen the angle locking lever (E).
- Adjust the base plate (L) to the desired angle between
0ºand 45º.
- The adjusted cutting depth can be verified on the
angle scale (T).
- Re-tighten the angle locking lever (E).
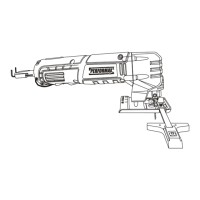
Connecting the Dust Pipe
- Insert the dust pipe adapter (R) into the dust outlet (Q)
- Connect the other side of the dust pipe to a suitable vacuum cleaner or dust extractor to prevent
injury.
- Dust hose with 1-1/4" adapter allows attachment to 1-1/4" vacuum hose for dust removal (vacuum sold
separately).
NOTE
While using the dust pipe, regularly check that there is no dust or there are no wood chips blocking the
dust pipe.
L
P
O
Fig. 5
Fig. 6
E
L
T
Q
R
Fig. 7
 Loading...