GENERAL CUTTING – cont’d
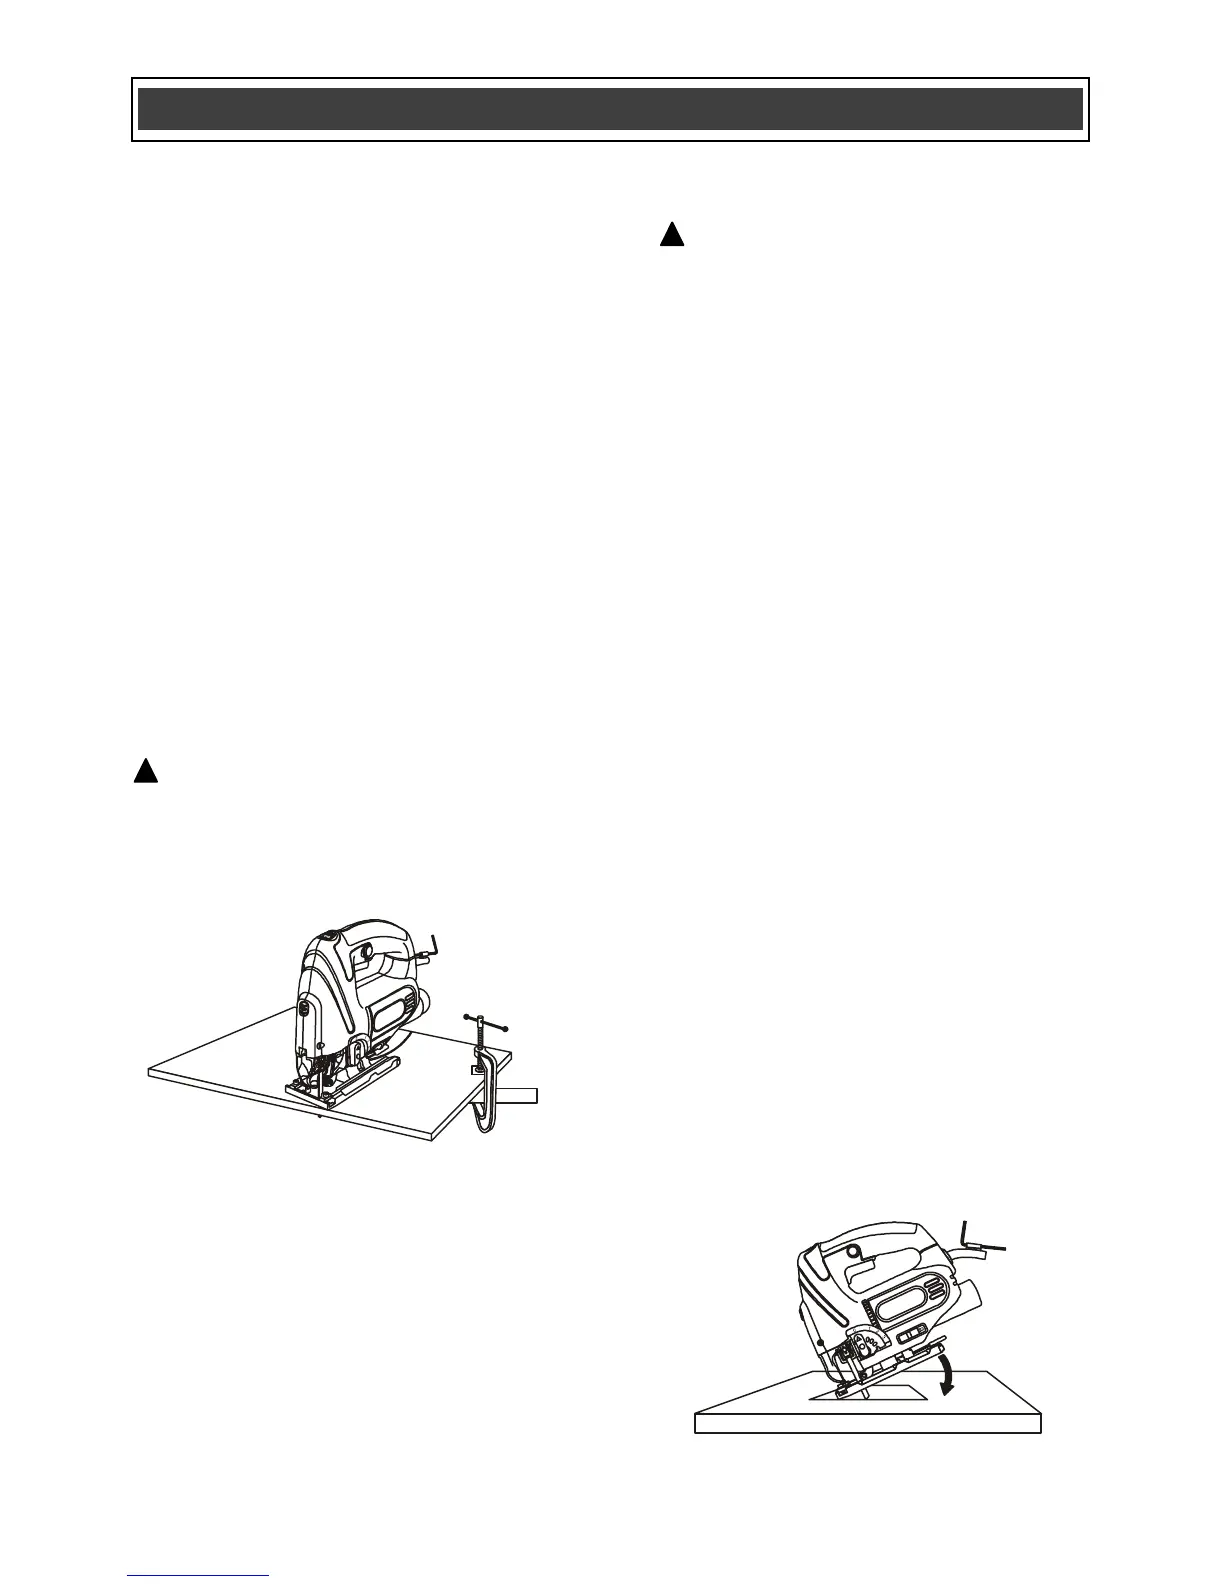
3. Rest the front of the jigsaw base on the
workpiece and align cutting edge of the
blade with the cutting line on your
workpiece (Fig. 14). Make sure the
power cord is out of your way and not in
the path the blade will follow.
4. While firmly gripping the jigsaw, and with
the blade NOT in contact with the
surface to be cut, start the jigsaw by
squeezing the trigger switch.
5. Once the jigsaw has reached the desired
speed, gradually bring the moving blade
into contact with the workpiece at the
appropriate location.
NOTE: Apply enough downward pressure to
keep the jigsaw steady and only enough
forward pressure to keep the blade cutting
freely.
CAUTION:
Do not force the jigsaw.
Use only enough force to keep the blade
cutting. Excessive pressure on the blade
will cause it to bend and twist, which may
result in breaking the blade.
BEVEL CUTTING
Bevel cutting angles may be adjusted from 0°
to 45° either left or right. To adjust the bevel
angle, refer to Fig. 4, 5 & 6.
Once the cutting angle has been verified,
proceed with the cutting activity as outlined in
"GENERAL CUTTING" above.
PLUNGE CUTTING
WARNING: To avoid loss of control,
broken blades or damage to the
workpiece, always use extreme caution
when making plunge cuts. It is not
recommended to plunge cut any material
other than wood. Wherever possible, drill
a pilot hole 3/8" (9.5 mm) or larger in the
area to be cut out and start cutting with
the blade in the pilot hole. This will avoid
the need to plunge cut.
NOTE: Use only blades with 7 teeth per
inch for plunge cutting.
1. To plunge cut an inside hole, clearly
mark the cutting line on the workpiece.
2. Set the bevel angle at 0°, and then lock
the base plate.
3. Tilt the jigsaw forward so it rests on the
front edge of the base plate and in a
position where the blade will NOT touch
the workpiece when the switch is turned
ON (Fig. 15).
NOTE: Make sure the saw blade is inside the
area to be cut.
4. Start the jigsaw and slowly lower the
blade onto the workpiece while making
sure the front of the saw base remains in
contact with the workpiece. Allow the
blade to slowly cut through the wood.
5. Continue lowering the blade into the
workpiece until the jigsaw base rests flat
on the workpiece. Continue sawing
toward the cutting line and complete the
cut as required.

 Loading...