Assembly and adjustments
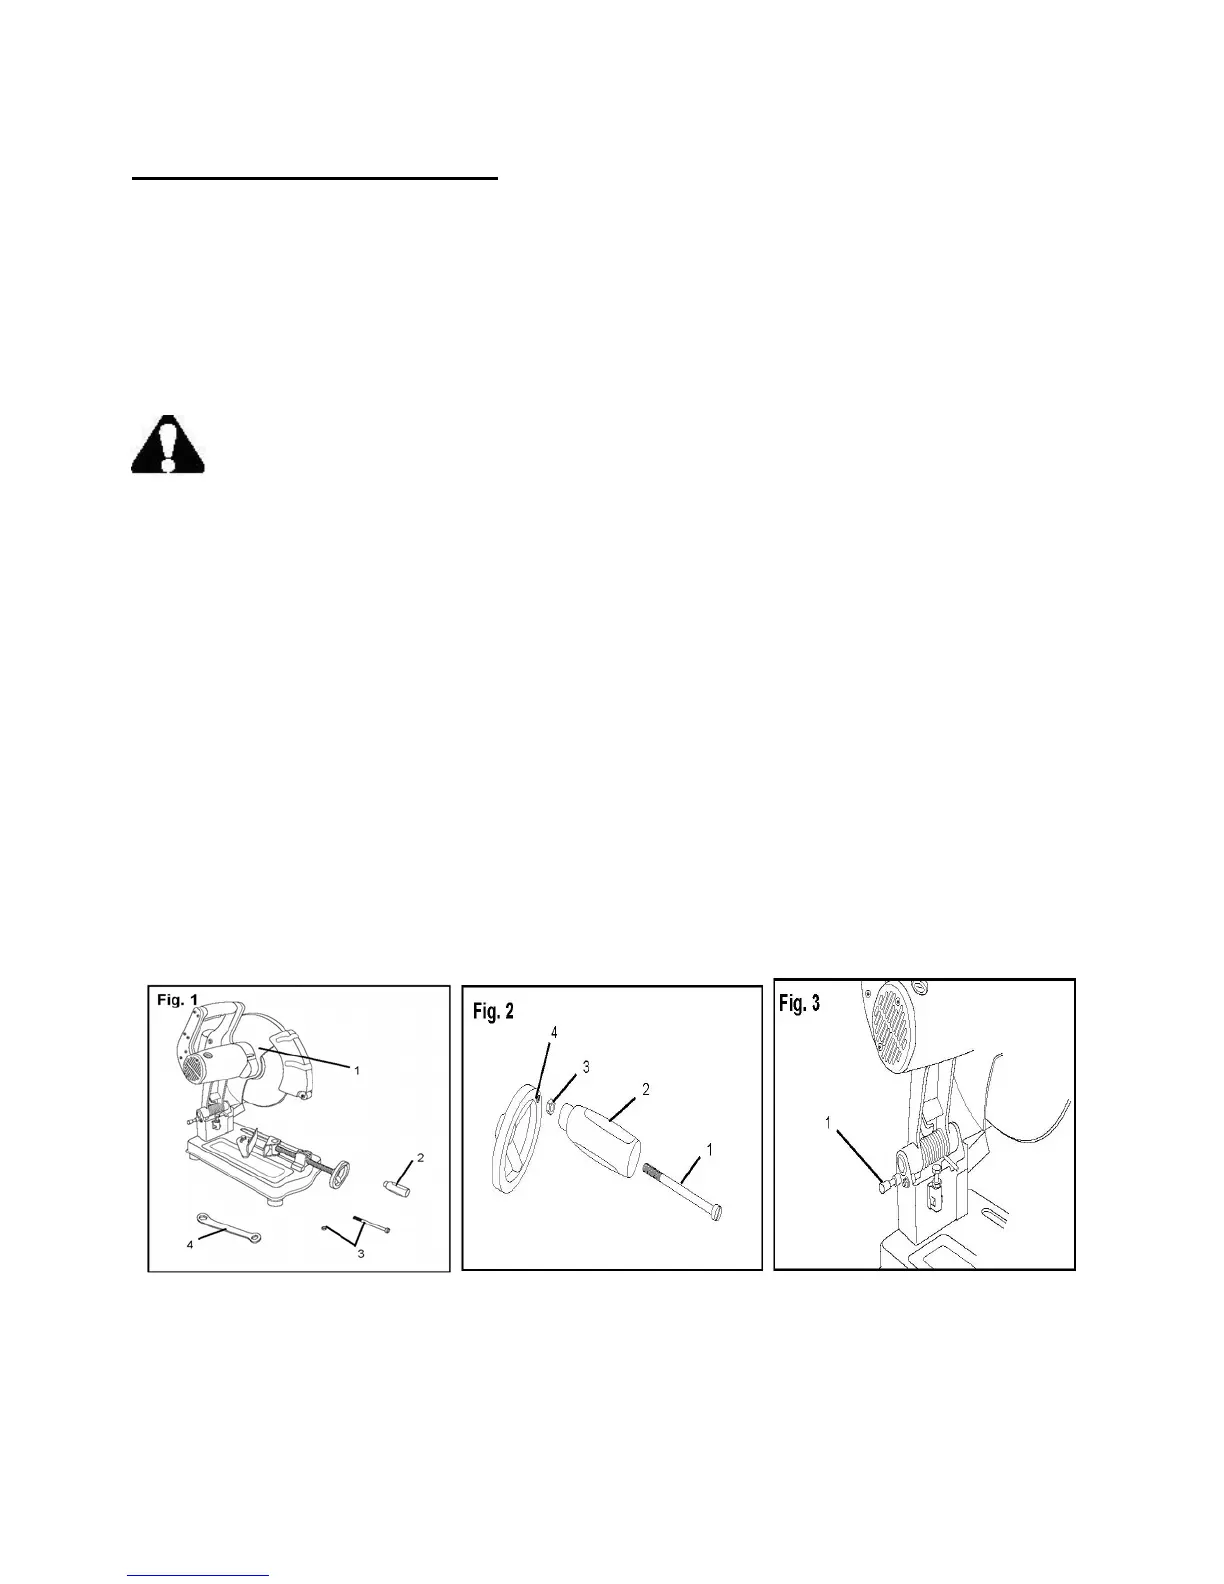
Unpacking (Fig. 1)
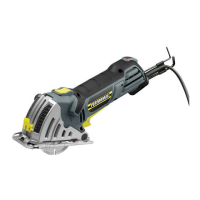
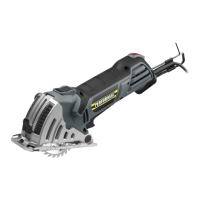
Carefully unpack the cut-off saw and all of its parts, and compare against the list below.
1 - Cut-off saw 2 - Vise clamp handle
3 - Threaded bolt and nut 4 - Blade wrench
Do not discard the carton or any packaging until the cut-off saw is completely assembled.
WARNING: If any part is missing or damaged, do not plug in the cut-off saw until the
missing or damaged part is replaced.
Although this cut-off saw requires minimal assembly, it does require adjustments to operate
properly. For your safety, make all adjustments prior to plugging in the saw.
Vise clamp assembly (Fig. 2)
1. Insert the bolt (1) through the vise clamp handle (2).
2. Put the nut (3) on the bolt and hand tighten.
3. Screw the assembled handle into the hole (4) on the vise wheel.
4. Tighten the nut to the wheel so that the handle rotates with the wheel.
Raise/lower the saw (Fig. 3)
1. Pull out the handle stop lock (1) and use the handle to raise or lower the cut-off saw.
2. Push in the handle stop lock (1) to lock the cutoff saw in the raised or lowered position.
9