09931295C
10
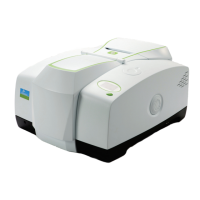
4. Insert the stirrer head of the stirrer control cable into the water jacketed single cell holder.
Figure 16 Inserting the stirrer head
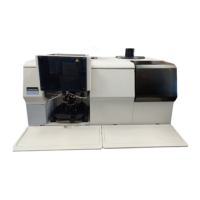
5. Assemble the water jacketed single cell holder with the stirrer head inserted, and tighten the
screw using the M3 wrench.
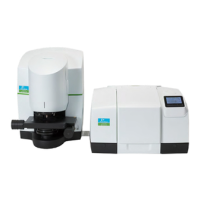
6. Using the screw driver remove the M2.5 Phillips round head screw with washer (M3*10L) and
detach the Stirrer cable fixing block from the front cover as marked with the red box in the
picture below. Take out the connecting port of the stirrer cable through the hole of the fixing
block.
Figure 17 Detaching the Stirrer cable fixing block
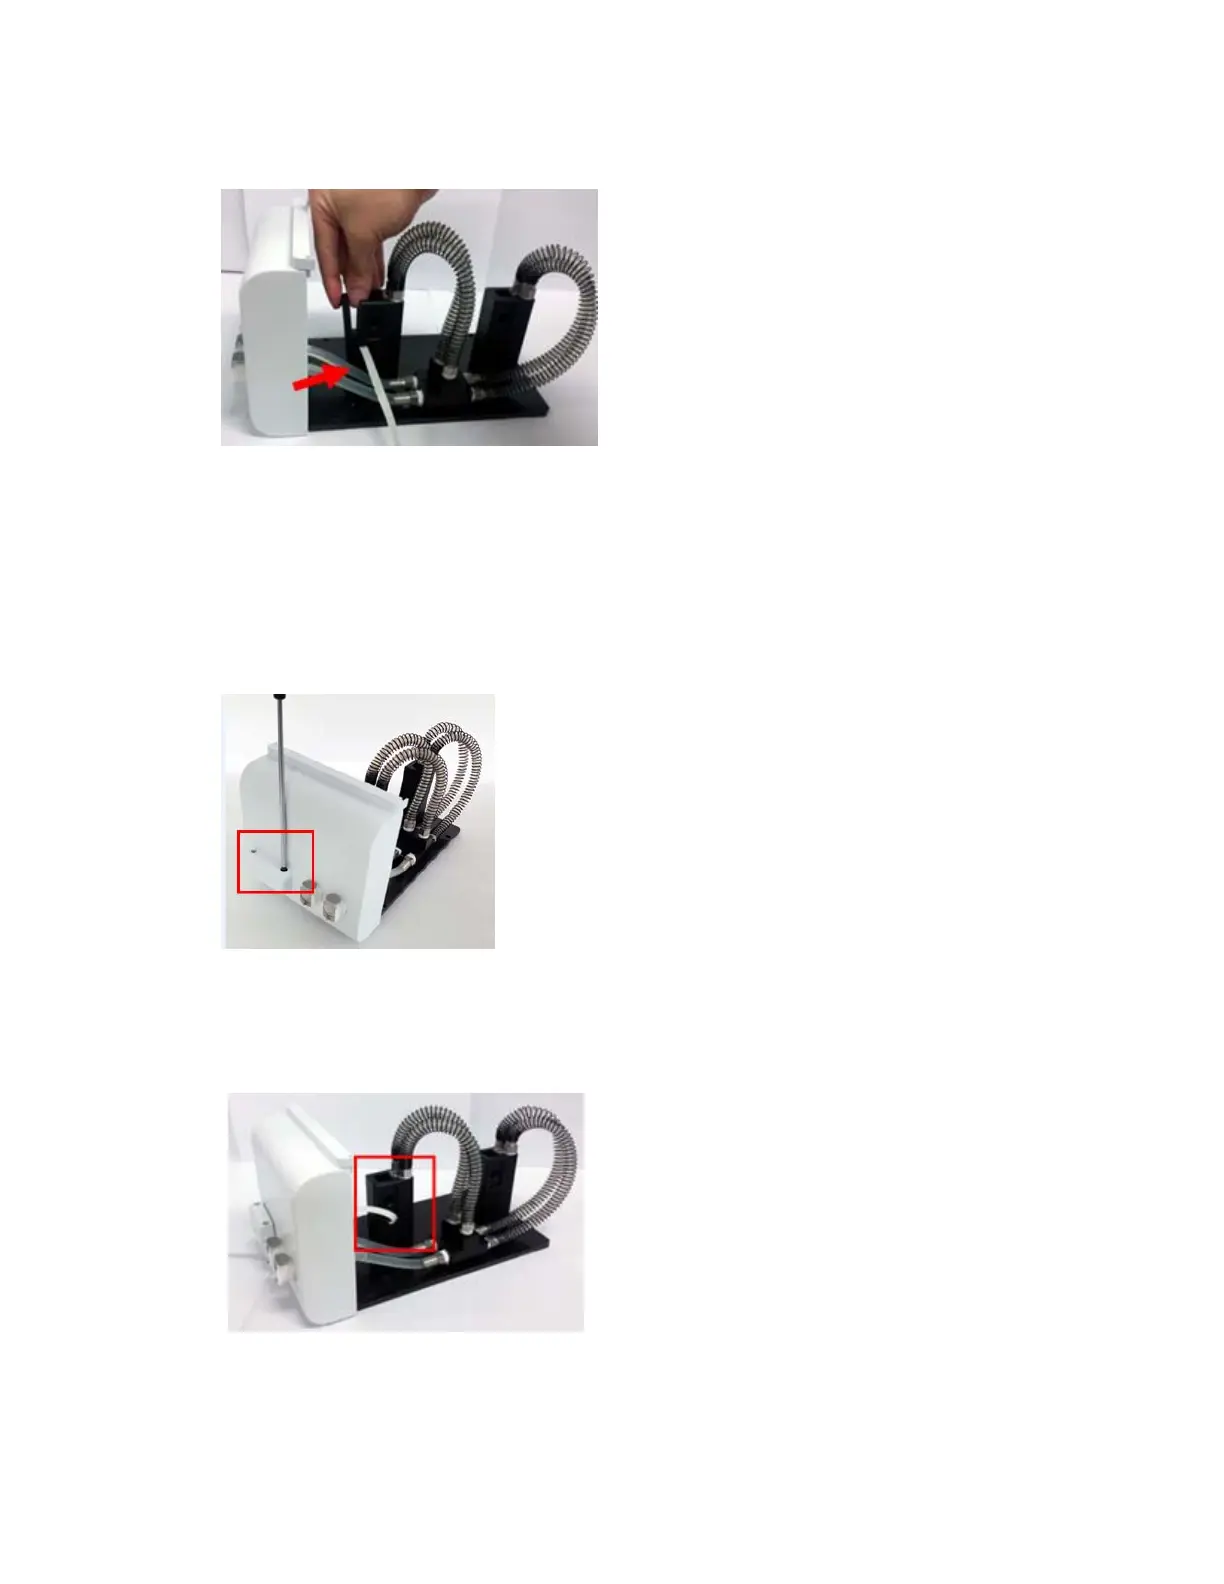
7. After arranging the stirrer cable neatly, assemble the stirrer cable fixing block in the front cover
using screw driver. Be careful that the stirrer cable does not block the light beam path to the cell
holder.
Figure 18 Assembling the Stirrer cable fixing block