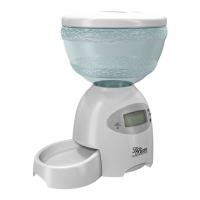
M
anual Feed Option
Press and hold UP Arrow button for 3 seconds.
N
OTE: Food will be dispensed according to first Meal set (i.e. breakfast is set at
1/2 cup, then food will be dispensed in 1/2 cup increments) Repeat if additional
food is desired.
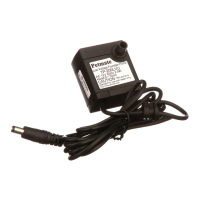
Replacement of Batteries/Power
• When the “LOW BATTERY” warning light is on OR before leaving for an
extended period of time, replace the batteries.
• Refer to “TO INSTALL BATTERIES” for directions.
• Once NEW batteries are installed, turn unit ON.
• Set clock to current time.
IMPORTANT: Meal Programming is stored and will NOT need to be
re-programmed after batteries are replaced.
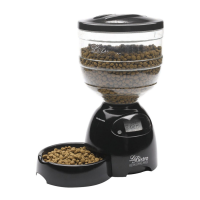
CLEANING
To Remove Bowl:
1) Place fingers under bowl and lift Bowl up.
2) Pull Bowl out horizontally removing it from the Base.
(Bowl is top rack dishwasher safe)
NOTE: Lid and Hopper may be removed for cleaning. Hand clean with soft
cloth and hand dry.
Warning:
Base unit should not be submerged in water at any time, this may damage
electronic components.
Do not place Base, Hopper or Lid in an automatic dishwasher.
Allow parts to dry completely before adding new food.
Default Settings:
1.While setting "Time" during the "Initial Set-up"; if the programming is
not completed the Portion Control LeBistro
®
waits for you to finish.
2.While setting the “Time” during the “ChangeTime” is not completed
and no button depressed for 10 seconds the Portion Control LeBistro
®
abandons the change and goes into “Automatic Mode” retains the
previous “Time”.
3.While setting the “Meals” during the “Initial Set-Up” if no buttons are
depressed for 10 seconds the Portion Control LeBistro
®
abandons the
change and goes into “Automatic Mode” retaining the previous “Meals”
settings.
4
.While setting the “Meals” during the “Change Meals” no buttons are
depressed for 10 seconds the Portion Control LeBistro
®
abandons the
c
hange and goes into “Automatic Mode” retaining the previous “Meals”
settings.
CAUTIONS
Save these instructions for future reference. Read all instructions
before operating product.
• For indoor use only.
• For dry food use only.Works best with ?”diameter food.
• NOT recommended for puppies or kittens less than 7 months old.
• Do NOT use this feeder with puppies or kittens not able to reach the feeding
dish.
• Do NOT use this feeder with puppies, kittens, dogs or cats with any physical
disability.
• Intended for use with dogs or cats only.
• Do NOT allow small children to play with, in or around feeder.
• Before leaving for extended time, always replace batteries with 3 new, "D" size
batteries.
• Do NOT immerse control panel base in water.
• Do NOT place any foreign object in the feeder.
• Do NOT operate feeder without hopper and hopper lid securely in place.
• Feeder should be placed on a level surface.
• Do NOT disassemble feeder other than bowl,hopper,hopper lid and
battery cover.
• Dispose of all packaging material properly. Some items may be packed in poly
bags; these bags could cause suffocation;keep away from children and pets.
• Check the low battery light frequently to be sure the feeder is dispensing
properly.
WARNING
• Do NOT place anything on top of feeder. Unit starts automatically.
Keep Clear.
• Base unit should NOT be submerged in water at any time, this may damage
electronic components.
TROUBLESHOOTING
1) If no display is showing, turn on power. Refer to “To Turn Unit On” in
programming instructions for specifications.
2) If the clock is flashing,the unit has lost its power and current time setting.
a. Reset current time.
NOTE: all previous meal programming does not need to be reset.
3) If “MEALS” is flashing, this indicates the unit did not completely deliver
the full amount of food programmed for the meal.
a.Turn unit off, empty the hopper and disassemble the hopper from the
base.
b. Check for food jamming in the throat of the base.
c. Dislodge food jam.
d. Re-assemble unit.
e.Turn unit on and reset current time.
4) If the “Low Battery” indicator light is lit:
a.Turn unit off.
b. Replace the batteries.
c.Turn the unit back on and set current time.
NOTE: Meal programming remains and does not need to be reprogrammed.
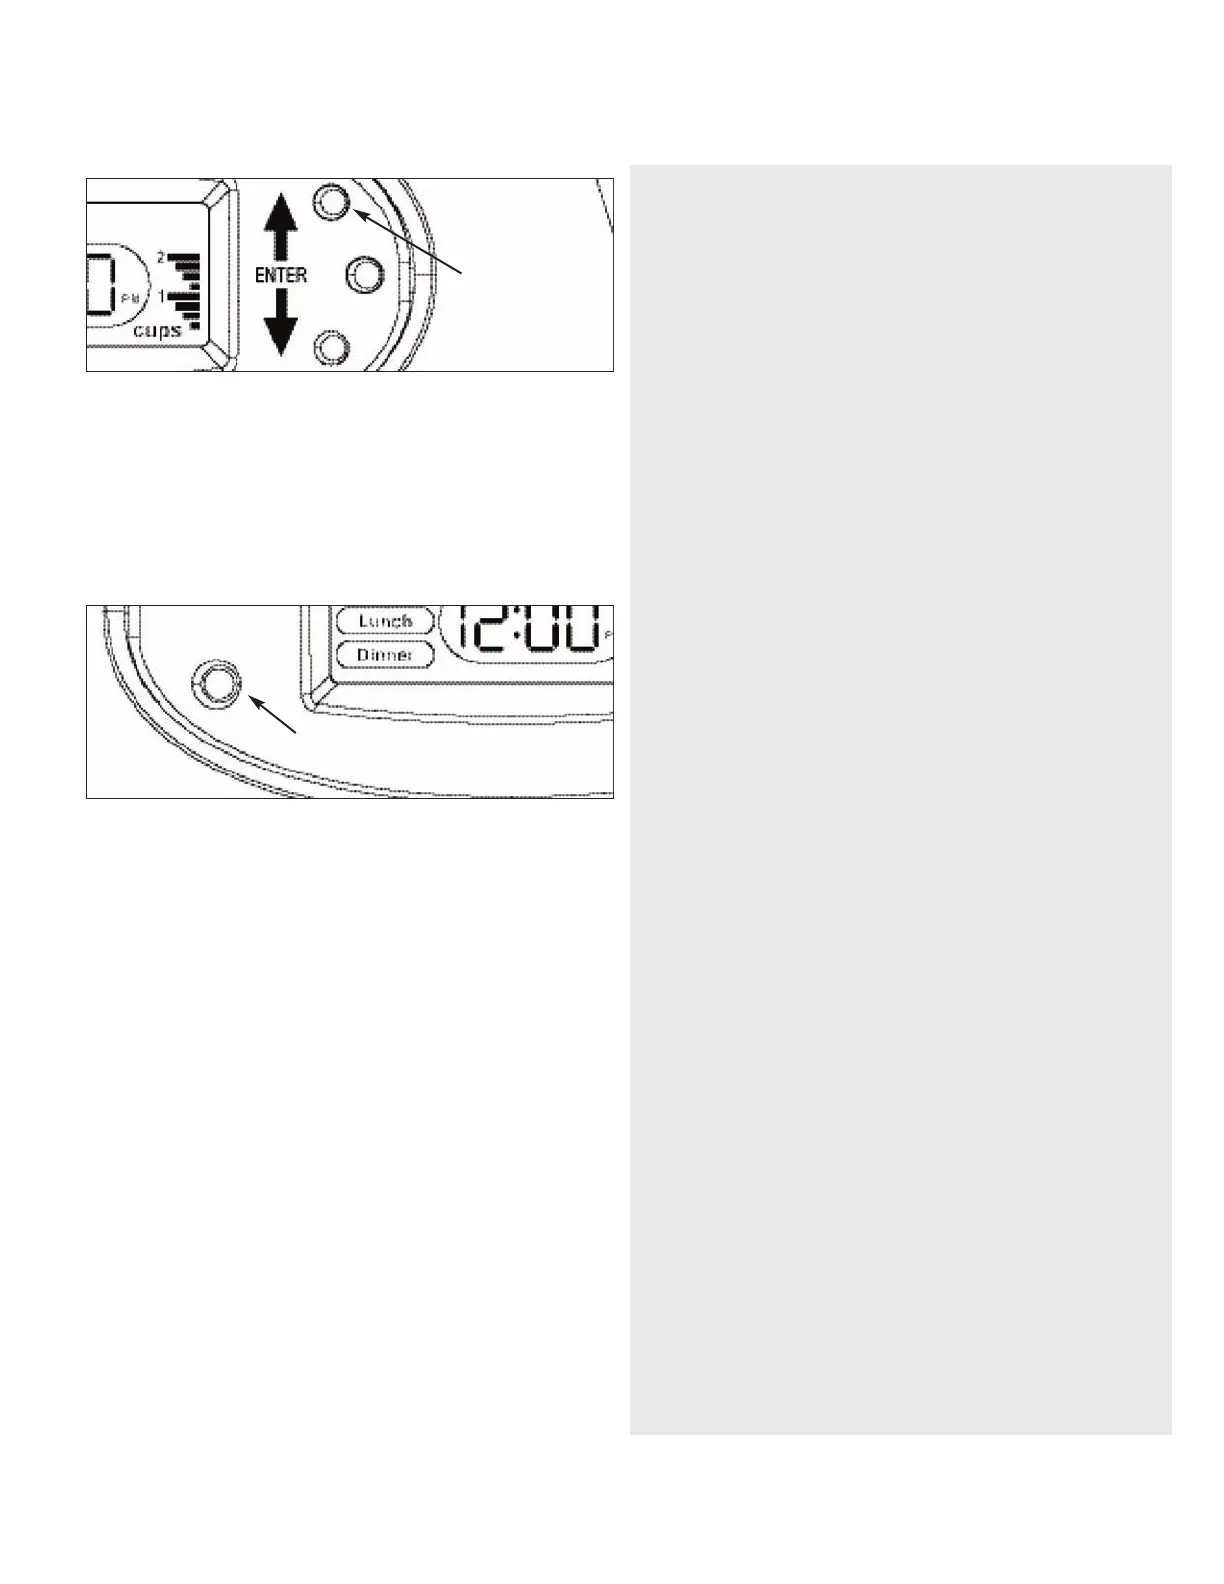
Low BatteryWarning Light
Hold for
Manual Feed Option
 Loading...