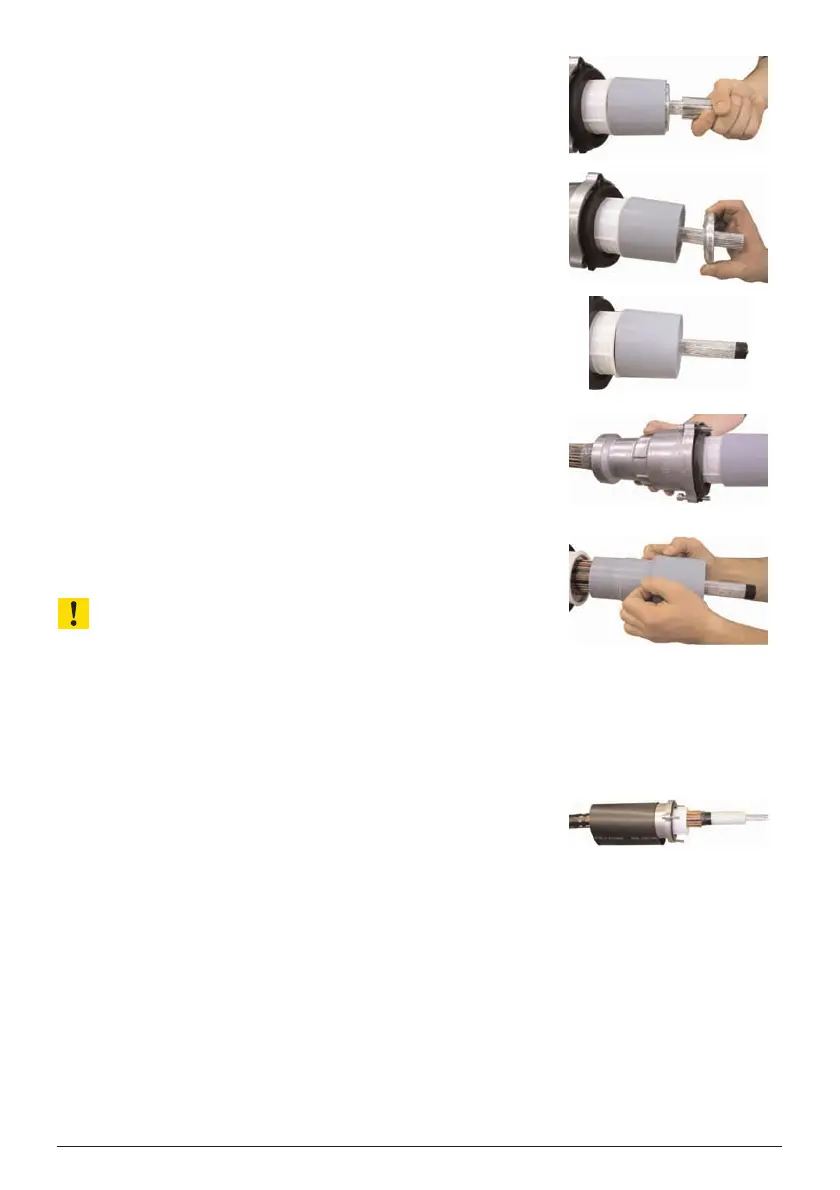
19. Pull off tension cone.
20. Remove thrust piece.
21. Apply protective wrapping to end of the conductor.
22. Push bell flange off the insulating part after
removing the shrink tubing.
23. Pull insulating part straight off the insulation
without twisting.
ATTENTION!
The following parts must generally be replaced du-
ring reassembly:
– Tension cone
– Insulating part
– Shrink tubing
24. Push shrink tubing over bell flange / cable.
25. Continue
➔ Chap. “Assembly/Installation“, page 24,
step 43.
32 Dismantling / Removal PFISTERER CONNEX cable connector Size 3 and 3/S