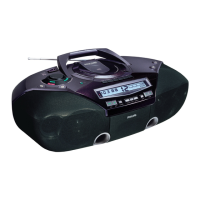
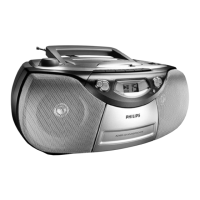
PCS 104 413
3-3
INSTRUCTIONS FOR USE
TUNING TO RADIO STATIONS
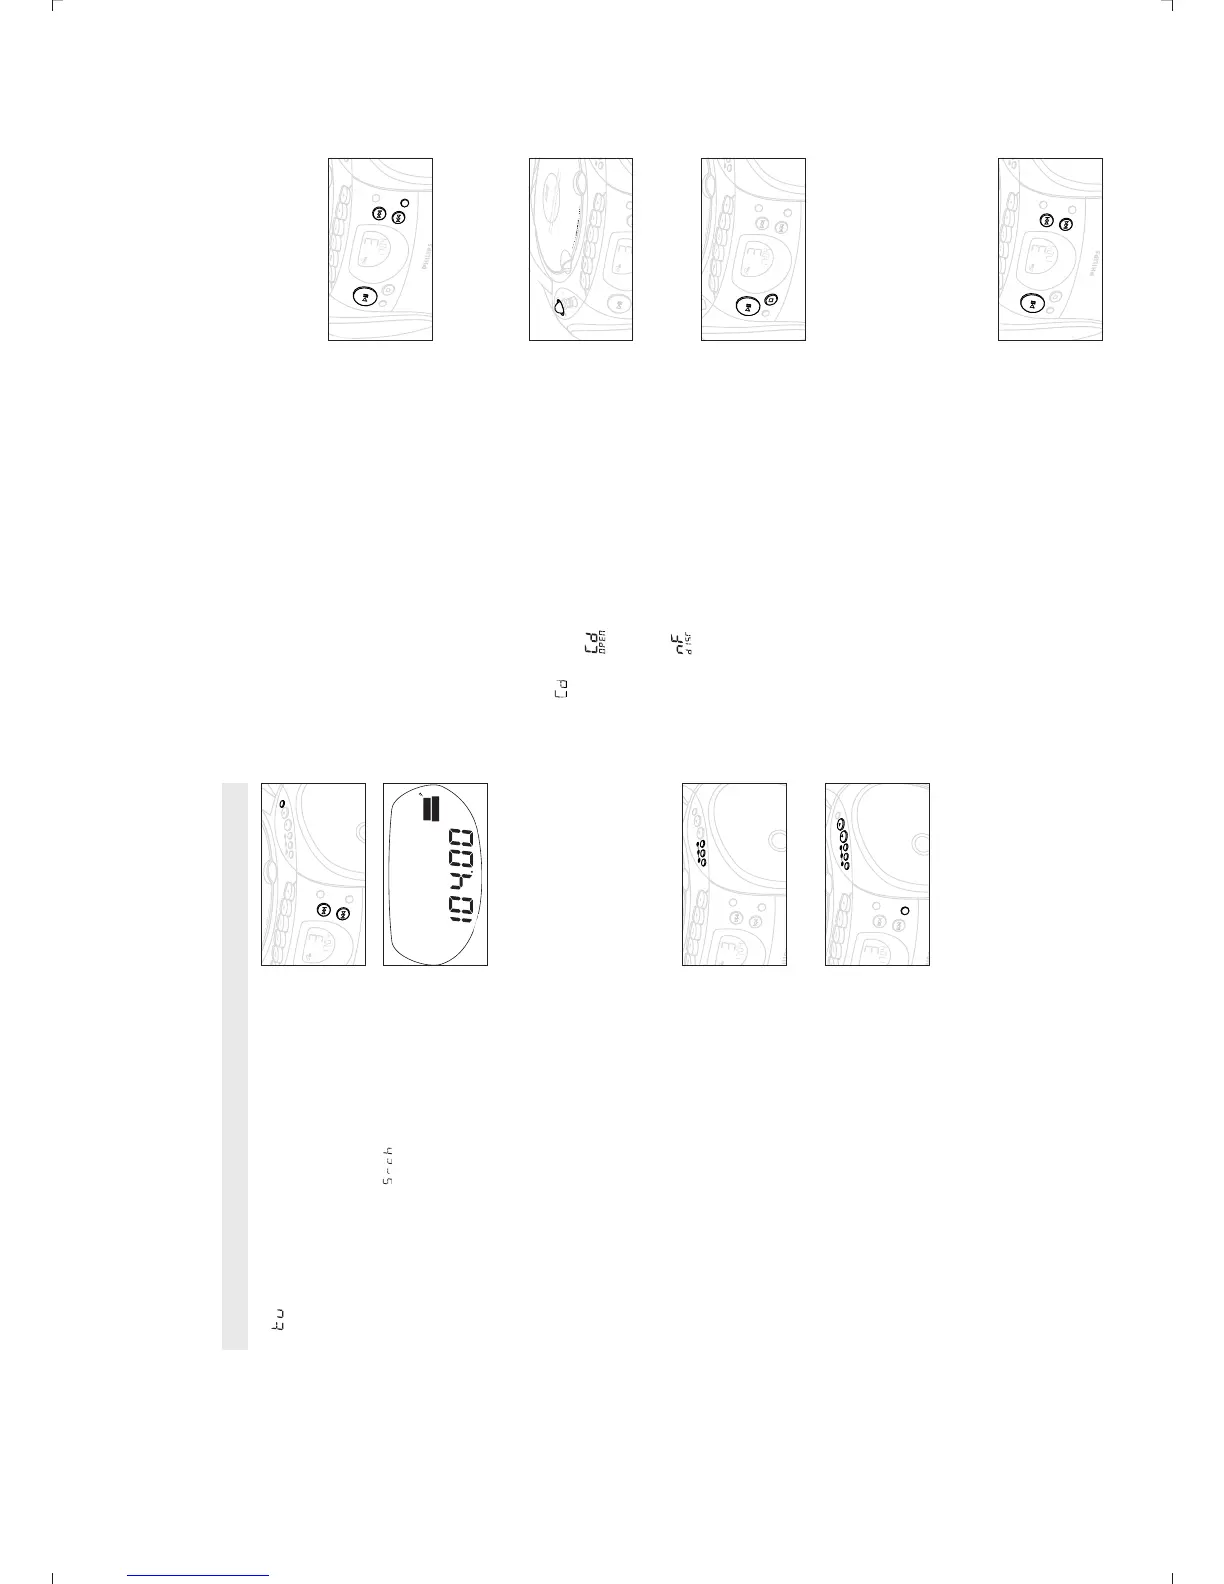
1. Select TUNER source.
™ is displayed briefly and then the radio station
frequency is shown.
2. Press BAND once or more to select your waveband.
3. Press SEARCH ∞ or § and release when the frequency in
the display starts running.
™The tuner automatically tunes to a station of sufficient
reception. Display shows during automatic tuning.
™If an FM station is received in stereo, STEREO is shown.
4. Repeat step 3 if necessary until you find the desired station.
• To tune to a weak station, press SEARCH ∞ or § briefly and
repeatedly until you have found optimal reception.
5. Adjust the power slider to TAPE/OFF position to switch off the
set.
To improve radio reception
– For FM, pull out the telescopic aerial. Incline and turn the
aerial. Reduce its length if the signal is too strong (very close
to a transmitter).
– For MW (AM), the set is provided with a built-in aerial so the
telescopic aerial is not needed. Direct the aerial by turning the
whole set.
Favourite station selection
For your favourite 3 tuner stations, you can use the easy one-touch
programming and selection 1, 2 or 3 buttons.
1. T
une to your desired station (see
T
uning to radio stations
).
2. To stor
e your station, press
1, 2 or 3 for 2 seconds or more.
™Display: shows PROGRAM briefly, your favourite preset station
number and the tuner fr
equency.
Programming radio stations
You can stor
e up to a total of 30 radio stations in the memory.
1. Tune to your desired station (see Tuning to radio stations).
2. Pr
ess
PROGRAM to activate pr
ogramming.
– Display: PROGRAM flashes.
3. Press PRESET 4 or 3 once or more to allocate a number fr
om
1 to 30 to this station.
4. Press PROGRAM again to confirm the setting.
–
Display:
PROGRAM disappears, the pr
eset number and the
fr
equency of the preset station are shown.
5. Repeat the above four steps to store other stations.
–
You can overwrite a preset station by storing another frequency
in its place.
T
uning to preset stations
Press 1, 2, 3 or PRESET 4 or 3 until the desired preset station is
displayed.
Changing tuning grid (some versions only)
In North and South America the frequency step between adjacent
channels in the AM and FM band are 10 KHz and 100 KHz
respectively. In the rest of the world this step is 9 KHz and 50 KHz.
Usually the frequency step has been preset in the factory for your area.
1. Check that the set is in the TAPE/OFF position and switched off.
2. To select 9KHz : press CD MODE and PROGRAM simultaneously.
Release the controls only when you switch on the set.
• To select 10KHz: press CD MODE and SEARCH § simultaneously.
Release the controls only when you switch on the set.
™When tuning to radio stations, the display shows tuning in
either steps of 9 or 10.
™All preset stations will be affected and you may need to
reprogramme your presets.
Playing a CD
1. Select CD source.
™ is displayed briefly.
2. Lift the CD door open.
™ Display: when you open the CD door.
3. Insert a CD or CD-R(W) with the printed side facing up and
close the CD door.
™Display: d1SC flashes as the CD player scans the contents of a
CD. The total number of tracks and playing time are then shown.
Display: is shown if the CD-R(W) is blank or not finalised.
4. Press PLAY•PAUSE 2;(on the remote control 2;) to start
playback.
™Display: Current track number and elapsed playing time of the
track during CD playback.
5. To pause playback press PLAY•PAUSE 2;.
Press PLAY•PAUSE 2;again to resume play.
™The display freezes and the elapsed playing time flashes when
playback is paused.
6. To stop CD playback, press STOP 9.
Note: CD play will also stop when:
– the CD door is opened;
– the CD has reached the end
(unless you have selected REPEAT or REPEAT ALL);
– you select another source: TAPE / TUNER.
Selecting a different track
• Press SEARCH ∞ or § (on the remote control ¡ or ™) once or
repeatedly until the desired track number appears in the display
.
• If you have selected a track number shortly after loading a CD or
in the PAUSE position, you will need to press PLAY•PAUSE 2;
to start playback.