EN 44
7. After completion of value entry, press [OK].
8. A confirmation screen will appear. Select “Yes”,
then press [OK].
9. Select “Subnet Mask”, “Default Gateway”,
“DNS Auto Configuration”, “Primary DNS” and
“Secondary DNS” in turn, and enter each address
number with cursor buttons and number buttons,
then press [OK].
• Enter the DNS addresses provided by your Internet
provider.
• If the DNS address is unknown, check the DNS
address of other devices (e.g. PC connected via LAN
cable) and assign the same DNS address.
Connection Test
IP Address Auto Conguration
IP Address
Subnet Mask
Default Gateway
DNS Auto Conguration
Primary DNS
Secondary DNS
----
O
192.168.XXX.XXX
255.255.255. 0
192.168.XXX.XXX
O
192.168.XXX.XXX
---.---.---.---
IP Address/DNS Settings
10. After completing this series of settings, perform the
“Connection Test”.
If your Internet connection requires Proxy Server
settings, perform the following:
1. Select “Network” “Network Settings”, then press
[OK].
2. Use [ K / L ] to select “Proxy Server Settings”, then
press [OK].
3. Use [ K / L ] to select “Proxy Address”, then press
[OK].
4. The “Proxy Address” setting screen will appear.
Enter a proxy address with cursor buttons, number
buttons and color key.
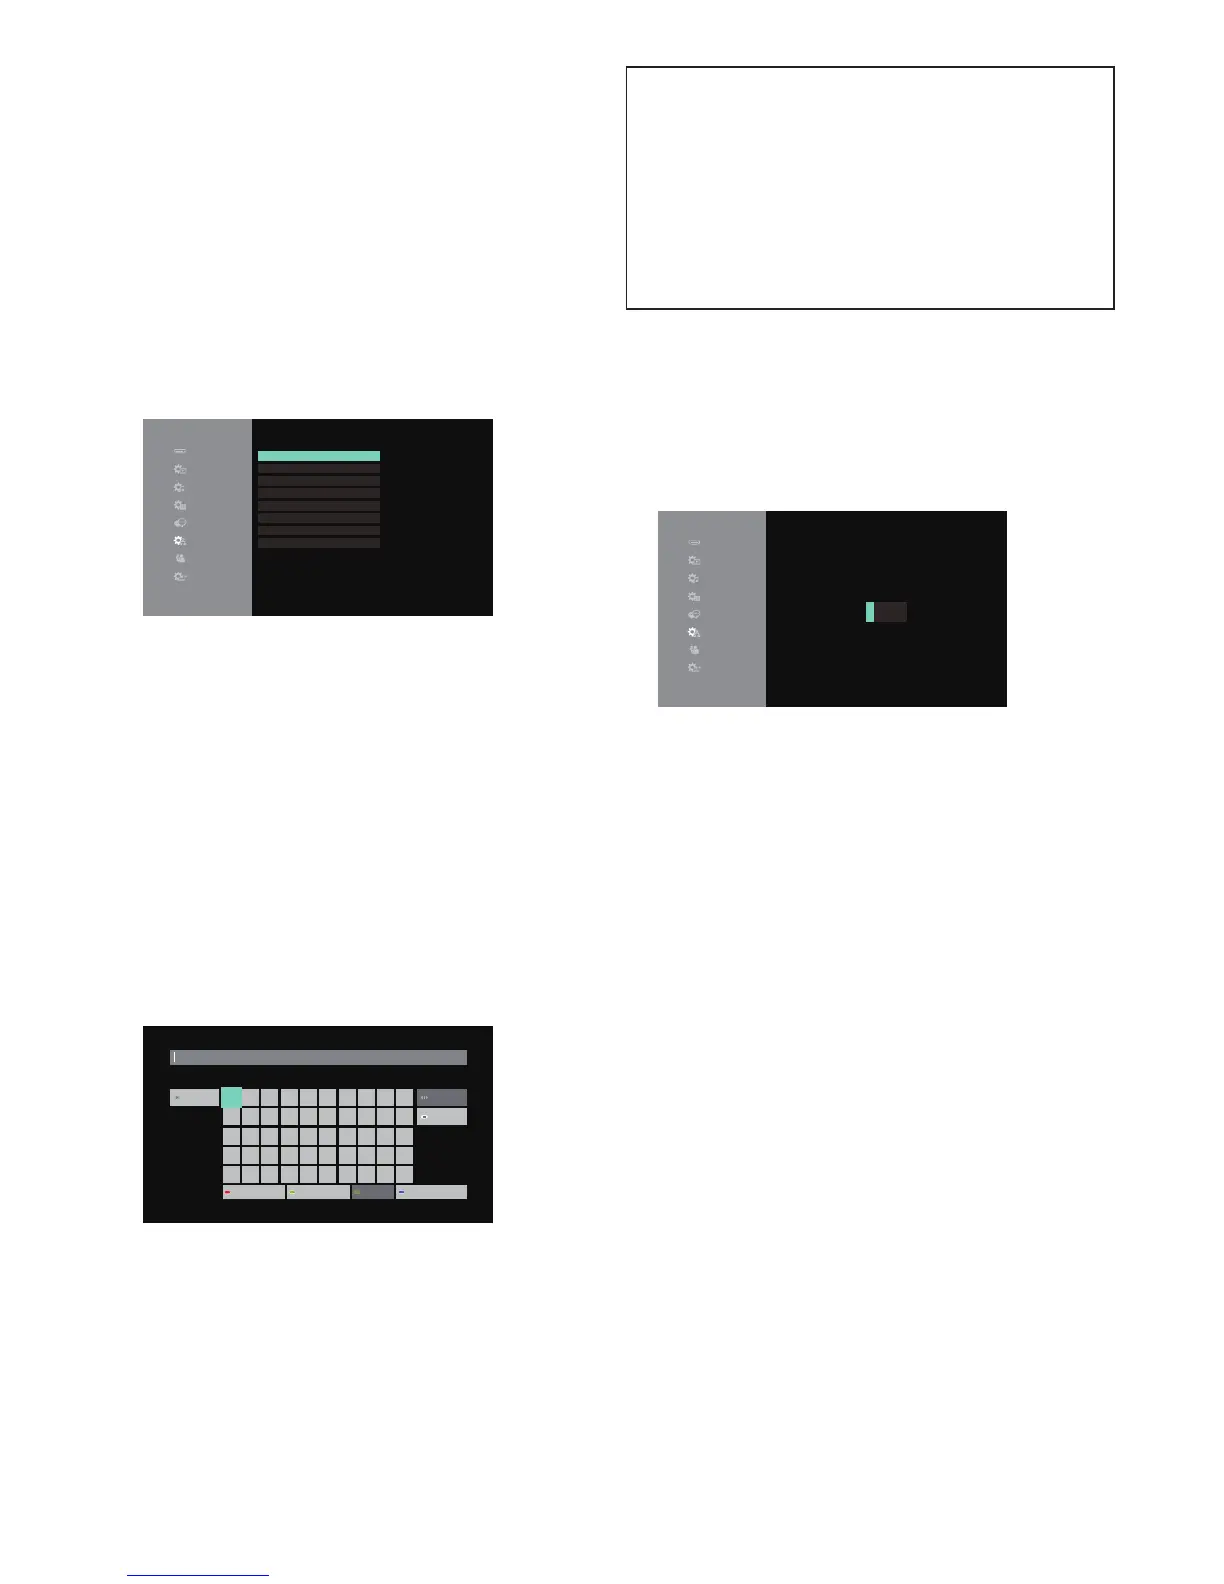
1 2
Shift
3 4 5 6 7 8 9 0
q w e r t y u i o p
a s d f g h j k l .
z x c v b n m @ * #
Space
/ : _ - , ; ‘ “
Delete
Finish
Symbols Alphanumeric Other Characters
Proxy Address
[ K / L / 0 / 1 ] : Move the highlight.
[OK] : Enter the highlighted number / letter.
*[Red] : Switches the Software Keyboard to
Symbol mark mode.
[Green] : Switches the Software Keyboard to
Number/Alphabet mode.
*[Blue] : Switches the Software Keyboard to
External character mode.
* These buttons can be used in other network settings.
5. After completion of address entry, select “Finish”,
then press [OK].
6. If necessary, select “Proxy Port Number” using
[ K / L ], then press [OK]
7. The “Proxy Port Number” setting screen will
appear. Enter a number using [ K / L / 0 / 1 ].
Proxy Port Number
Input Proxy Server Port Number.
00000
8. After completion of value entry, press [OK].
9. A confirmation screen will appear. Select “Yes”,
then press [OK].
10. Use [ K / L ] to select “Connection Test”, then press
[OK].
11. Press [OK] to go back to the setup menu, or press
[ Q (home)] to exit.