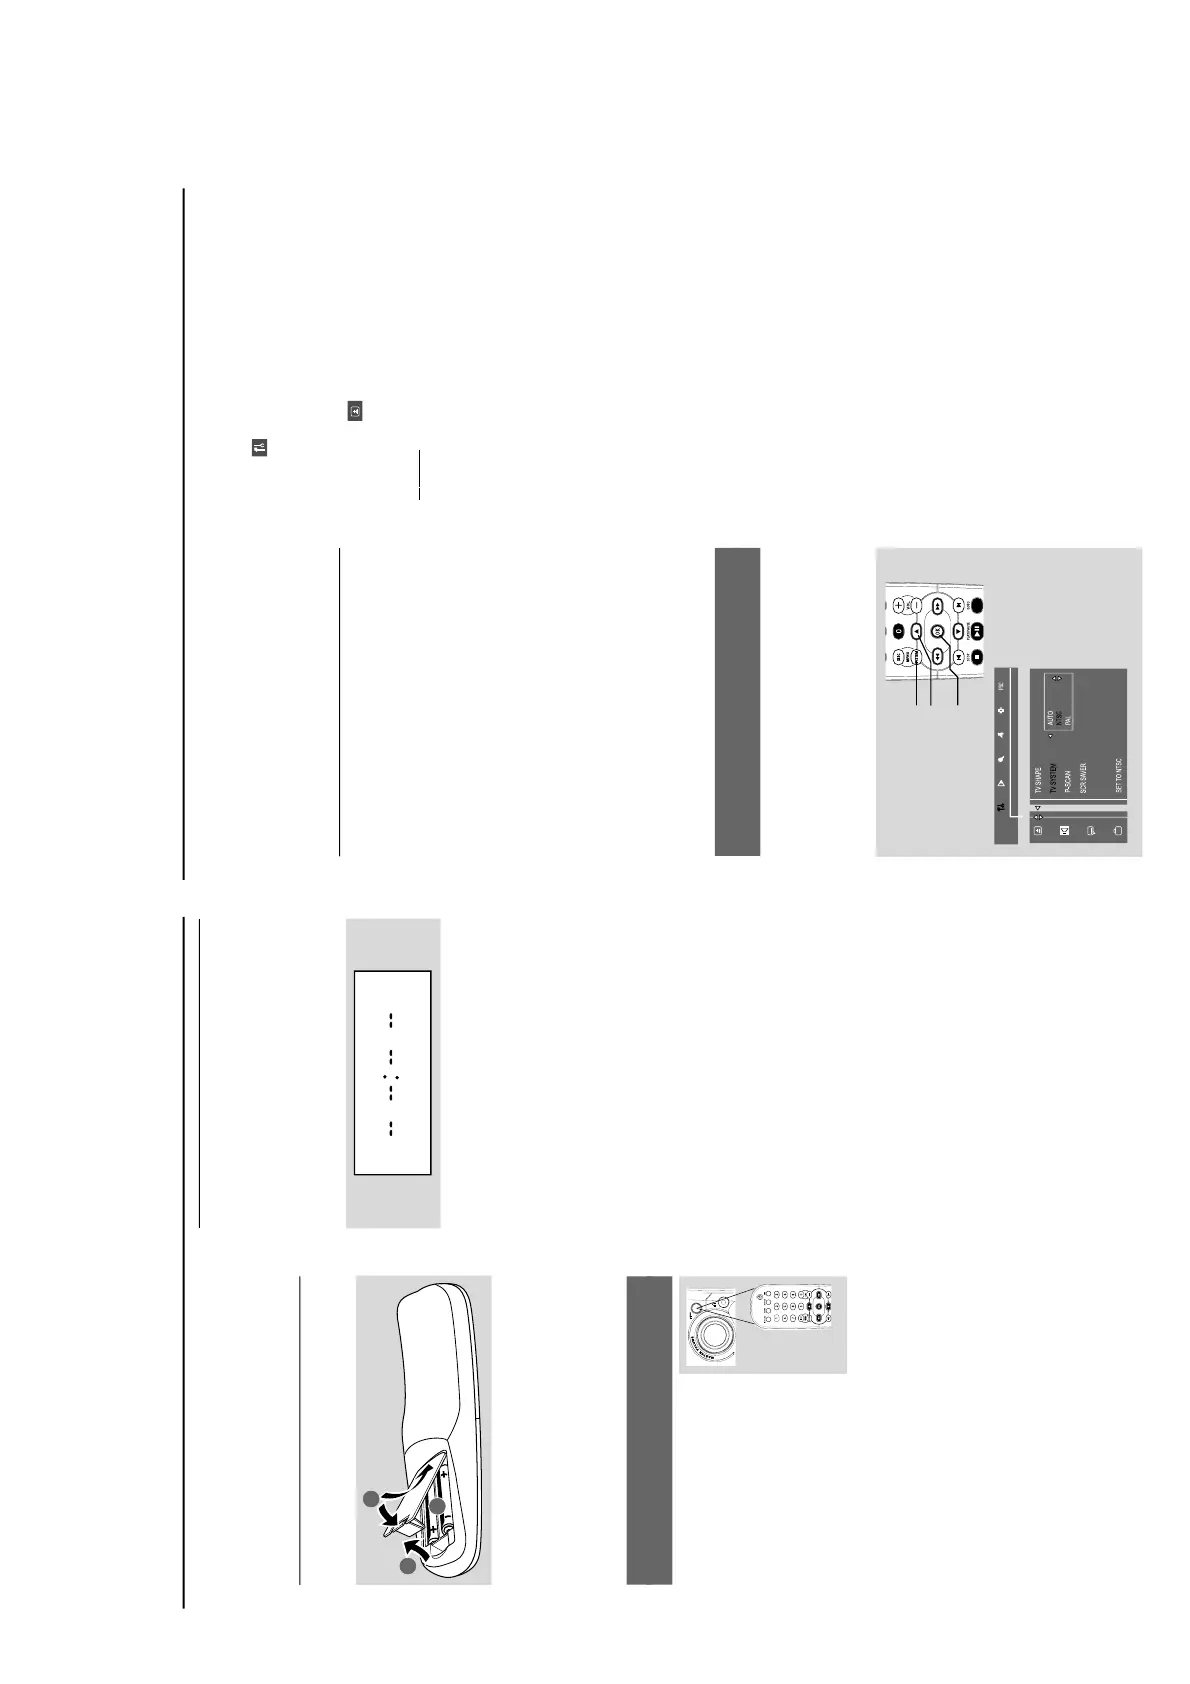
1
Open the battery compartment.
2
Place two batteries (Type R06 or AA) in the
compartment with the correct polarity as
indicated by “+” and “–” symbols.
3
Close the cover.
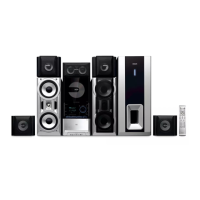
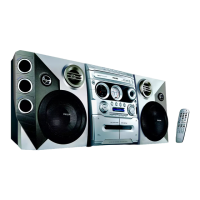
Using the remote control to operate the
system
1
Point the remote control directly
at the remote sensor (iR) on the
front panel.
2
Select the source you wish to
control by pressing one of the
source select buttons on the
remote control (for example
TAPE1/2, TUNER).
3
Then select the desired function (for example
2;, O or P).
CAUTION!
– Remove batteries if they are
exhausted or will not be used for a long
time.
– Do not use old and new or different
types of batteries in combination.
– Batteries contain chemical substances,
so they should be disposed of properly.
Step 2: Setting the clock
The clock can be set in either 12-hour or 24-
hour mode (“PM 00:00” or “00:00” for
example).
1
The clock can be set in any source mode.
If you have not set the clock, “--:--” will be
shown on the display.
2
Press and hold CLOCK/TIMER until “SELECT
CLOCK OR TIMER” is displayed.
Press O or P to change the display to
“CLOCK”.
Press CLOCK/TIMER again to confirm.
3
Press O or P on the system to set the
hours.
4
Press 1 or ¡ on the system to set the
minutes.
5
Press CLOCK/TIMER to confirm your setting.
The system will store the setting automatically
and go back to it’s previous status.
The time setting becomes effective.
Note:
–In AUX mode, setting clock using remote control
is not possible.
To exit the setting without storing (in
standby mode)
Press 9 on the system to exit.
“CANCEL” will appear on the display.
Press STANDBY ON to exit setting mode and
go into ECO POWER mode.
You can also press DISC, DISC1~3, DISC
CHANGE, OPEN/CLOSE to exit setting
mode and go into disc mode.
The system will also exit setting mode and go to
TUNER, TAPE or AUX mode when you press
the corresponding source button.
Viewing the clock in any source mode
When you have set the clock, press CLOCK/
TIMER to view clock. Press DISPLAY on the
system to toggle between 12-hour and 24-hour
modes.
The time will be displayed for 5 seconds and
then go back to it’s previous status.
Preparations
Notes:
– The clock will be cancelled when the power cord
is disconnected or if a power failure occurs.
– During clock setting, if no button is pressed
within 10 seconds, the system will exit the setting
mode and go back to it’s previous status.
Step 3: Setting the TV set
IMPORTANT!
– Make sure you have completed all the
necessary connections. (See Connections
– Connecting TV set)
1
Press DISC (DISC 1•2•3) on the front panel
(or press DISC 1/2/3 on the remote control).
2
Tu rn on the TV set and set to the correct Video-
In channel. You should see the blue Philips DVD
background screen on the TV set.
You may go to channel 1 on your TV set, then
press the channel down button repeatedly until
you see the Video In channel.
Or, you can use the TV remote control to
select different video modes.
Or, set TV to channel 3 or 4 if you are using
an RF modulator.
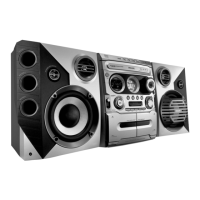
Selecting the color system that matches
your TV set
This DVD Mini Hi-Fi System is compatible with
both NTSC and PAL. For the playback of a DVD
disc on this DVD Mini Hi-Fi System, the color
systems of the DVD, TV set and DVD Mini Hi-Fi
System should match.
1
In disc mode, stop playback and press SYSTEM
MENU.
2
Select
icon and press 4.
3
Press 1 / ¡ / 5 / 4 keys on the remote
control to toggle through the functions and
select your preferred option.
Move to
and press ¡.
Move to “TV System” and press ¡.
A
UT
O
– Select this if the connected TV set is
compatible with both NTSC and PAL (multi
system). The output format will be consistent
with the video signal of the disc.
NTSC
– Select this if the connected TV set is NTSC
system. It will change the video signal of a PAL
video disc and output to NTSC system.
PA L
– Select this if the connected TV set is PAL
system. It will change the video signal of an
NTSC disc and output to PAL format.
4
Select an item and press OK.
To remove the menu
Press SYSTEM MENU.