5EN
3 Getting started
Prepare for humidication
1 Hold by both sides of the upper unit
and lift it up (g b).
2 Remove the packaging material of
the new humidication lter (g c).
Note
• In order to get the optimal
humidication result, soak the lter in
water for 30 minutes before use.
3 Assemble the new humidication
lter around the lter support
(g d).
4 Put the humidication lter and the
lter support back into the water
tank (g e).
5 Fill the water tank with cold tap
water until water reaches the
maximum water level indication
(g f).
6 Place the upper unit back onto the
water tank (g g).
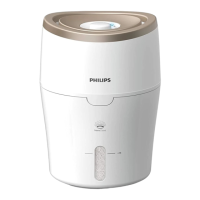
2 Your humidifier
Congratulations on your purchase, and
welcome to Philips!
To fully benet from the support that
Philips oers, register your product at
www.philips.com/welcome.
The Philips humidier brings fresh,
humidied air to your house for the
health of your family.
It oers you advanced evaporation
system with NanoCloud technology,
using a special humidication lter
which adds H2O molecules to the dry
air, and produces healthy humid air
without formation of water mist. Its
humidication lter retains bacteria,
calcium and other particles from the
water. It delivers only pure humidied
air in your home. No more dry air
in the winter season or from the air
conditioning.
Read this user manual carefully before
you install and use the humidier. Save
it for future reference.
What’s in the box
Check and identify the contents of your
package (g a):
A Upper unit
B Humidication lter (FY2402)
C Filter support
D Float
E Water tank
F User manual
G Warranty
 Loading...