Use ’Manual Recording’ tomake a spontaneous recording(for
example, a programme currentlybeing shown).
E If you want to start and stopa recording manually,read
the section: ’Recordingwithout automatic switch-off’.
E If you want to start a recordingmanually but have it
stopped automatically,read the section: ’Recordingwith
automatic switch-off’.
E If you want a recording to be controlledautomatically by
a satellite receiver,read the section entitled’Automatic
recording from a satellitereceiver’.
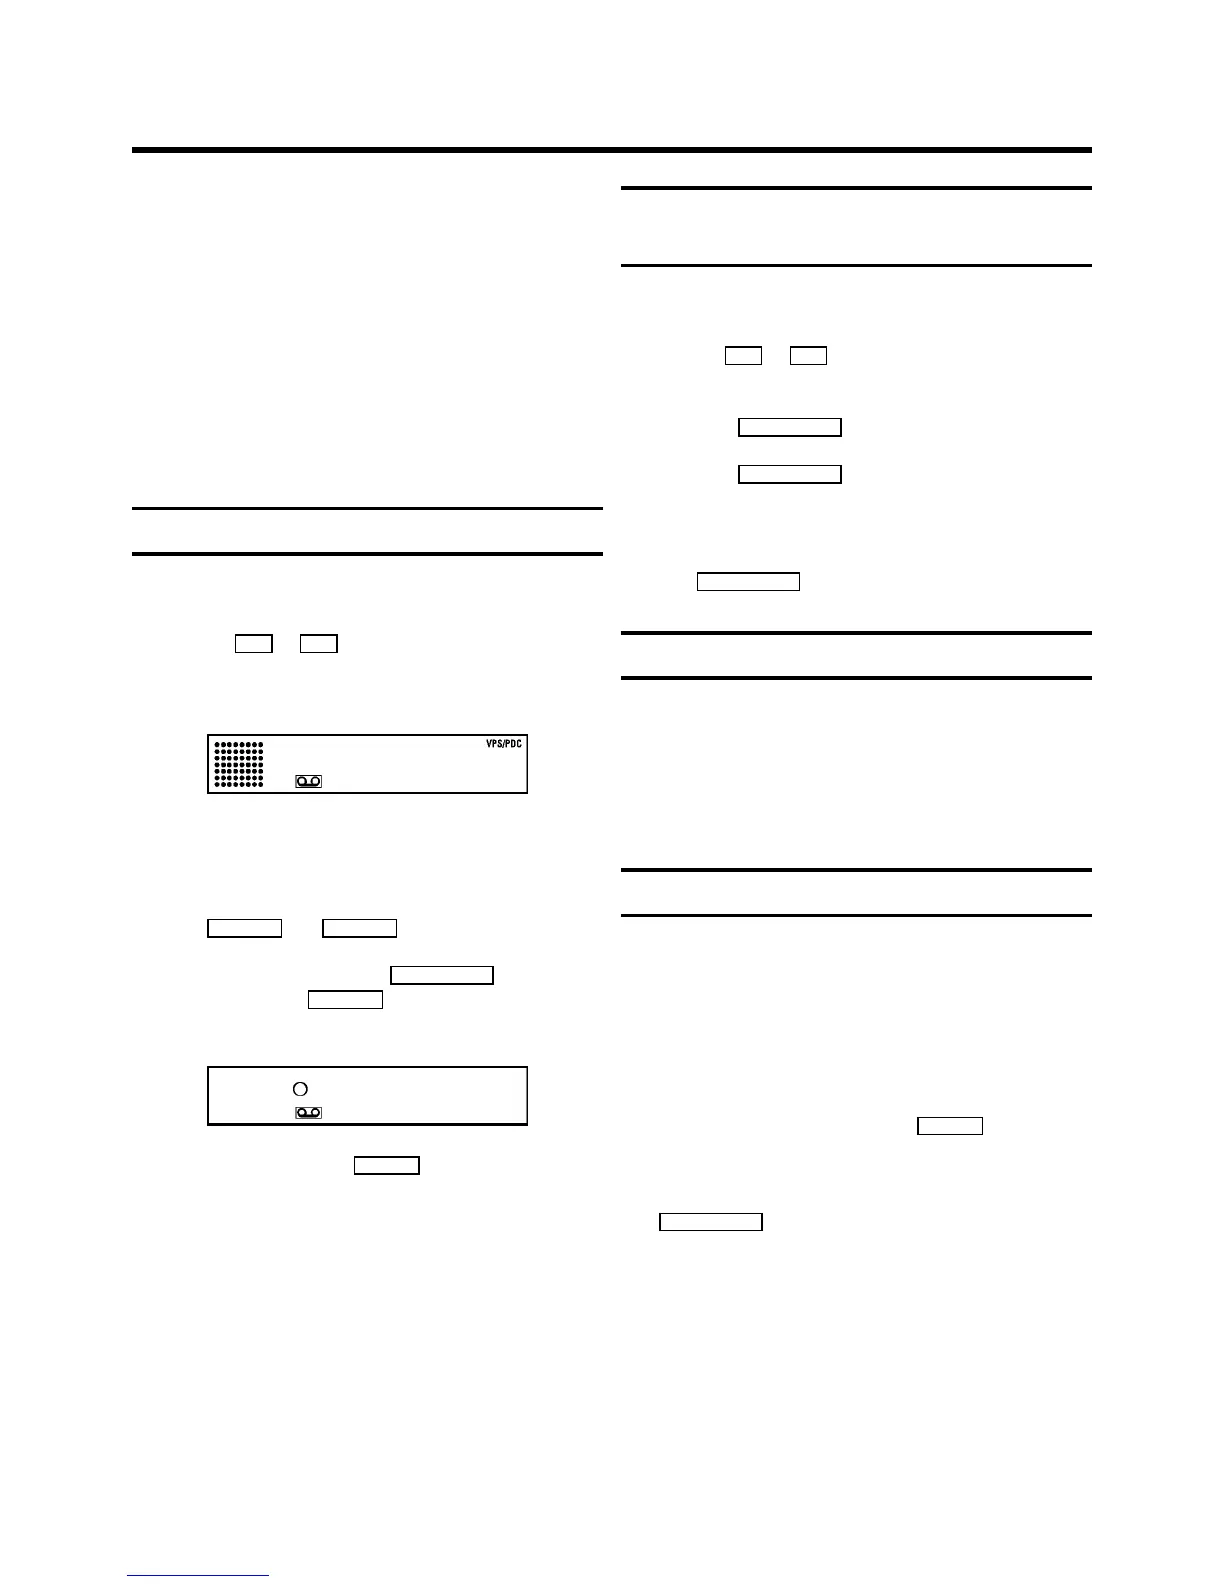
Recording without automatic switch-off
a Insert a cassette.
b Use the P q or P r button to select the programme
number you want to record,for example, ’P01’.On the
display appears:
BBC1
DWhen a TV channel transmits achannel name, it will
show on the video recorderdisplay.
DProgramme numbers ’E1’ and ’E2’ arefor recording
from other sources(through scart sockets
EXT.1 AV 1 and EXT.2 AV 2 ).
c To start recording,press the RECORD/OTR n button on the
remote control or RECORDn on the video recorder. On
the display you willsee:
0:00
d Stop recording with the STOP h button.
Recording with automaticswitch-off
(OTR one-touch-recording)
a Put a cassette inthe machine.
b Use the P q or P r button to select the programme
number you want to record.
c Press the RECORD/OTR n button on theremote control.
d Press the RECORD/OTR n button again and againuntil the
display on the videorecorder shows the desiredend time
or length of the recording.
DTo cancel this information, pressthe
CLEAR (CL), y button.
Protecting your recordings
So that you don’t accidentallydelete an importantrecording,
remove the special tabon the narrow side ofthe cassette with
a screwdriver orslide the special tab tothe left. Later,if you
no longer want to protectyour recording, you canseal the gap
again with stickytape or slide the specialtab to the right.
Auto-assembling
You can use the auto-assemblingfunction to join individual
recordings without anymajor picture disturbancebetween
them.
a While the cassetteis playing, search forthe correct
position on the tape.
b Stop the cassetteby pressing the STOP h button. ’9’
will appear in the display.
c Now start recordingas usual by pressingthe
RECORD/OTRn button on the remotecontrol.
5. MANUAL RECORDING
14


 To Next Page