A
B
O
r
d.No
.2404267
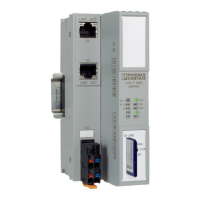
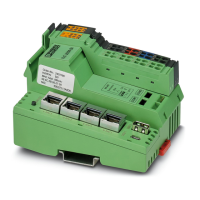
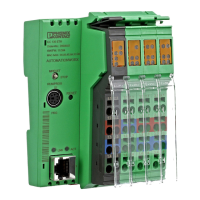
AXC F 2152
MAC Addr.:XX.XX.XX.XX.XX.XX
X
2
X
1
SD-C
ARD
R
X4
SD-C
ARD
R
X4
X1
X2
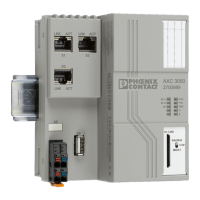
Ord.No.2404267
AXC F 2152
MAC Addr.:XX.XX.XX.XX.XX.XX
X2
X1
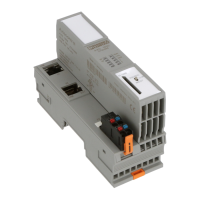
a1
a2
b1
b2
a1
a2
b1
b2
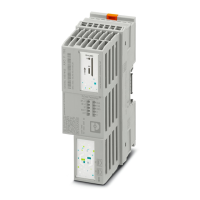
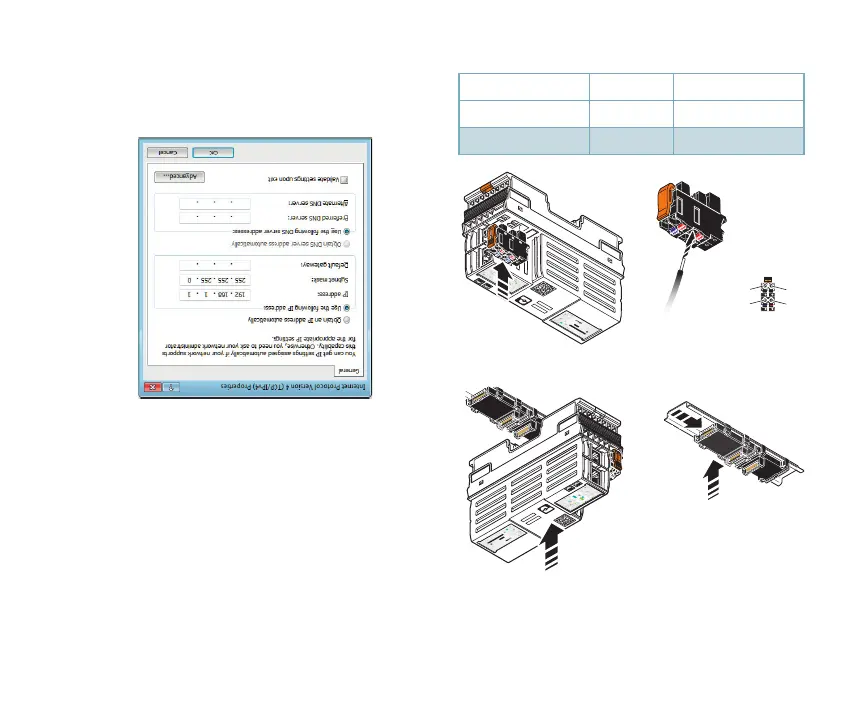
Starting up
1. Snap the bus base module into place
2. Snap the controller into place
3. Snap the supply plug into place
Terminal point Color Assignment
a1, a2 Red DC 24 V (U
L
)
b1, b2 Blue GND
4. Set the IP address of the PC
• In the Control Panel of your PC, open the
“Network and Sharing Center”
• Open “Change adapter settings”
• Right-click on the LAN connection to open
the context menu and select “Properties”
• Select “Internet Protocol Version 4
(TCP/IPv4)” and click on “Properties”
• Enter the following IP settings:
• IP address: 192.168.1.1
• Subnet mask: 255.255.255.0
• Click on “OK” to save the settings
4 PHOENIX CONTACT PHOENIX CONTACT 5
 Loading...