12
10
11
Screw
Screw
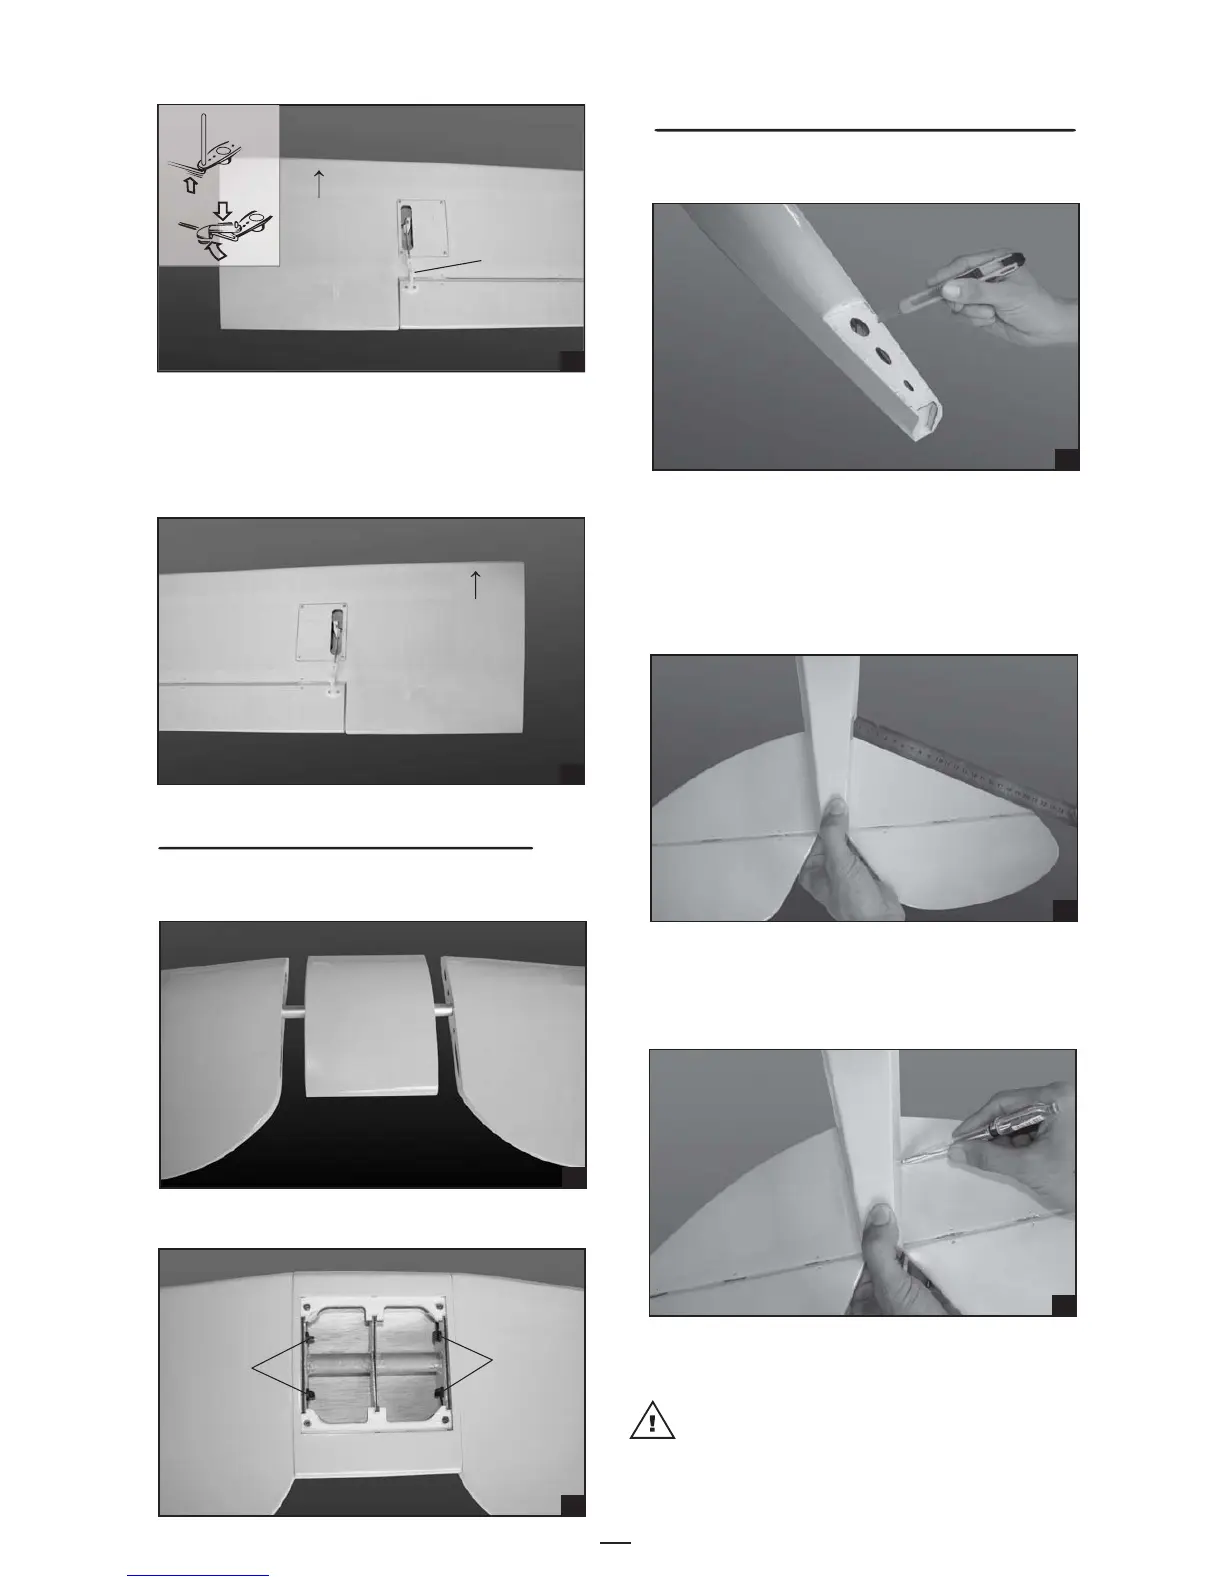
5. Remove the stabilizer. Using the lines you just
drew as a guide, carefully remove the covering
from between them using a modeling knife.
When cutting through the covering to remove it,
cut with only enough pressure to only cut
through the covering it's self. Cutting into the
balsa structure may weaken it. This could lead
to possible failure during flight.
14
4. With the horizontal stabilizer correctly aligned,
mark the shape of the fuselage onto the bottom
and into the top of the horizontal stabilizer
using
a water soluble/ non-permanent felt-tip pen.
2. Draw a center line onto the horizontal stabilizer
and slide it into the fuselage.
3. Check the fit of the horizontal stabilizer in its
slot. Make sure the horizontal stabilizer is
square and centered to the fuselage by taking
measurements, but don't glue anything yet.
- Secure the wing using four nylon screws.
13
INSTALLING THE HORIZONTAL STABILIZER
1. Using a modeling knife, cut away the covering
from the fuselage for the stabilizer and remove it.
JOINING THE upper WING HALVES
- Slide the left and right wing to the center wing
using the aluminum tube diheral.
9. Repeat step # 4 - # 8 to install the second
aileron linkage. After both linkages are
completed, connect both of the aileron servo
leads using a Y-harness you have purchased
separately.
9
To the cowl
Silicone Tube
8
To the cowl
4