6
Preparing and connecting system components
PFV Installation
1.
Insert the PFV installation DVD in the DVD drive.
2.
Click “Start Menu -> Computer” and open the DVD drive.
3.
DVD-ROM is opened. Click “PFV SetupXX” folder and open it. (XX is 32 or 64. Select your
OS’s system bit. In case of the OS is a 64bit version of Windows, you select “PFV
Setup64”.)
4.
Double click “setup.exe” in the folder.
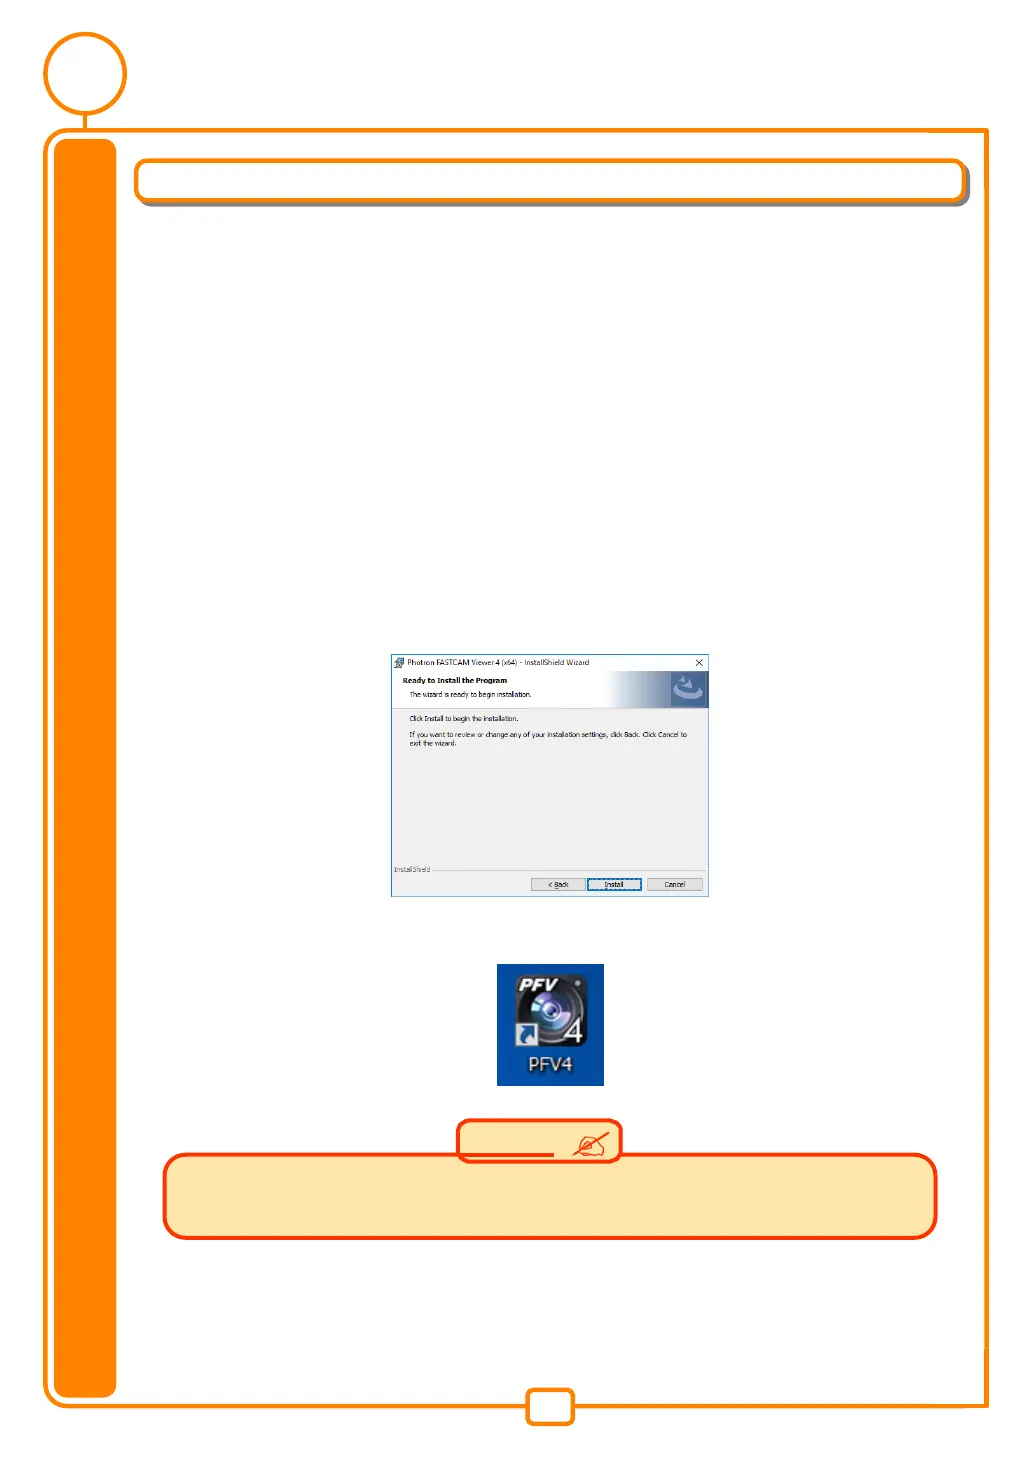
The installer runs.
5.
The license agreement and the install location are displayed.
Proceed with the installation by clicking [Next] or [Install].
6.
When the PFV installation is finished, there is the icon “PFV 4” on the desktop.
・ The latest PFV version does not support XP, Windows Vista OS ,so a PC with Windows 7,
or Windows 8.1 ,Windws10 OS is required to install the software.
 Loading...