Cleaning, checks and maintenance
Operating Manual PSEN sc M 3.0/5.5 08-17
1005387-EN-05
| 121
4. Check whether the interior of the safety laser scanner is free from contaminations.
Use dry compressed air for cleaning, if necessary.
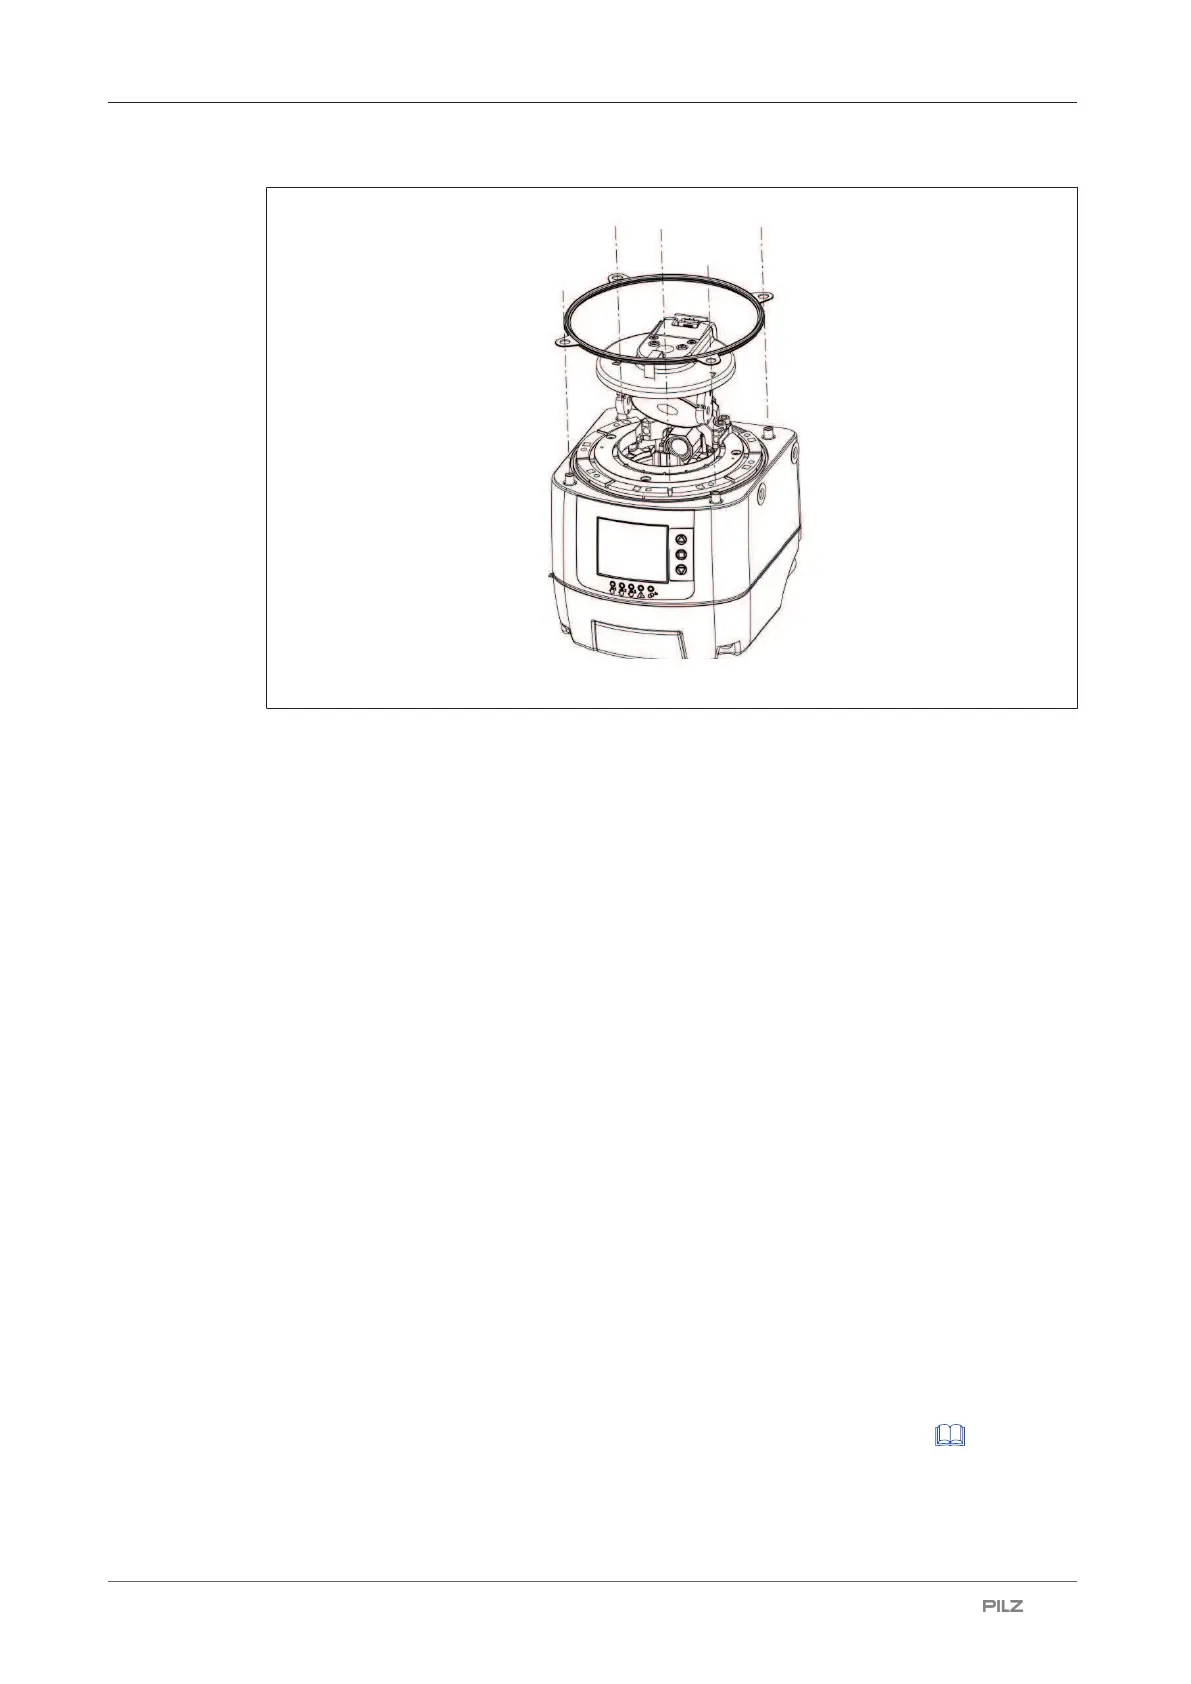
5. Place the new PSENschead carefully on the lower part of the safety laser scanner.
6. Fix the PSEN sc head with the four M3 screws and tighten the screws with 0.6 Nm.
7. Install the safety laser scanner again as it was before the removal of PSEN sc head.
Note the previous installation position, the wiring and the configuration of the safety
laser scanner.
8. Switch the safety laser scanner on.
9. Create a connection to the safety laser scanner in the PSENscan Configurator.
If you have exchanged the PSEN sc head on a subscriber unit, establish the connection
to the subscriber unit's master unit.
10. In PSENscanConfigurator select Device -> Exchange PSEN sc head.
Enter the password for the safety laser scanner and follow the instructions.
11. Select the device with the exchanged PSEN sc head and enter the serial number of the
new PSEN sc head.
12. Calibration of the new PSEN sc starts.
The safety laser scanner switches to offline and then into a state for checking the safety
laser scanner. A warning is displayed.
13. The calibration of the new PSEN sc head is complete and it must be assessed.
14. Check the safety function of the safety laser scanner with a detection capability of
40mmat a distance of 1 m to the safety laser scanner over the complete scanning
area of 275°(see Check the safety function of the safety laser scanner [ 100]).
15. Switch off the safety laser scanner.
 Loading...