1
1
1
1
1
1
2
2
1
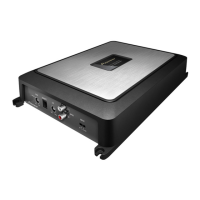
Never remove the Cover unless you need to do so
because it is firmly adhered to the chassis with
double-faced tape.
Also, do not reuse the removed Cover and
double-faced tape becuase they may probably
be damaged.
Remove the two screws and then remove
the Shield Case with the Cord Assy,
Seal and Cover on it.
2
Notes)
When you install the Cover, put the Cord Assy fully
inside the Cover.
(Make the length of the visible part of heat-shrink
tube of the Cord Assy to be 1 mm or shorter when
the Cover is seen from above the top.)
1
1
1
1
1
Fig.1
Fig.2
Fig.3
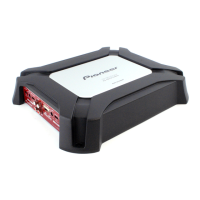
Case
Cover
Cover Seal
Cord Assy
Shield Case
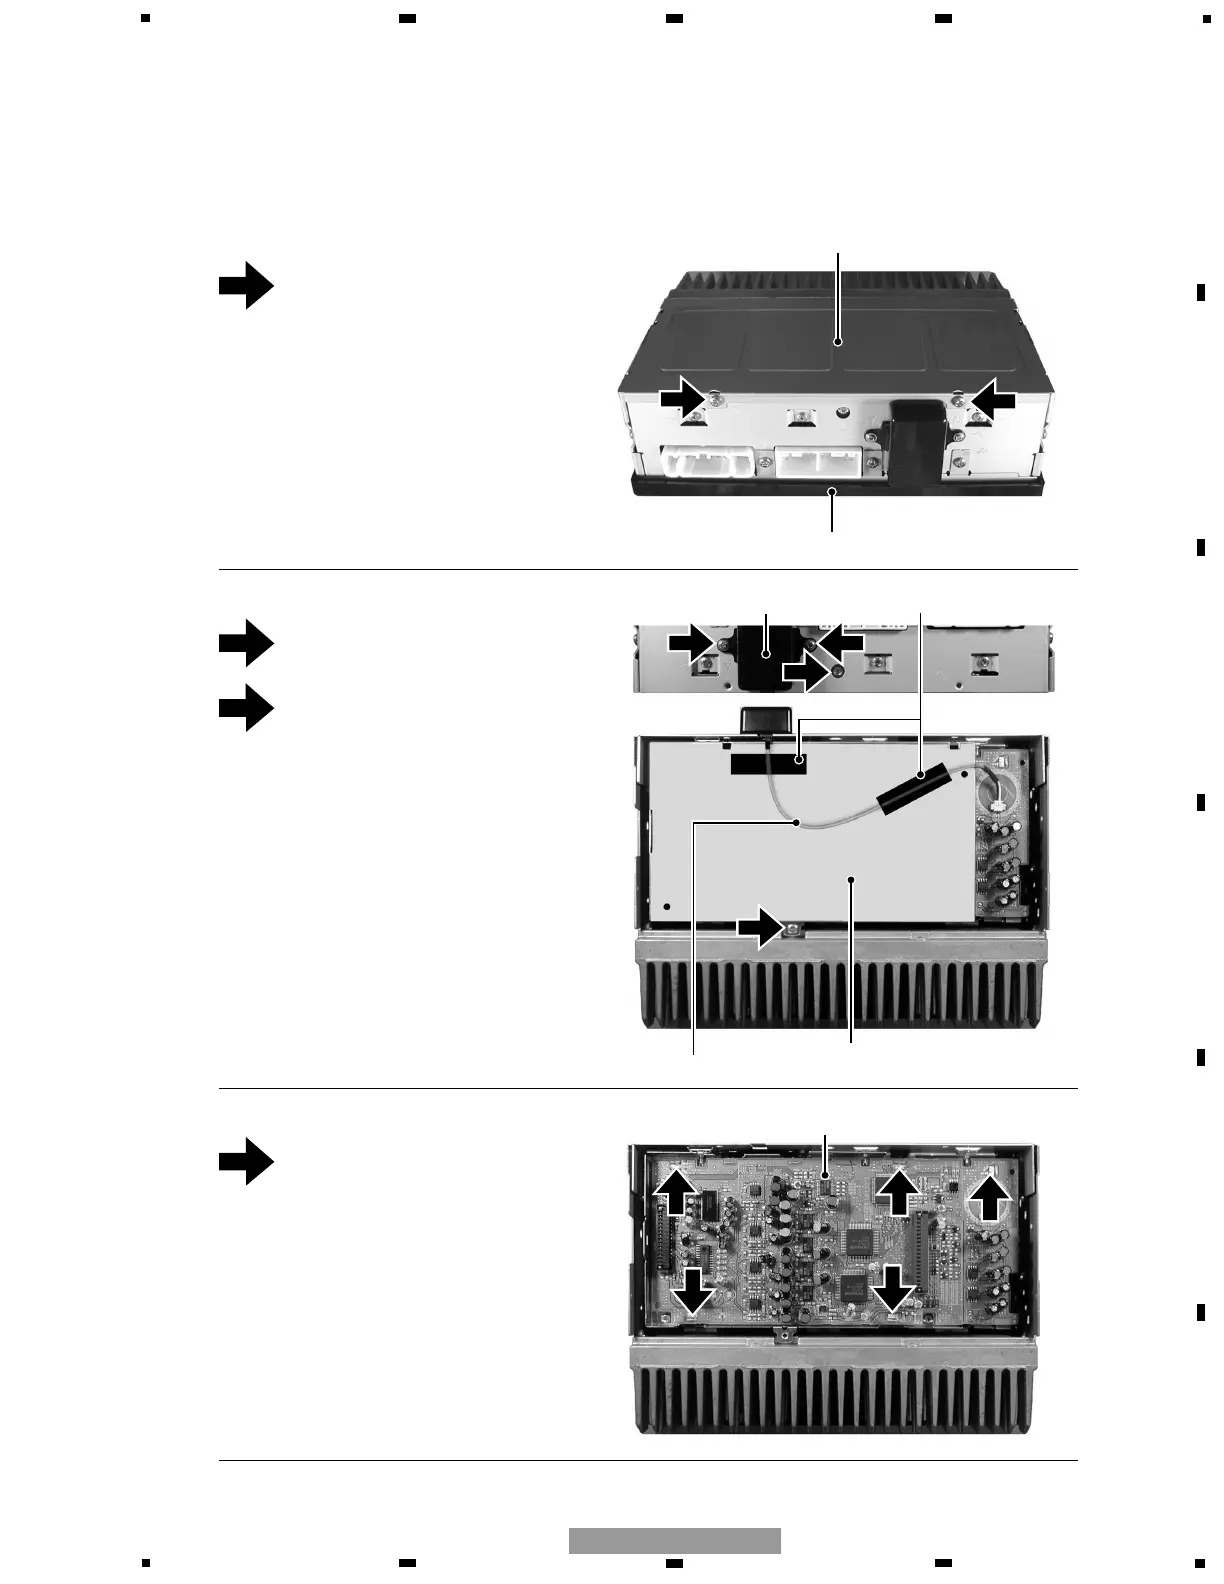
DSP Unit
- Removing the Case (Fig.1)
- Notes the Cover (Fig.1)
- Removing the Shield Case (Fig.2)
- Removing the DSP Unit (Fig.3)
Remove the two screws and then remove
the Case.
Remove the two screws.
Remove the solder and then straight the
tabs at three locations indicated.
Remove the DSP Unit
 Loading...