


P
Patrick WilsonSep 23, 2025
Why is the measured BPM value different from the published value on Pioneer Music Mixer?
- FfoleymarySep 23, 2025
Some differences may occur due to differences in BPM detection methods. No remedy is necessary.
Why is the measured BPM value different from the published value on Pioneer Music Mixer?
Some differences may occur due to differences in BPM detection methods. No remedy is necessary.
How to fix distorted sound on Pioneer DJM-800 Music Mixer?
If the sound from your Pioneer Music Mixer is distorted, it could be due to a few reasons. First, try adjusting the master output level (MASTER LEVEL) dial or the rear panel master output attenuator (MASTER ATT) switch. If that doesn't solve the issue, the input level might be too high; in this case, adjust the TRIM dial until the input level approaches 0 dB on the channel level indicator.
Why Pioneer Music Mixer BPM can't be measured correctly?
If your Pioneer Music Mixer is having trouble measuring BPM or the measured value is incorrect, it could be due to the following reasons: * The input level might be too high or too low. Adjust the TRIM dial so that the input level approaches 0 dB on the channel level indicator. * BPM may not be correctly measurable with some tracks. Adjust other channels as well so that the input levels approach 0 dB in the channel level indicator. * You can also manually set the BPM by striking the TAP button.
How to enable fader start on Pioneer DJM-800 with CD player?
If you're unable to perform a fader start with your CD player on the Pioneer Music Mixer, check the following: 1. Ensure the FADER START button is set to ON. 2. Verify that the rear panel CONTROL jack is connected to the CD player using a control cable. 3. Make sure that both the CONTROL jacks and analog input connectors are connected.
Why is external effector not working with Pioneer DJM-800?
If your external effector isn't working with the Pioneer Music Mixer, check these potential issues: * Ensure the effect selector is set to [SND/RTN]. * Verify that the effector is correctly connected to the rear panel SEND/RETURN connectors. * Use the effect channel selector to select the audio source to which you wish to apply the effects.
What to do if microphone sound isn't produced in BOOTH output on Pioneer Music Mixer?
If microphone sound isn’t produced in the BOOTH output on your Pioneer Music Mixer, the rear panel’s MIC SIGNAL switch may be set to [CUT]. Set the rear panel’s MIC SIGNAL switch to [ADD].
How to fix incorrect BPM measurement on Pioneer Music Mixer?
If the BPM can’t be measured or the measured BPM value is incorrect on your Pioneer Music Mixer: * Adjust the TRIM dial so that the input level approaches 0 dB in the channel level indicator, because the input level may be too high or too low. * Adjust other channels as well so that the input levels approach 0 dB in the channel level indicator, because BPM may not be correctly measurable with some tracks. * Strike the TAP button to set BPM manually.
How to fix a cross fader that doesn't work on Pioneer Music Mixer?
If the cross fader on your Pioneer Music Mixer isn’t working, the CROSS FADER ASSIGN switch setting ([A], [THRU], [B]) may be incorrect. Correctly set the CROSS FADER ASSIGN switch for the desired channel.
Why measured BPM value is different from the value published with the CD on Pioneer DJM-800 Music Mixer?
Some differences may occur in the BPM value measured by your Pioneer Music Mixer compared to the value published with the CD due to differences in BPM detection methods. No remedy is necessary.
Why is microphone sound not produced in BOOTH output on Pioneer DJM-800 Music Mixer?
If microphone sound isn’t being produced in the BOOTH output on your Pioneer Music Mixer, check the rear panel’s MIC SIGNAL switch. If it’s set to [CUT], switch it to [ADD].
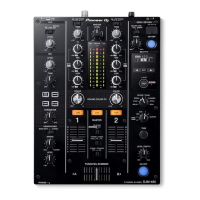
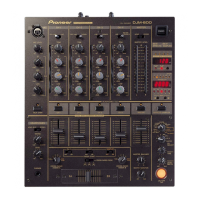
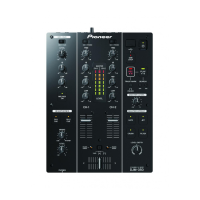
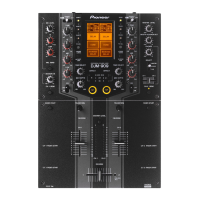
Identifies the product model for the service manual.
Details essential safety measures for servicing the unit.
Explains specific safety characteristics of components and potential hazards.
Conforms to product regulations and maintains a safe servicing environment.
General specifications including power, dimensions, operating conditions, and weight.
Details audio performance parameters like sampling rate, frequency response, and S/N ratio.
Lists all input/output connectors and their types.
Shows an exploded view of the packing components for the unit.
Exploded view of the exterior parts of the unit.
Exploded view of the control panel components.
Presents the first part of the overall block diagram of the unit.
Illustrates the functional blocks of the Digital Signal Processing unit.
Shows the second part of the overall block diagram, focusing on the DSP.
Displays the complete wiring diagram of the unit.
Shows the PCB connection layout for the Input Assy.
Shows the PCB connection layout for Panel 1 Assy.
Lists major assemblies and their part numbers.
Information related to diagnosing issues with the unit.
Details the procedures and modes for testing the unit's functions.
Tests the functionality of all key buttons and LEDs.
Tests the operation of selector switches and their corresponding LEDs.
Lists necessary items for firmware rewriting.
Describes the physical connections for firmware updating.
Steps to update the microcomputer software.
Overview for updating DSP program and data.
Detailed steps for updating the DSP program.
Detailed steps for updating DSP data.
Guides through the installation process of the toolkit.
Covers initial settings for the toolkit.
Steps to find the correct PC port for the jig.
Process for selecting the firmware file.
Steps to download the firmware file to the unit.
A flowchart detailing the unit's power-on process.
Steps for disassembling the cross fader section.
Steps for disassembling the channel fader section.
Steps for removing the control panel assembly.
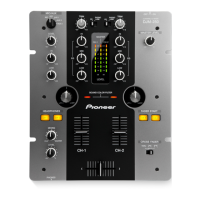
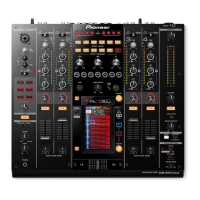
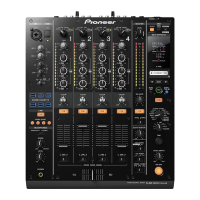
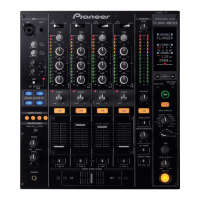
Overview of the physical control panel layout.
Describes fader controls and related functions.
Explains the beat effect selection and parameters.
Describes sound-color effect selection and parameters.
Step-by-step instructions for disassembling for kit installation.
| Equalizer | Yes |
|---|---|
| Product color | Black |
| Audio output channels | 4.0 channels |
| Signal-to-Noise Ratio (SNR) | 105 dB |
| Total Harmonic Distortion (THD) | 0.005 % |
| Connectivity technology | Wired |
| Digital audio coaxial out | 1 |
| Dimensions (WxDxH) | 320 x 108 x 381 mm |
| Power consumption (typical) | 30 W |
| Weight | 8000 g |
|---|