Do you have a question about the Pioneer PD-TM3 and is the answer not in the manual?
Explains how to enter and exit the demo mode for the CD player display variations.
Details the serial number location for security and warranty purposes on U.S. and Canadian models.
Warns about the safe use of polarized plugs with extension cords and outlets in Canada.
Explains the function and adjustment of the line voltage selector switch on multi-voltage models.
Warns against opening the unit, stresses proper servicing, and highlights electrical hazards.
Provides detailed instructions for wiring the mains lead, including color codes and plug connection safety.
Covers safe installation location, ventilation, handling discs, cleaning, and electrical safety measures.
Emphasizes proper antenna grounding and precautions against interference from other devices.
Warns about the Class 1 laser diode and advises against removing covers or attempting internal access.
Cautions users about potential hazardous radiation exposure from controls or optical instruments.
States that unauthorized alterations may invalidate the user's right to operate the equipment.
Details the equipment's compliance with FCC rules for digital devices and potential interference issues.
Advises setting a safe listening level to prevent hearing damage and preserve audio quality.
Lists noise levels that can be dangerous under constant exposure to protect hearing.
Confirms the digital apparatus does not exceed Class B limits for radio noise emissions in Canada.
Clarifies that the power switch is secondarily connected and does not fully disconnect the unit from mains power in standby.
Instructs on removing the transportation screw before use and retaining it for future transport.
Details the steps for re-securing the unit using the transportation screw for shipping.
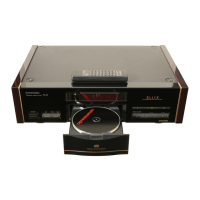
Lists and visually identifies all accessories included with the CD player, such as magazines, cables, and remote.
Provides instructions for inserting batteries correctly, including polarity, and notes on handling potential leakage.
Advises on proper installation location, avoiding heat/moisture, and handling condensation when moving the unit.
Provides instructions for cleaning the player, magazine, and handling discs to prevent damage and ensure quality.
Explains how to connect the player's output jacks to an amplifier's input, avoiding PHONO jacks.
Details connecting for synchronized recording between the CD player and a cassette deck.
Describes connecting for system remote control operation with a compatible Pioneer stereo amplifier.
Provides step-by-step instructions for inserting discs into the 6-disc magazine, including label orientation.
Lists essential cautions for inserting discs, such as tray handling, label placement, and avoiding foreign objects.
Offers guidance on attaching labels to the 6-disc magazine for organization and easy identification.
Details the procedure for loading a disc into the single-disc magazine, common for multi-voltage and Australian models.
Explains the steps to safely remove a disc from the single-disc magazine after ejecting the tray.
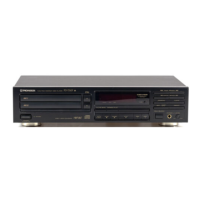
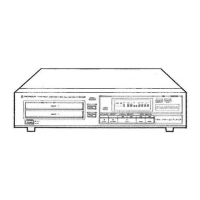
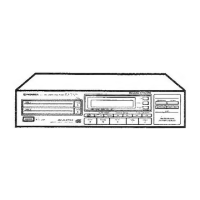
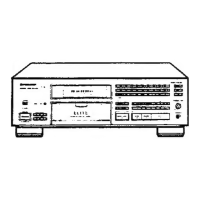
Identifies and explains the function of each button and indicator on the player's front panel.
Lists and describes the buttons and operations available on the remote control unit.
Provides instructions on how to operate the remote control unit effectively, including range and aiming.
Step-by-step guide on how to turn on the player, insert a magazine, and start disc playback.
Explains how to temporarily pause playback and how to stop it completely using player buttons.
Lists important cautions for inserting, storing, and handling magazines to prevent damage.
Guides on setting up automatic playback using an external audio timer, including TIMER switch settings.
Explains how the player memorizes the playback stop point for resuming playback later.
Details the different time information displayed (elapsed, remaining, total) and how it changes during playback modes.
Explains how to search for and select specific magazines or discs for playback.
Details how to find and play specific tracks using digit buttons, including track numbers over 10.
Describes how to manually search for a specific passage within a track by fast forwarding or reversing.
Explains how to set single-track or all-track repeat playback modes using the REPEAT button.
Details how to play all tracks in random order and the continuous random playback function.
Guides on using the OUTPUT LEVEL controls to adjust the sound volume between 0 dB and -25 dB.
Explains the Automatic Digital Level Controller for adjusting volume differences between discs, with notes on its effect.
Describes the DSP function for creating various sound fields like Jazz, Church, Dance, Hall, and Stadium.
Step-by-step instructions for programming specific tracks or entire discs in a desired playback order.
Explains how to program the currently playing track directly during normal or Hi-Lite Scan playback.
Details how to insert a pause into a programmed sequence for recording or other purposes.
Guides on how to view the currently programmed tracks and discs on the display.
Explains procedures for erasing individual steps or entire programs, and how to modify existing programmed tracks.
Step-by-step guide on how to delete specific tracks or entire discs from a programmed sequence.
Instructions on how to clear all programmed deletions, either by button press or magazine ejection.
Guides on computer-allocated program editing for tape recording, setting tape time and programming tracks for both sides.
Explains how to select tracks within a specified time with a fade-out for recording purposes.
Details how to clear previously set time fade editing contents.
Describes how to start playback with a fade-in and stop it with a fade-out using the FADER button.
Lists common symptoms like magazine not expelling, immediate stops, and no sound, with probable causes and remedies.
Addresses issues like distorted sound, noise, loud noise with certain discs, and TV picture interference, providing solutions.
Covers problems with the remote control not functioning, including dead batteries, distance, angle, and obstructions.
Details power requirements, operating temperature, weight, and external dimensions of the CD player.
Lists technical audio parameters such as frequency response, S/N ratio, dynamic range, and distortion.
Describes the audio line output, headphone jack, and special input/output jacks like CD-DECK SYNCHRO.
Summarizes the main operational functions, including disc storage, basic buttons, search, programming, and repeat options.
Lists all indicators and displays on the player, such as PLAY, PAUSE, FADER, and time displays.
Provides a final count of included accessories like the remote control, batteries, magazines, and cables.
| Type | CD Player |
|---|---|
| Disc Capacity | 1 |
| Channels | 2 |
| Frequency Response | 2 Hz - 20 kHz |
| Output Voltage | 2.0 V |
| Digital Output | Coaxial |
| Playback Formats | CD |